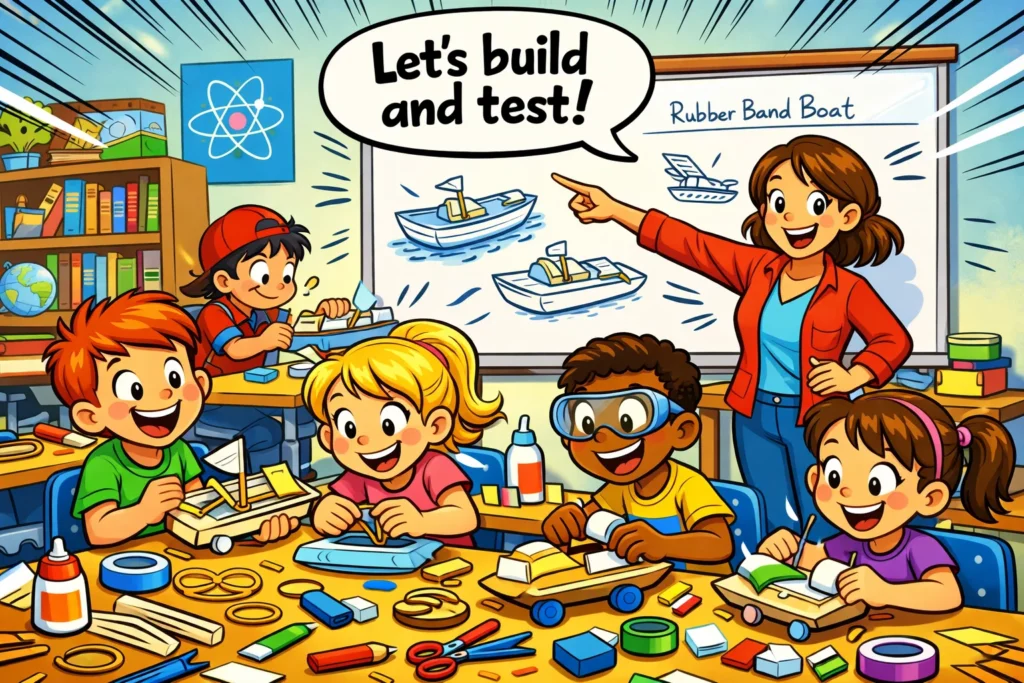
Rubber Band Powered Boat Challenge for Kids

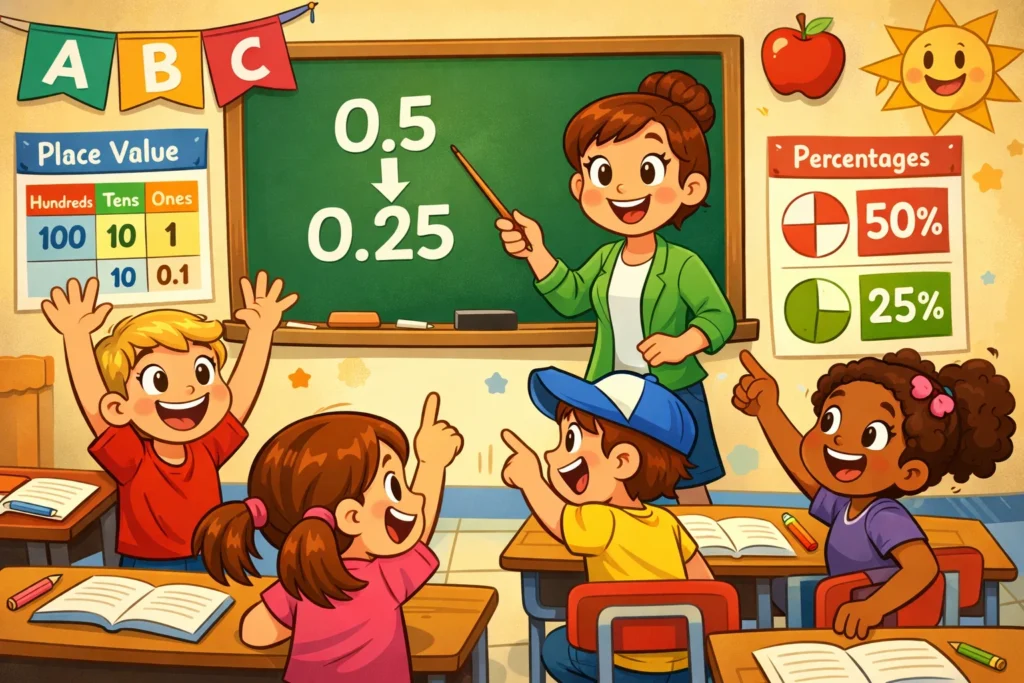
 Discover a Free Education Video App for Kids
Pastory uses AI to personalize educational video content based on your child’s interests and personality. Safe, engaging, and built for curious young minds. Sign up now to stay updated and enjoy early access with a free trial

Building a rubber band powered boat is one of those classic childhood rites of passage that perfectly blends high-energy fun with meaningful scientific learning. If you are looking for a STEM activity that moves beyond the screen and into the real world, this DIY rubber band boat STEM project is the ideal solution. It’s a hands-on experiment that allows children to transform simple household items – like duct tape, rubber bands, and recycled plastic – into a self-propelling vessel.
In simple terms, a rubber band powered boat uses the energy stored in a twisted elastic band to spin a paddle, pushing the boat across the water. This activity is perfect for children aged 6 to 12, though older kids (and even adults!) often find themselves getting competitive with design tweaks. Whether you are testing it in a bathtub, a backyard kiddie pool, or a calm local pond, this boat stem challenge promises a quick win: within 30 minutes, your child will have built a functional toy while beginning to understand basic physics concepts.
Rubber Band Powered Boat STEM Activity
Positioning this challenge as a STEM (Science, Technology, Engineering, and Math) project elevates it from a simple craft to a powerful educational tool. It isn’t just about making something that floats; it’s about the engineering design process. For parents, teachers, and homeschoolers, this rubber band powered boat serves as a gateway to discussing how real-world machines work.
STEM skills developed during activity
When a child encounters a problem – perhaps their paddle boat is veering to the left or the rubber band keeps slipping – they are forced to engage in problem-solving. This project encourages:
- Design Thinking: Sketching a hull that reduces drag.
- Testing and Iteration: Trying a design, seeing it fail, and making it better.
- Fine Motor Skills: The delicate task of winding the elastic band and securing the propeller.
Ideal age groups and supervision tips
While this STEM activity is highly accessible, the level of adult involvement should vary:
- Ages 5-7: Will need help with cutting materials and securing the duct tape. Focus on the excitement of the movement.
- Ages 8-10: Can likely handle the build solo but may need guidance on the concept of potential and kinetic energy.
- Ages 11+: Encourage them to use different materials to optimize for speed or weight-bearing.
- Safety Note: Always supervise water play and be cautious with scissors or hobby knives.
Learning goals for kids
By the end of this experiment, students should be able to explain:
- Buoyancy: Why some materials float while others sink.
- Energy Storage: How twisting a rubber band stores energy.
- Newton’s Third Law of Motion: How the water being pushed back moves the boat forward.
Materials Needed for Rubber Band Powered Boat
You don’t need a trip to a specialty hobby shop to start this science project. Most of the components for a band paddle boat are already in your recycling bin.
Basic supplies list
- Rubber bands: Various sizes (thick ones provide more torque).
- Foam or Cardboard: For the boat’s hull.
- Craft sticks (Popsicle sticks): To create the frame for the paddle.
- Duct tape: Essential for waterproofing and assembly.
- Scissors: For shaping the hull.
- Small Propeller or Paddle: Often made from scraps of plastic or wood.
Recycled materials options
Using different materials is part of the STEM fun. Consider:
- Plastic containers: Margarine tubs or milk cartons.
- Bottle caps: Can be used as rudders or decorative elements.
- Food trays: Styrofoam trays from the grocery store are very buoyant.
Optional decoration supplies
Make the toy your own!
- Waterproof markers.
- Vinyl stickers.
- Plastic figures to act as “captains.”
| Material | Purpose | Why it works |
| Rubber Band | Engine | Stores elastic potential energy. |
| Duct Tape | Sealant | Keeps cardboard from getting soggy. |
| Styrofoam | Hull | High buoyancy-to-weight ratio. |
| Craft Sticks | Support | Provides a rigid structure for the band. |
How to Make Rubber Band Powered Boat
Follow this guide to make a rubber band boat that actually moves well!
Step 1: Boat base construction
Start by creating your hull. If using cardboard, cut a rectangle roughly 6 inches long and 4 inches wide. To ensure it survives the water, wrap the entire base in duct tape. If you’re using a plastic bottle, you already have waterproofing handled!
Step 2: Paddle or propeller setup
Cut two smaller rectangles (about 2×3 inches) from a plastic lid or sturdy cardboard. Notch them in the middle so they slot together to form a “plus” sign (+) shape. This is your paddle.
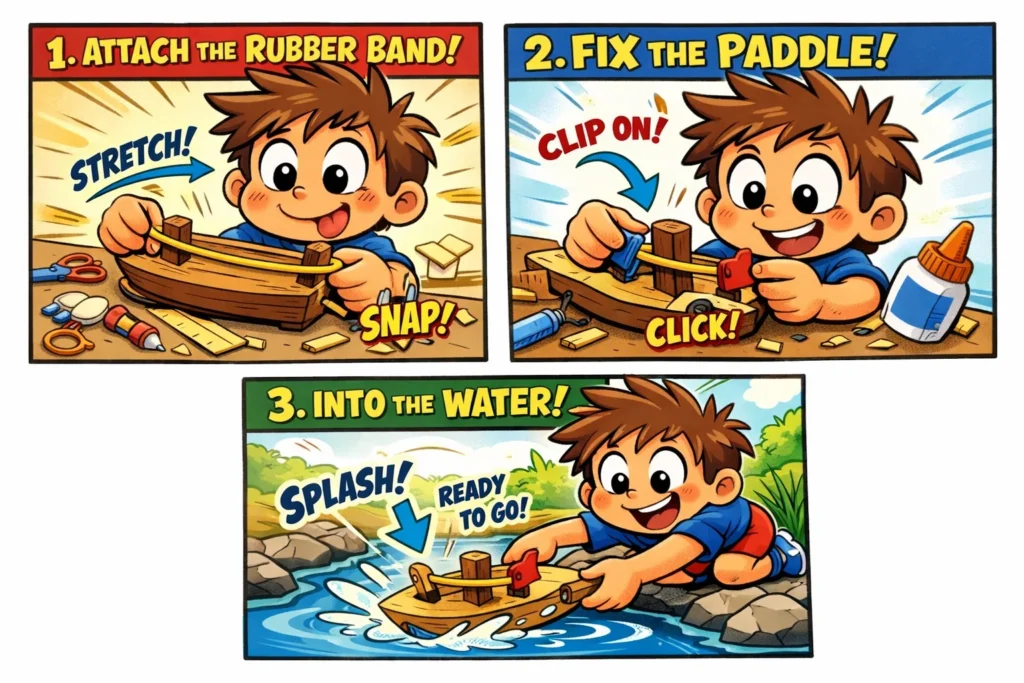
Step 3: Rubber band attachment method
Attach two craft sticks to the rear of your boat so they overhang the back like a fork. Stretch your rubber band across these two sticks. Slide your paddle into the center of the elastic band.
Step 4: Testing boat in water
Place your boat in a bathtub or basin. Twist the paddle backward repeatedly, winding the rubber band tightly. Hold the paddle, set the boat in the water, and let go!
Step 5: Adjustments for better movement
If the boat flips, it might be top-heavy. If the paddle hits the hull, you may need to extend your craft sticks further back. This iteration is the heart of the stem challenge.
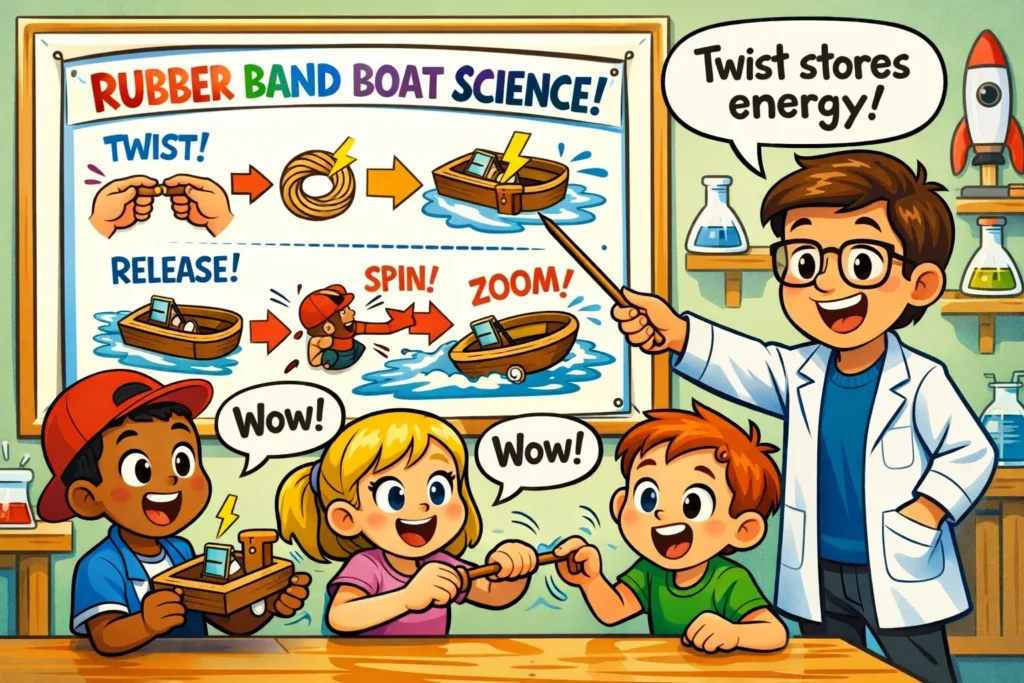
How Rubber Band Powered Boat Works
The physics behind a rubber band paddle boat is a perfect introduction to classical mechanics. It demonstrates action and reaction.
Stored energy in rubber band
When you twist the rubber band, you are performing work. This work is stored as potential energy (specifically elastic potential energy). The tighter the twist, the more energy is stored, similar to how a spring stores energy.
Energy transfer to motion
The moment you release the paddle, that potential energy converts into kinetic energy – the energy of motion. The propulsion occurs because the paddle pushes the water backward. According to Newton’s Third Law of Motion, for every action, there is an equal and opposite reaction.
The water pushes back on the paddle just as hard as the paddle pushes on the water.
Buoyancy and balance basics
For the boat to float, it must displace an amount of water equal to its own weight. If your boat is too heavy (perhaps you added too much duct tape), it will sit low in the water, increasing drag and slowing down your band powered vessel.
Boat STEM Challenge Ideas
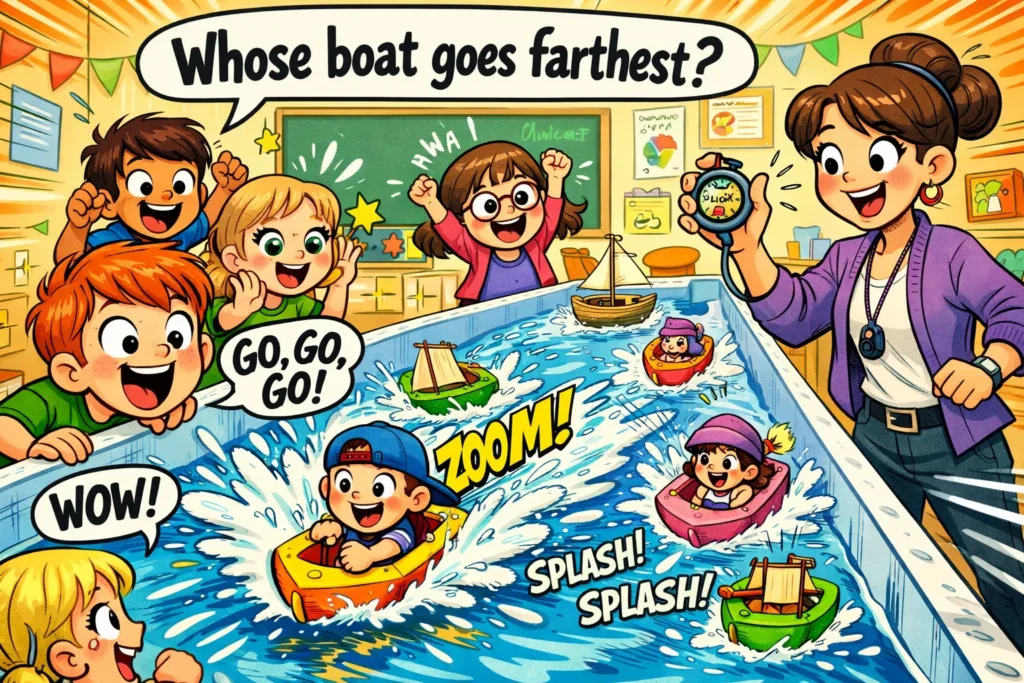
Once the basic diy rubber band boat is built, turn it into a competition!
Distance challenge
Who can make a rubber band boat that travels the furthest? This requires balancing the number of twists in the rubber band.
Speed challenge
Time the boats over a 3-foot “race track.” Kids will quickly learn that a sleek, narrow hull moves faster than a wide, bulky one.
Weight carrying challenge
How many pennies can your paddle boat carry before it sinks or the propeller stops turning? This introduces concepts of “load” and “capacity.”
Extension Activities
Recycled boats experiment
Have a “Recycling Bin Derby.” Compare a boat made of cardboard to one made of an empty soda bottle. Which material is more durable? Which is easier to modify?
Multi-paddle designs
What happens if you use two rubber bands and two paddles? Does it double the speed, or just double the weight? This is a great STEM fun activity for older kids.
Motorised boat comparison
If you have a small DC motor and a battery, compare the rubber band boat to a motorized one. Discuss why we use fuel or electricity for real ships instead of giant elastic bands.
Rubber Band Boat Science Facts for Kids
- History: The first paddle boat designs date back to Roman times, though early paddle systems were human- or animal-powered!
- Real-world engineering: Modern ferries often use “Voith-Schneider” propellers which are much more complex versions of our simple diy paddle.
- Physics in toys: Many classic toys, like balsa wood airplanes and wind-up cars, use the exact same rubber band propulsion principles.
Tips for Parents and Teachers
- Setup for classroom use: Divide students into “Engineering Firms.” Give each firm a budget of “Science Bucks” to buy different materials like extra rubber bands or stronger duct tape.
- Mess control tips: Keep plenty of towels nearby. If working indoors, a long plastic under-bed storage bin makes a great “test tank” that limits splashing.
- Encouraging creativity: Avoid giving a “perfect” template. Let the children fail early. The valuable learning often happens when the rubber band snaps or the boat sinks, and they have to figure out why.
FAQ Rubber Band Powered Boat Challenge
Check the paddle. If it’s hitting the sides of the boat, it can’t spin. Also, ensure the rubber band is twisted enough to provide propulsion. In some cases, the paddle might be too small to catch enough water.
Longer, thinner bands allow for more twists, which means a longer run time. Shorter, thicker bands provide more “burst” power but for a shorter duration.
The initial build usually takes 20–30 minutes. However, the stem challenges and experiments can easily fill an entire afternoon (1.5 to 3 hours).
This STEM activity works anywhere with still water. Indoors, use a bathtub. Outdoors, a calm pond or a rain gutter works wonders. Avoid moving rivers, as your toy might drift away!