How to Teach a Kid to Ride a Bike: 9 Easy Steps

 Discover a Free Education Video App for Kids
Pastory uses AI to personalize educational video content based on your child’s interests and personality. Safe, engaging, and built for curious young minds. Sign up now to stay updated and enjoy early access with a free trial
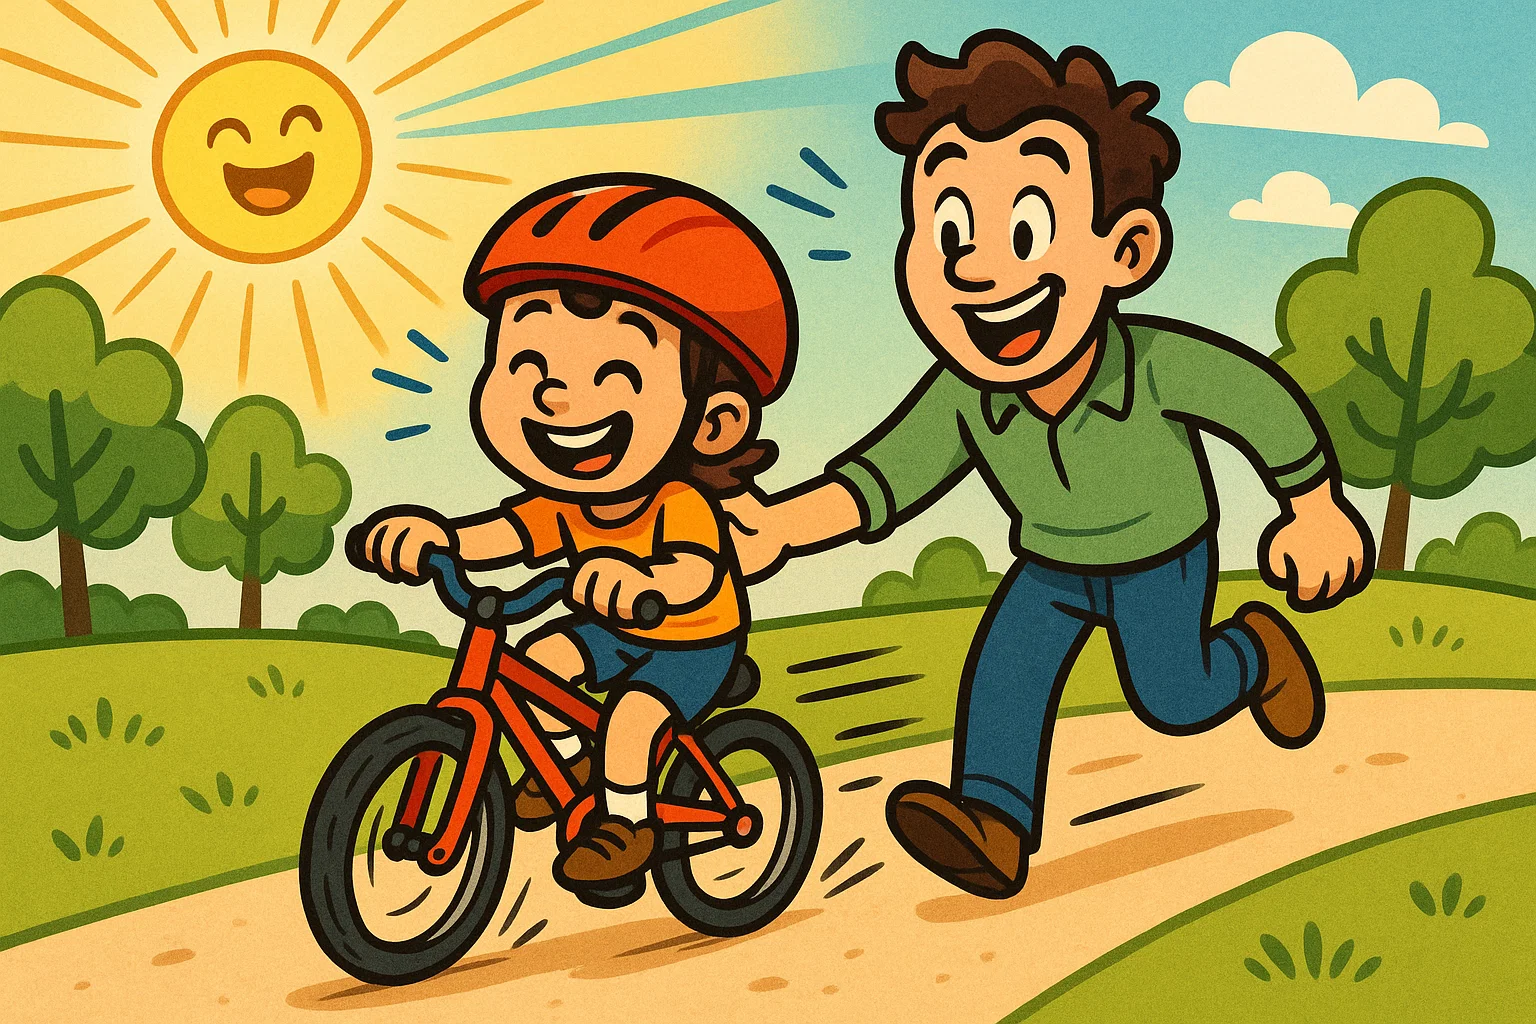
Learning to ride a bike is a major childhood milestone, but the process does not have to involve falls, scrapes, or tears. Teaching a kid to ride a bike is easiest when parents focus on balance before introducing the pedals. By separating steering and balance from pedaling, kids can build confidence safely before they start riding independently.
This comprehensive guide covers the essential preparation steps, including proper bike setup for kids или proper children’s bike setup and basic helmet safety guidelines. Parents will learn why the modern balance bike method is often a better starting point than traditional training wheels. The following sections provide a clear, step-by-step breakdown covering basic gliding drills, braking practice, tips for anxious kids, and troubleshooting when a child struggles to get the hang of riding.
Key Takeaways
- Prioritize Balance First: Remove the pedals to turn a standard bike into a temporary balance bike, helping the child learn to balance and steer before pedaling.
- Ensure Proper Bike Fit: A child should be able to sit on the bike and put both feet flat on the ground to stay in control during early lessons.
- Keep Sessions Short: Practice sessions should last between 10 and 20 minutes to prevent physical fatigue and emotional overwhelm.
- Teach Stopping Early: Show the child how to stop safely before adding speed.
- Select Flat, Open Spaces: Use smooth, paved surfaces like empty tennis courts or schoolyards to keep the lesson safe and minimize distractions.
Balance Comes Before Pedaling
Use the Balance Bike Method for Faster Success
The balance bike method is an effective way to teach a child to ride because it separates balance and steering from the more complex skill of pedaling. Children who start with a balance bike or a modified standard bike often need less practice before transitioning to independent riding than kids who start with training wheels.
A dedicated balance bike is designed without pedals or a drivetrain, allowing the child to focus on balance and steering. This helps kids build the core skill they need most before adding the extra challenge of pedaling.
Convert a Standard Kids’ Bike Easily
Parents do not need to buy a new bike if they already have a standard pedal bike. By taking the pedals off the child’s bike, parents can create a simple balance-bike setup.
This modification lets the child focus on balance and steering instead of trying to balance and pedal at the same time.
| Balance Bike Method | Traditional Training Wheels |
| Teaches balance immediately. | Can delay balance practice. |
| The child stops with their feet. | Can create a false sense of stability. |
| Faster transition to a standard bike. | Can create dependency on extra support. |
Proper Setup Prevents Frustration
Optimize Seat Height for Early Success
Before a child gets on the bike, parents should adjust the seat so the child can easily touch the ground. During the initial balancing phase, the child should be able to put both feet flat on the ground, which provides an immediate sense of security.
If the saddle is too high, the child may struggle to stabilize the bike, increasing anxiety and the risk of low-speed tip-overs.
Secure a Correctly Fitted Helmet
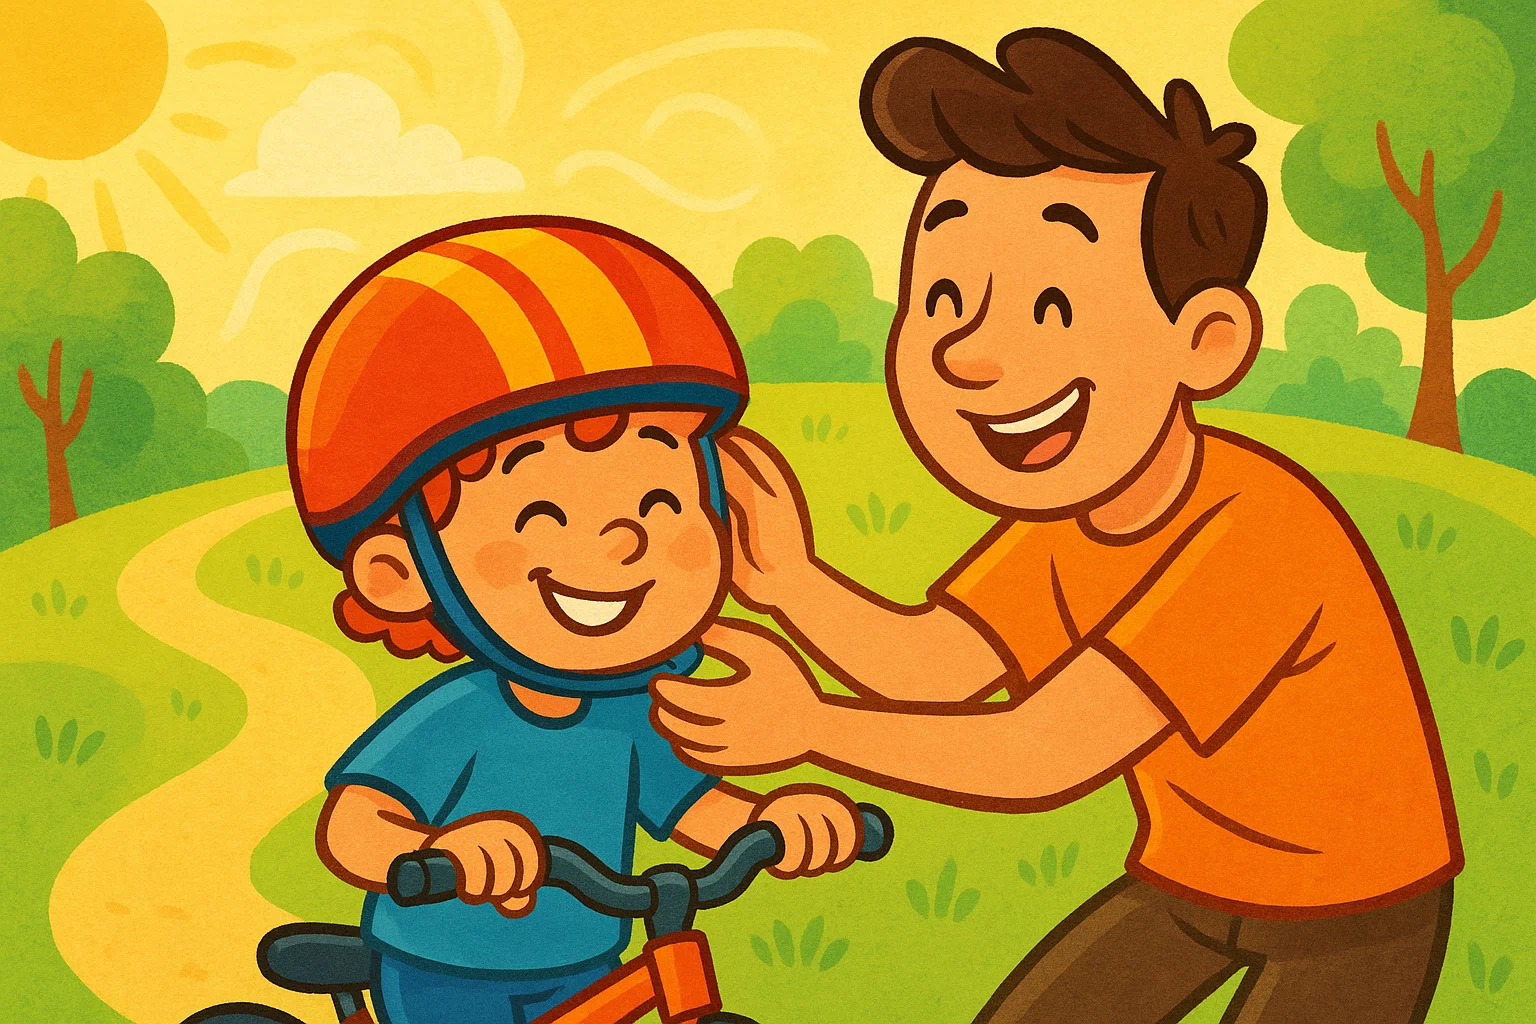
A properly fitted bike helmet can significantly reduce the risk of head injury in a fall or crash. The helmet must sit level on the forehead, approximately two finger-widths above the eyebrows, with the straps forming a clean “V” shape right beneath the earlobes.
Parents should make sure their child never rides without a properly fitted helmet fastened snugly under the chin.
Short Sessions Work Best
Limit Practice Time to Prevent Fatigue
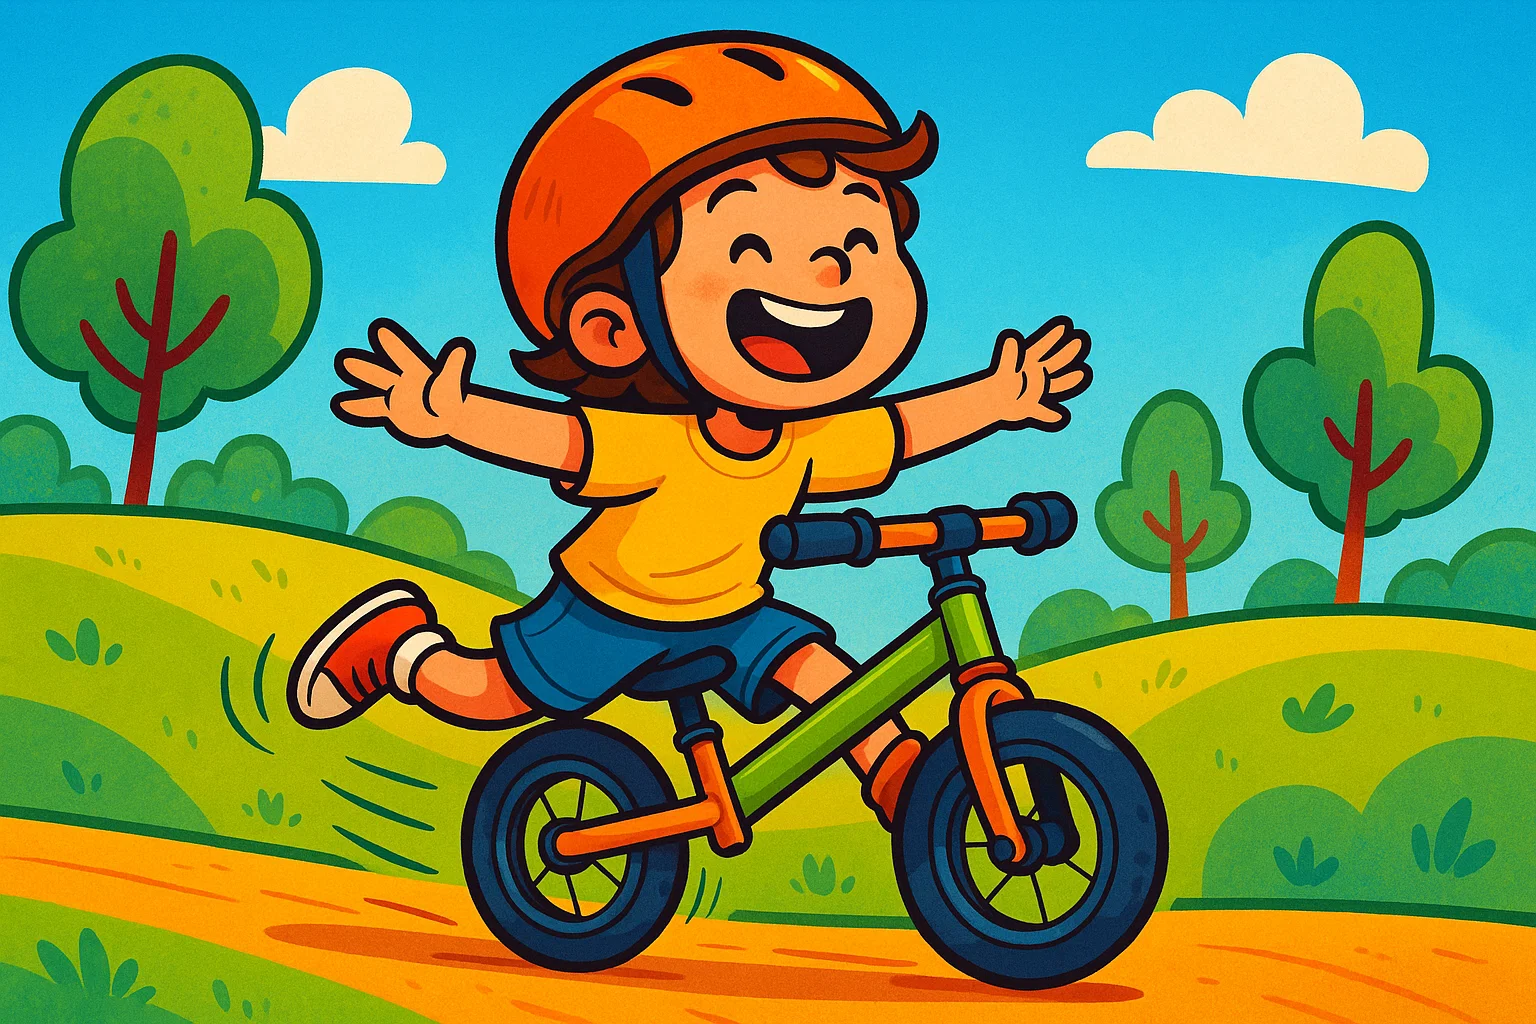
The cognitive load required to learn to ride a bike can quickly exhaust a young child’s attention span. Short practice sessions of 10 to 20 minutes are usually more effective than long, drawn-out lessons.
Short sessions help keep the experience fun and reduce the risk of fatigue or frustration.
End Each Session on a High Note
Parents should end the session soon after the child completes a successful glide or shows good control. Ending while the child feels proud creates a positive association and makes them more likely to want to try again the next day.
Braking Needs Separate Practice
Master Stopping Mechanisms Early
A child should know how to stop the bike safely before they try to ride forward. During the no-pedal stage, the child will stop mainly by putting their feet down. Once the pedals are reattached, parents should teach the child how the bike’s braking system works.
Whether the bike has hand brakes or a coaster brake, the child needs time to learn how the brakes feel and respond.
Implement Standstill Braking Drills
To build reliable muscle memory, parents can have the child sit on the saddle while the bike is stationary. Practice a simple verbal game in which the parent says “go” and then “stop,” prompting the child to squeeze the brake levers or press backward on a pedal if the bike has a coaster brake.
This repetition helps stopping become an automatic reflex when real momentum is added later.
What You Need Before Teaching a Kid to Ride
Right Bike Size
Selecting an appropriately sized kids’ bike is one of the most important factors in a safe learning process. The bicycle industry categorizes youth frames by wheel diameter, such as 12-inch, 14-inch, or 16-inch wheels, rather than frame height.
A child should be able to stand over the frame with about 1 to 2 inches of clearance and comfortably grip the handlebars without fully stretching their arms.
Safety Warning: Never purchase an oversized bicycle for a child to “grow into.” An oversized frame impairs steering, slows braking reaction time, and significantly reduces a child’s confidence.
Helmet, Shoes, and Gloves
Proper personal protective equipment goes beyond the basic bike helmet. Children practicing on bicycles should always wear sturdy, closed-toe shoes that offer good traction against the pavement or pedals.
Lightweight cycling gloves can protect sensitive hands from abrasions during minor tumbles, while close-fitting clothing prevents fabric from getting caught in moving chains or wheels.
Safe Practice Area
The best practice area is large, flat, paved, and away from cars and heavy foot traffic. Good options include an empty tennis court, a schoolyard on the weekend, an empty parking lot, or a very gentle, smooth slope.
Avoid areas with loose gravel, deep cracks, steep hills, or nearby distractions that could break the child’s focus.
Tools for Pedal Removal
To convert a standard pedal bike into a balance-bike setup, parents typically need a 15 mm pedal wrench.
| Pedal | How to Remove It |
| Right pedal | It has a standard right-hand thread; turn it counterclockwise to remove it. |
| Left pedal | It has a reverse left-hand thread; turn it clockwise to remove it. |
Best Age for a Kid to Learn to Ride a Bike
Average Age to Ride Without Training Wheels
While there is no single required age, most kids learn to ride without training wheels sometime between ages 3 and 6. Children who use a balance bike as toddlers are often ready to transition to a standard pedal bike around age 5.
Readiness Signs
Physical and behavioral signs are often a better measure of biking readiness than age alone. Parents should look for the following developmental milestones:
- The ability to run, jump, and skip with good coordination.
- A strong capacity to follow multi-step spoken instructions.
- A clear interest in riding and a willingness to try.
- Enough hand strength to squeeze the brake lever, if the bike has hand brakes.
Learning Time Expectations
The time required to fully master balance and begin pedaling independently varies widely from child to child. Some kids combine all the skills in a single 30-minute session, while others need several weeks of short, consistent practice sessions.
Prior experience with a balance bike or scooter can significantly shorten the final learning time.
Before Teaching a Kid to Ride
Adjust Seat Height
At the start of the balancing phase, loosen the seat post collar and lower the saddle until the child’s feet rest completely flat on the ground while they are seated. This low position minimizes the distance to the ground and provides maximum stability.
Once the child can confidently glide with their feet up, raise the saddle slightly so their legs can extend properly during the pedaling phase.
Check Brakes and Tires
Do a quick pre-ride safety check before each lesson. Ensure that the tires are inflated to the recommended PSI shown on the sidewall, the chain moves freely, the handlebars are aligned with the front wheel, and the brakes stop the wheels firmly when engaged.
Remove Distractions
Choose an isolated environment for the lesson to give your child the best chance to focus. Avoid busy community parks, areas where older siblings are racing around on scooters, or high-pressure audiences.
Eliminating outside distractions allows the child to focus entirely on the physical feedback of the bicycle.
Set a Lesson Goal
Establish a clear, modest goal before the first lesson. The goal for day one should not be a long independent ride. Instead, focus on simple milestones like “walking the bike for 50 feet” or “gliding with feet up for three seconds.”
Breaking the process into tiny, achievable steps keeps frustration at bay.
Step 1: Remove the Pedals and Create a Balance Bike
Remove the Pedals Safely
Use a 15 mm wrench to carefully remove both pedals from the crank arms. Place the pedals in a labeled bag, noting which one belongs on the left side and which belongs on the right, so they can be reinstalled quickly later.
| Pedal Removal Quick Reference | Direction to Loosen |
| Right pedal, drive side | Turn counterclockwise to loosen and remove. |
| Left pedal, non-drive side | Turn clockwise to loosen and remove. |
Leave the Crank Arms On
You do not need to extract the entire bottom bracket assembly or remove the metal crank arms. The crank arms can stay on the bike while the pedals are removed.
Although they may spin slightly as the child moves, they should not interfere with the child’s ability to move their legs while walking.
Lower the Seat for Full Foot Contact
Double-check that the saddle height allows the child to comfortably reach the ground with both feet completely flat. This setup allows the standard bicycle to function like a simple balance bike, creating a strong foundation for the lessons ahead.
Step 2: Walk the Bike While Seated
Start With Slow Walking
Ask your child to walk forward while staying seated on the saddle. The parent should walk alongside the child, offering reassurance without grabbing the handlebars or pulling the bike off line.
Practice Steering Around Cones
Set up soft plastic cones, colorful chalk marks, or small toys about 6 feet apart on the pavement. Encourage your child to gently steer the bike around these markers in a fluid zigzag pattern.
This simple game teaches them how small handlebar movements change the bike’s direction.
Teach Stopping With Feet
As the child moves forward, call out a gentle “stop” command and ask them to bring the bike to a complete halt using only the soles of their shoes against the pavement.
This helps them understand that they can control their speed and stop whenever they need to.
Step 3: Run, Glide, and Coast
Build Speed Gradually
Once the child can walk the bike smoothly, encourage them to take longer, more powerful strides to build forward momentum.
A bicycle becomes easier to balance once it has a little forward motion because small steering corrections become more effective.
Use a Gentle Slope
Find a very gentle, smooth incline, such as a paved driveway or a very gentle paved slope that flattens out safely at the bottom.
Have the child lift their feet just an inch off the ground and glide down the slope so they can feel what independent balance is like.
Master Long Glides Before Pedals
Do not rush to reattach the pedals too early. The child should be able to glide consistently for 5 to 10 seconds, steer through gentle turns, and stop smoothly before you reattach the pedals.
Step 4: Put the Pedals Back On
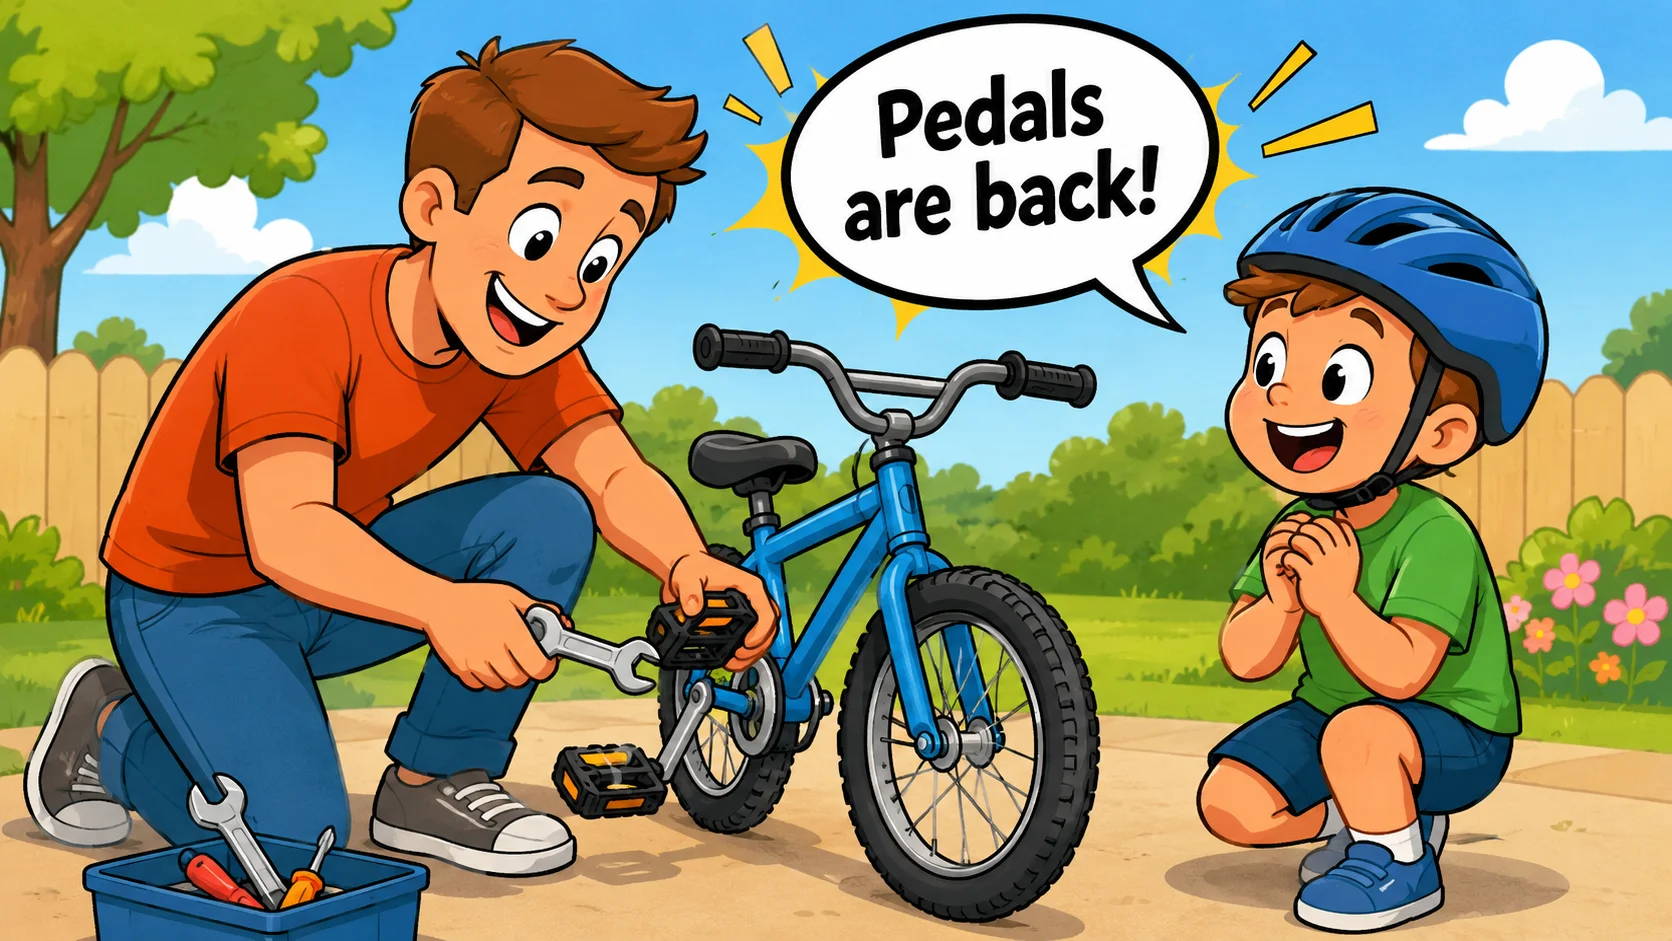
Reinstall the Pedals Correctly
Once the child has mastered balance, use a wrench to thread the pedals back into their respective crank arms. Apply a small drop of bicycle grease to the threads, then tighten the right pedal clockwise and the left pedal counterclockwise until they sit flush against the crank arms.
Raise the Saddle Slightly
With the pedals back in place, raise the bike seat just enough so the child can touch the ground with the balls of their feet rather than their entire flat foot.
This minor adjustment gives their knees a more efficient angle for pedaling while keeping them low enough to feel secure.
Review Brake Use
Before the child starts riding with the pedals reattached, have them stay still and practice squeezing the brake levers or engaging the coaster brake.
Remind them that dragging their shoes is no longer the primary way to stop the bike.
Step 5: Start With One Foot Ready
Place the Stronger Foot on the Pedal
Position the pedal on the child’s stronger-foot side at the two o’clock position, angled up and slightly forward. Have the child place their stronger foot on the pedal, ready to push down and create the first bit of forward momentum.
Push the Ground With the Other Foot
Ask your child to perform a scooter-style launch. They should push off the ground with their other foot while pressing down on the raised pedal.
This action closely mirrors the gliding drills they have already practiced.
Keep Eyes Forward
Children often look down at their feet, the pedals, or their parent’s hands, which makes balancing harder.
Ask them to keep their head up and focus on a distant target, such as a tree, a bright cone, or a chalk line drawn 20 feet ahead.
Step 6: Pedal Forward With Momentum
Avoid Holding the Handlebars
When parents grip the handlebars tightly, they prevent the child from learning how to make the small adjustments needed for natural balance.
If physical assistance is needed, lightly support the child under the arms or at the shoulders, and avoid steering for them.
Encourage Smooth Pedal Circles
Children learning to ride often push down on one pedal and then stop, causing the bike to lose momentum and tip over.
Use rhythmic verbal cues like “push, push, push” or “circle, circle, circle” to encourage continuous, fluid leg rotations.
Let the Bike Wobble Slightly
A small amount of wobbling is completely normal as a child develops new balance skills. Parents should stay calm, walk closely alongside the rider, and avoid grabbing the bike unless a fall is imminent.
Step 7: Teach Braking and Stopping
Practice the Stop Drill
Design a simple “Stop and Start” challenge on the pavement. Have your child start, pedal forward for about 10 feet, come to a controlled stop with the brakes, put their feet down, and repeat the process.
Continue this drill until the transition from riding to stopping becomes fluid and automatic.
Hand Brakes
If the child’s bike has hand brakes, teach them to apply gradual, even pressure rather than grabbing the brakes suddenly.
Warn them not to grab the front brake too hard by itself, as sudden front braking can cause the front wheel to skid or lock up.
Coaster Brakes
A coaster brake requires the child to pedal backward to slow the bicycle down. Because pedaling backward activates the brake, explain that the child cannot freely spin the pedals backward to adjust their foot position while coasting.
This can feel confusing at first, so give the child plenty of slow, low-pressure practice.
Emergency Stop Cue
Choose a clear safety command, such as “Stop now!” Practice it in a controlled environment so your child knows exactly what to do when they hear it.
Step 8: Practice Turning and Control
Wide Turns First
Begin turning practice by having the child ride in large, sweeping circles or gentle figure-eight patterns.
Avoid tight corners at first, as turning too sharply at low speeds can cause the bike to slow suddenly and tip inward.
Cone Course
Arrange a winding slalom course using soft cones, plastic bottles, or chalk drawings. Turning the practice into a game shifts the child’s focus from fear of falling to navigating the course.
Slow Riding Challenge
Riding very slowly requires more balance and steering control than riding at a comfortable pace. Once your child is confident, challenge them to a friendly “slow race” to see who can ride a straight line the slowest without putting their feet down.
Step 9: Build Confidence on Short Rides
Choose the First Traffic-Free Route
Move from open parking lots to traffic-free greenways, quiet park paths, or other protected riding areas.
Make sure the route is free of cars, steep drops, and heavy crowds until the child can reliably start, stop, turn, and brake.
Ride Beside Your Child
During these first real-world rides, parents can ride their own bike or jog slightly behind and to the side of the child.
This positioning allows you to give clear directional cues well in advance, rather than shouting confusing instructions at the very last second.
Celebrate Progress
Positive reinforcement builds lasting self-esteem and an enduring love for cycling.
Praise the child’s specific efforts, such as a smooth stop, a good line through a turn, or steady balance, rather than focusing only on perfect performance.
How to Help a Kid Who Can’t Pedal Forward
Practice Pedaling Off the Bike
If a child can balance well but struggles with the circular motion of pedaling, let them practice on a stationary bike trainer or with an adult safely stabilizing the bike.
This lets the child practice the pedaling motion without the added pressure of balancing at the same time.
Use Training Wheels Only as a Short-Term Pedaling Aid
While training wheels are not ideal for teaching balance, they can be used briefly to help a child understand the pedaling motion.
If you use training wheels for pedaling practice, keep it brief: let the child pedal on a flat surface for a few minutes, then remove them and return to balance practice.
Use Gentle Adult Support
Walk alongside the bicycle and, if needed, gently guide the child’s knee or the pedal through the full circular motion. This hands-on guidance helps them understand how much force to apply during the downstroke.
Switch Back to Gliding
If combining pedaling and balancing proves too frustrating, simply remove the pedals again and return to the gliding phase for another session.
It is perfectly fine to step back and strengthen the basics before trying the pedals again.
Tips for Teaching an Anxious Kid to Ride a Bike
Stay Positive
A parent’s tone sets the mood for the entire lesson. Avoid showing frustration, shouting, or comparing your child’s progress with siblings or peers.
A calm, encouraging demeanor lowers stress levels and helps anxious children feel safe.
Set Realistic Expectations
Every child develops physical skills at their own pace. Break the learning process into small, manageable goals and celebrate every win, even if it is simply putting on safety gear without hesitation.
| Anxious Rider Progression Roadmap | Goal |
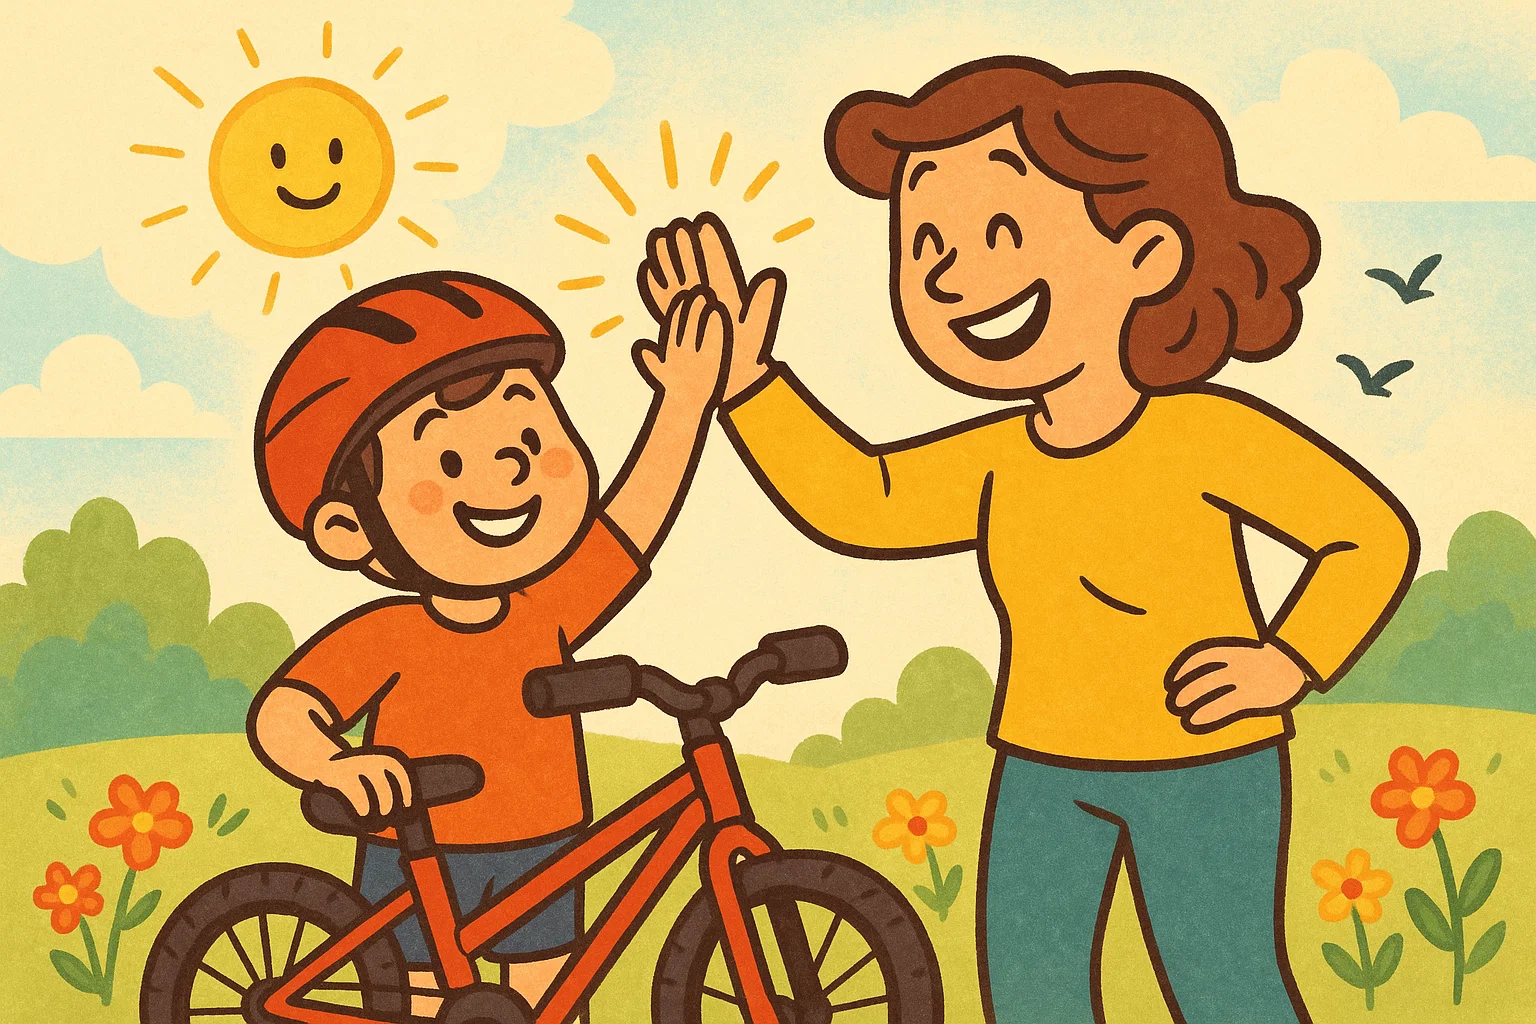
| Step 1 | High-five for wearing the helmet and sitting on the saddle. |
| Step 2 | Comfortable walking and steering with feet flat on the ground. |
| Step 3 | Brief two-second glides down a very gentle slope. |
| Step 4 | Independent pedaling over short distances with a parent nearby. |
Set Limits, Not Deadlines
Avoid setting rigid timelines like “you must learn to ride before school starts.” Instead, set clear, low-pressure limits, such as ending the practice session after 15 minutes or after five successful glides, whichever comes first.
Use Positive Self-Talk
Encourage anxious children to replace fearful thoughts with simple, empowering phrases. Have them say things aloud like “I am in control,” “I know how to use my brakes,” or “It is okay to put my feet down whenever I want.”
Add Small Incentives
Use small, low-pressure rewards to keep motivation high. A simple sticker chart, a special trip to a favorite neighborhood playground, or a family picnic along the practice path can provide encouragement without forcing the child to take unnecessary risks.
Stop Before Frustration Builds
Always wrap up the practice session while the child is still having fun or feeling stable.
Forcing an exhausted or overwhelmed child to keep riding can undermine their confidence and create a lasting fear of the bicycle.
Common Mistakes When Teaching a Kid to Ride a Bike
Starting With a Bike That Is Too Big
Using an oversized frame is one of the most common mistakes parents make. A large bicycle prevents the child from reaching the ground securely, changes the rider’s center of gravity, and makes the bike feel too heavy and intimidating to control.
Holding the Bike Too Tightly
When a parent holds onto the saddle or handlebars tightly, they prevent the bike from leaning naturally.
The child relies entirely on the parent’s support instead of developing the core balance reflexes needed for independent riding.
Rushing the Pedals
Reattaching the pedals before the child can easily glide and coast safely sets them up for failure. Without a solid foundation of balance, trying to pedal will usually lead to tip-overs, frustration, and a loss of confidence.
Practicing in the Wrong Place
Thick grass, bumpy gravel paths, crowded sidewalks, and steep hills are poor environments for beginners. These surfaces make rolling difficult, create unpredictable steering jolts, and increase the likelihood of unexpected falls.
Turning the Lesson Into a Test
Treating a bike lesson like a test creates performance anxiety. Avoid applying pressure. Instead, frame the process as a fun game focused on exploring movement and learning new skills together.
Healthy Riding Habits After Your Kid Learns
Regular Short Rides
To lock in your child’s new skills, plan frequent, short bike rides around the neighborhood or local parks. Consistent practice over several weeks helps build muscle memory and sharper handling skills.
Teach Basic Road Safety
As your child moves beyond basic practice areas, start introducing fundamental traffic safety rules. Teach them to come to a complete stop at intersections, look both ways before crossing, use a bell or voice to alert pedestrians when appropriate, and follow adult instructions.
Family Bike Routine
Incorporate cycling into your regular family lifestyle by organizing weekend bike rides, riding together to school, or taking the bikes on quick errands when paths are safe.
Making cycling a shared family activity helps turn it into a healthy, fun, lifelong habit.
Frequently Asked Questions
What is the easiest way to teach your child to ride a bike?
The easiest way to teach your child to ride is to focus on balance before pedaling. Start by lowering the seat and turning a standard bike into a bike without pedals. This lets the child push off the ground with their feet, glide, steer, and stop before adding the extra challenge of pedaling. Once the child is comfortable balancing and steering, you can put the pedals back on and help them move the bike forward with smooth, steady pedal strokes.
How do I know when my child is ready to ride a bike?
A child is ready when they can follow simple instructions, walk or run with good coordination, and show interest in learning how to ride. They should also be able to sit on the bike and touch the ground with their feet. Make sure your child is not too tired, scared, or pressured. A little one who feels safe and curious will usually learn faster than a child who feels rushed.
Can a balance bike help my child learn faster?
Yes. A balance bike is a bike without pedals, designed to help a child focus on balance and steering first. It allows kids to practice the balance aspect of riding without worrying about pedaling at the same time. If you do not own a balance bike, you can take the pedals off a standard kids bike and use it like a balance bike for the first stage of practice.
Should I use a bike with pedals right away?
It is usually better not to start with a bike with pedals right away. Many beginners struggle because they are trying to balance, steer, pedal, and brake all at once. A better method to teach a child to ride is to begin with the pedals removed. Once the child can glide, steer, and stop with confidence, the bike with pedals becomes much easier to handle.

Take a short quiz to find out what your everyday choices say about your parenting style
When your child is curious about something new, what’s your instinct?
Take a short quiz to find out what your everyday choices say about your parenting style
“Can I download this app?” What happens next?
Take a short quiz to find out what your everyday choices say about your parenting style
When it comes to rules at home, which sounds most like you?
Take a short quiz to find out what your everyday choices say about your parenting style
If you could give your child one life skill today, what would you pick?
Take a short quiz to find out what your everyday choices say about your parenting style
Your child gets to choose what to watch. What would your ideal setup look like?
Take a short quiz to find out what your everyday choices say about your parenting style
Pick your parenting superpower ✨