15 Science Project Ideas and Experiments for Class 3

 Discover a Free Education Video App for Kids
Pastory uses AI to personalize educational video content based on your child’s interests and personality. Safe, engaging, and built for curious young minds. Sign up now to stay updated and enjoy early access with a free trial

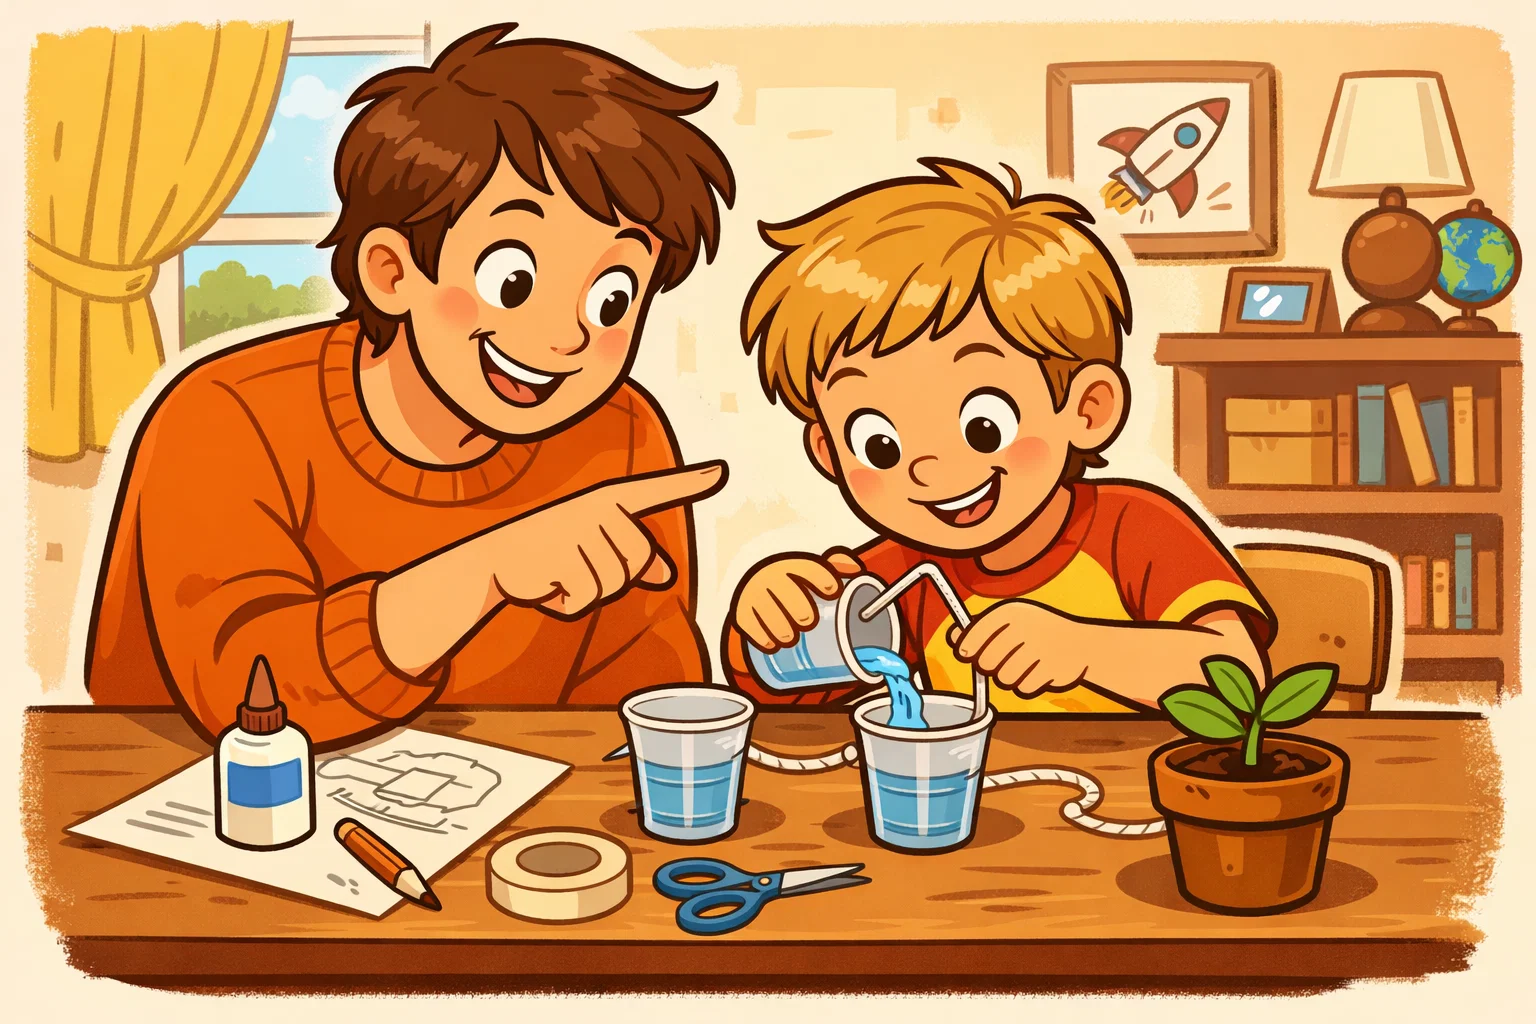
Doing a science project is an important learning milestone for a student in Class 3. At this stage of learning, a child transitions from simple observation to active experimentation. This guide offers a list of easy science activities and project ideas designed for 8-year-olds. Whether you need a science project for a school assignment, homework, or a science fair, these ideas focus on safe materials, engaging results, and clear scientific concepts. Each experiment is designed to help Class 3 students explore STEM through simple steps and easy-to-find materials.
Get Inspired Before Starting
Starting a science project should feel like an adventure rather than a chore. For a class 3 student, the best science comes from curiosity about everyday objects. When a child asks a question like “Why is the sky blue?” or “How do plants drink water?”, they are already practicing the scientific method. Seeing a simple chemical mixture change color can create a ‘wow’ moment that builds lasting interest in learning. Even a simple activity can become a strong science fair project when it is presented clearly and driven by curiosity.
Why Fun Science Projects Work for Class 3
Class 3 is an ideal stage for science learning because children have the fine motor skills to handle materials and still bring strong natural curiosity to each activity. Science experiments at this age provide immediate visual results, which are essential for maintaining focus. Hands-on learning helps children build observation, comparison, and communication skills because it requires them to describe what they see and explain what happened. These projects turn abstract concepts into hands-on experiences children can explore for themselves.
How to Choose the Right Project
Selecting the right project involves balancing the student’s interest with practical constraints. Parents and teachers should consider the following criteria:
- Topic Interest: Does the child prefer biology (plants/animals), physics (motion/magnets), or chemistry (mixtures)?
- Time: Some science experiments are quick (10 minutes), while others, like plant growth, take a week.
- Environment: Is there enough space for a messy liquid experiment, or is a paper-based model better?
- Safety: Ensure all materials are non-toxic and manageable for a child.
Best Project Types for Home, School, Science Fair
Different settings call for different types of science projects:
- Home Projects: These work best with simple household materials such as salt, vinegar, or baking soda. These are great for exploring without a deadline.
- Classroom Demos: These should be quick, highly visual, and easy to perform in front of a group.
- Science Fair Displays: These usually include a model or demonstration, a short write-up of the results, and a poster explaining the scientific method.
What Makes a Good Science Project for Class 3
A successful science project for younger students isn’t about complexity; it’s about clarity. The goal is for the student to understand the “why” behind the experiment.
Safe Materials List
For Class 3 students, safety should always come first. Stick to common household items:
- Liquids: Water, vegetable oil, fruit juice, or soda.
- Solids: Sugar, salt, baking soda, and seeds.
- Tools: Paper cups, plastic spoons, magnets, and flashlights.
- Stationery: Cardboard, paper, tape, and crayons.
Avoid heat, harsh chemicals, or sharp glass to ensure a safe environment.
Clear Results Kids Can See
A strong science project should include a visible change. This could be a color change in a mixture, a ball changing speed due to air resistance, or a seed sprouting a root. When a child can physically see what happens, the concept sticks. Measurable results (e.g., “The plant grew 2 cm”) help students learn how to record data.
Short Setup and Easy Cleanup
High-quality learning shouldn’t require hours of prep. The best science activities for elementary school involve materials that can be gathered in five minutes. Easy cleanup is also an educational opportunity; it teaches responsibility and organization. Using trays or newspapers to catch spills keeps the activity simple and low-stress.
A Simple Science Idea Behind the Project
Every experiment should answer one question. Instead of trying to explain global warming, focus on “How does heat affect ice?” A single, simple concept allows the student to write a clear conclusion and feel confident during their presentation.
Quick Parent Note
How Much Help Parents Should Give
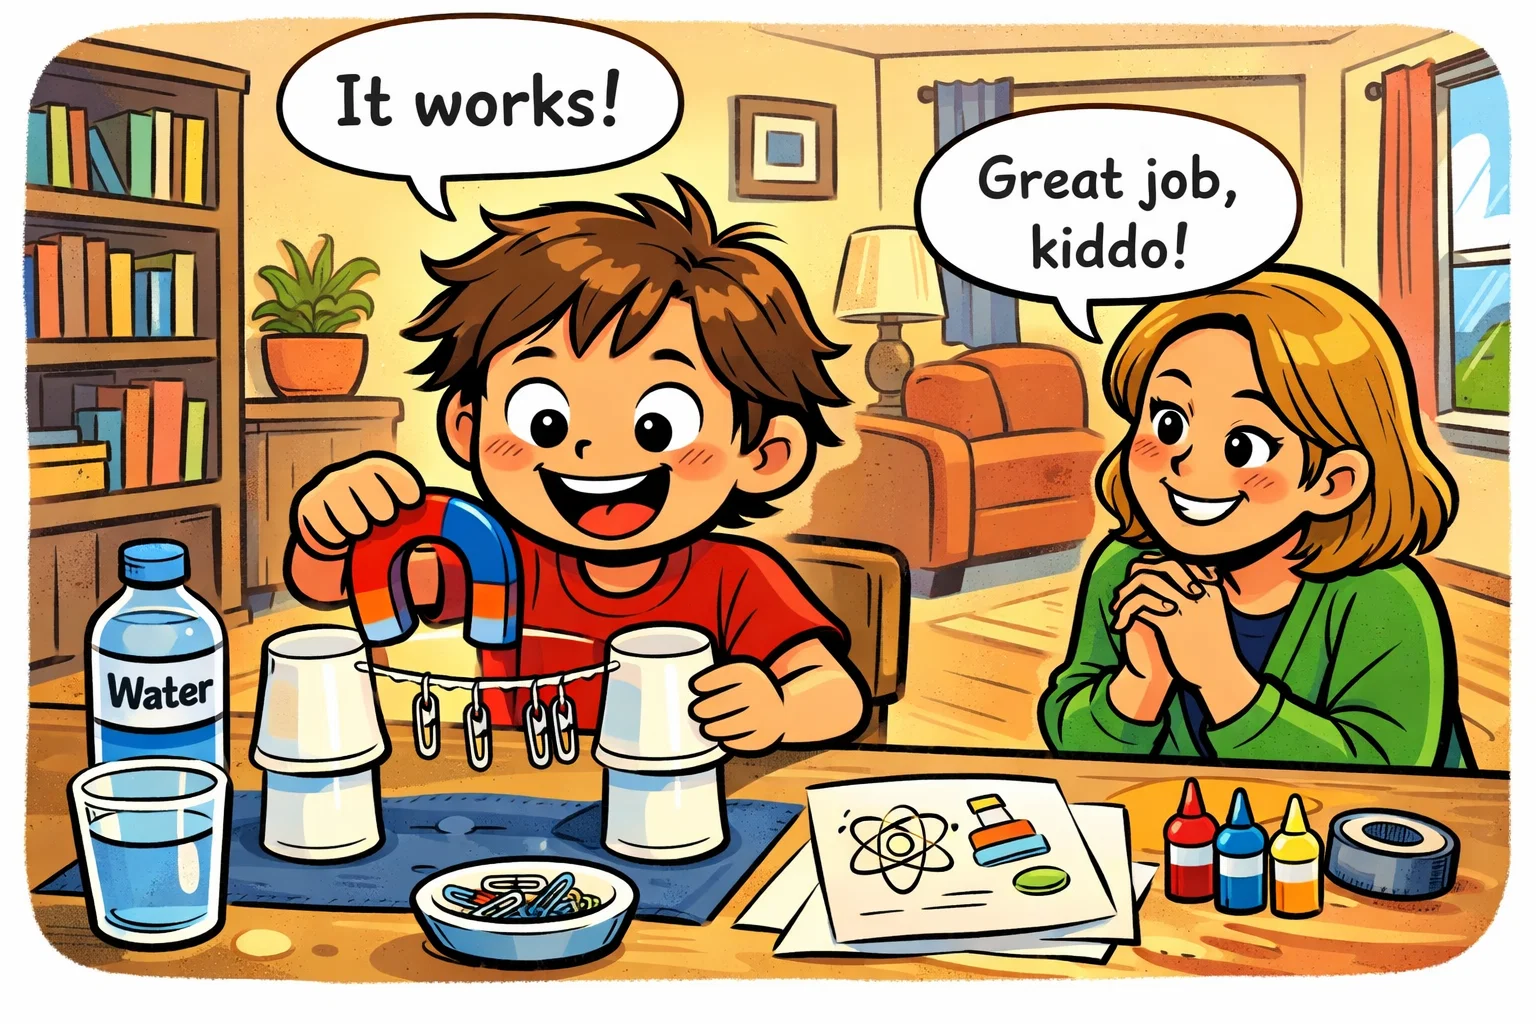
The parent’s role is to be a “lab assistant,” not the lead scientist. Adults should handle tasks such as cutting thick cardboard and closely supervising any chemical mixtures. However, the student should be the one to perform the steps and describe the result. This builds a sense of ownership and pride.
Safety Check Before Starting
Before you begin, establish a safe workspace.
- Clear a flat surface, such as a table or countertop.
- Have towels or paper napkins ready for spills.
- Make sure the child is wearing old clothes or an apron.
- Check that all materials are non-toxic.
How to Keep Project Child Led
To encourage critical thinking, ask open-ended questions:
- “What do you think will happen if we add more water?”
- “Why do you think the color changed to brown?”
- “How can we test if this object is magnetic?”
Letting the child lead the discovery process fosters a growth mindset.
15 Easy Science Project Ideas for Class 3
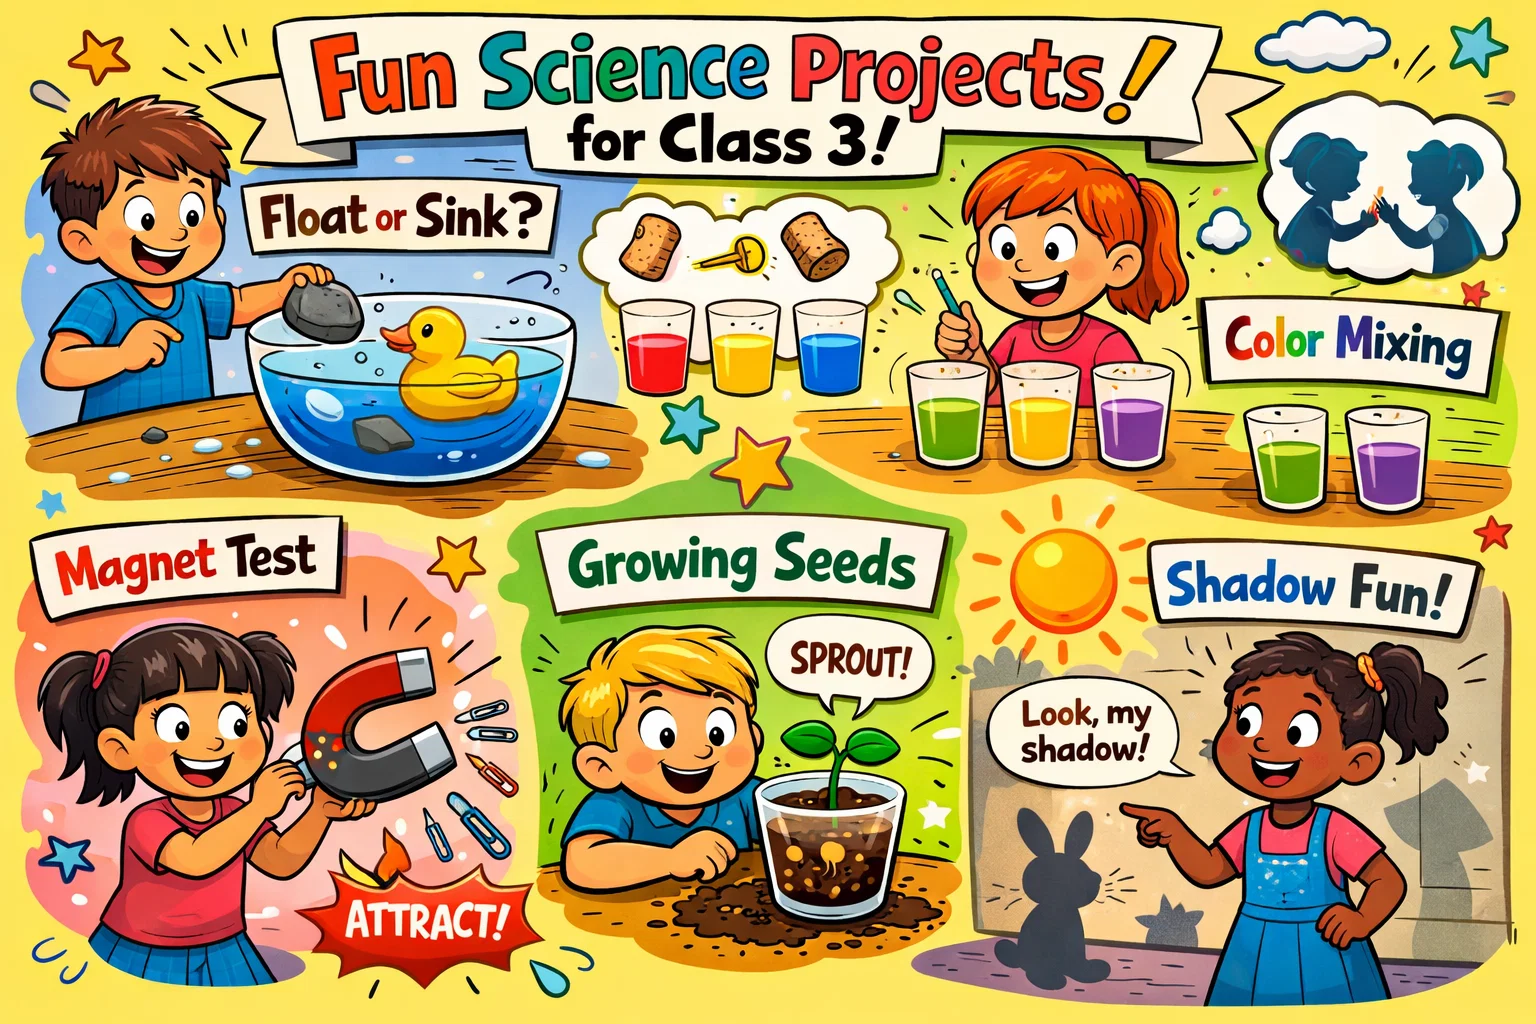
1. Floating and Sinking Experiment
Concept: Buoyancy using everyday household objects.
- Materials: A large bowl of water, a metal spoon, a plastic toy, a grape, and a cork.
- Steps: Fill the bowl with water. Predict which objects will sink or float. Drop them in one by one.
- What Happens: Some objects sink and others float, depending on their density and shape.
- Why it Happens: This experiment shows buoyancy and density. Objects that are denser than water usually sink, while objects that are less dense or trap air may float.
- Presentation Tip: Create a table labeled “Sink” and “Float” to show your results.
2. Air Takes Space Experiment
Concept: Air takes up space.
- Materials: A clear glass, a large bowl of water, and a crumpled piece of paper.
- Steps: Stuff the paper into the bottom of the glass. Turn the glass upside down and push it straight down into the water.
- What Happens: The paper stays dry even though the glass is underwater.
- Why it Happens: The air trapped inside the glass takes up space, so the water cannot move in and soak the paper.
- Presentation Tip: Use dry paper and wet paper to show the difference.
3. Simple Electric Circuit Project
Concept: A simple electric circuit.
- Materials: A D-cell battery, a small flashlight bulb or LED, and two pieces of wire.
- Steps: Connect the wires to the two ends of the battery and touch the other ends to the bulb’s contacts to complete the circuit.
- What Happens: The bulb lights up.
- Why it Happens: This creates a complete circuit, allowing electricity to flow from the battery through the bulb.
- Presentation Tip: Draw a diagram of the “flow” of electricity for your poster.
4. Shadow Size Investigation
Concept: Light and shadow.
- Materials: A flashlight and a small toy ball.
- Steps: Shine the light on the ball against a wall. Move the light closer, then further away.
- What Happens: The shadow gets larger as the light gets closer.
- Why it Happens: Moving the light source changes the size and shape of the shadow.
- Presentation Tip: Trace the different sizes of shadows on a piece of paper.
5. Growing Seed in Cotton
Concept: Seed germination and plant growth.
- Materials: Clear plastic cup, cotton balls, and bean seeds.
- Steps: Wet the cotton balls and place them in the cup. Put a seed against the side of the cup and place the cup in a sunny spot.
- What Happens: Within days, a root appears, followed by a green sprout.
- Why it Happens: The seed uses stored energy and water to begin its life cycle.
- Presentation Tip: Keep a “Growth Journal” to record the height every day.
6. Color Mixing Magic
Concept: Secondary color formation experiment.
- Materials: Five clear cups, water, food coloring (red, blue, yellow), and paper towels.
- Steps: Place five cups in a row. Fill the first, third, and fifth cups with water. Add red to the first cup, blue to the third, and yellow to the fifth, leaving the second and fourth cups empty. Bridge each pair of cups with folded paper towels.
- What Happens: The water “walks” over the towels and creates purple and green in the gaps.
- Why it Happens: Capillary action pulls the water through the paper towels, and the colors mix when they meet in the empty cups.
- Presentation Tip: Take photos of the color change every hour.
7. Sound Vibration Test
Concept: Sound waves and physics activity.
- Materials: A plastic bowl, plastic wrap, and dry rice.
- Steps: Stretch the wrap tightly over the bowl. Sprinkle rice on top. Speak loudly, clap, or hum near the bowl.
- What Happens: The rice grains jump and move.
- Why it Happens: Sound travels in waves that cause the plastic wrap to vibrate.
- Presentation Tip: Try different volumes of sound to see which makes the rice jump highest.
8. Mini Water Filter Model
Concept: Environmental science filtration model.
- Materials: A plastic bottle (cut in half), cotton, sand, and gravel.
- Steps: Layer cotton, sand, and gravel in the top half of the bottle. Pour dirty water through.
- What Happens: The water comes out clearer at the bottom.
- Why it Happens: Different layers trap different sizes of dirt and particles.
- Presentation Tip: Add a safety note explaining that the filtered water is for observation only and should not be drunk.
9. Magnet Attraction Test
Concept: Magnetism.
- Materials: A strong magnet and various objects, such as a paper clip, a steel screw, a plastic toy, and a wooden block.
- Steps: Touch the magnet to each item and record if it sticks.
- What Happens: Only some metal objects, especially those made of iron or steel, will stick.
- Why it Happens: Magnets attract certain metals, especially iron and steel.
- Presentation Tip: Use a “Yes/No” chart to display your results.
10. Apple Browning Test
Concept: Oxidation chemistry experiment.
- Materials: An apple, lemon juice, and water.
- Steps: Cut the apple into three slices. Leave one plain, dip one in water, and one in lemon juice.
- What Happens: The plain slice turns brown first, while the lemon-coated slice stays lighter for longer.
- Why it Happens: Oxygen in the air reacts with the apple. Lemon juice contains acid that slows this down.
- Presentation Tip: Show the slices to the class to demonstrate the effect.
11. Balloon Rocket
- Concept: Air pressure and motion.
- Materials: A long piece of string, a straw, tape, and a balloon.
- Steps: Thread the string through the straw and tie the string tightly between two chairs. Blow up the balloon without tying it, tape it to the straw, and let it go.
- What Happens: The balloon races along the string.
- Why it Happens: Air rushes out of the balloon and pushes it forward.
- Presentation Tip: Test whether a bigger balloon travels farther than a smaller one.
12. Rain Cloud in a Jar
Concept: Weather and rain model.
- Materials: A jar of water, shaving cream, and blue food color.
- Steps: Add a layer of shaving cream (“cloud”) on the water. Drop blue food coloring on top.
- What Happens: The colored water eventually breaks through the shaving-cream ‘cloud’ and falls into the jar like rain.
- Why it Happens: When the “cloud” gets too heavy with liquid, it releases it, just like real rain.
- Presentation Tip: Use this to explain the water cycle to your classmates.
13. Static Electricity Butterfly
Concept: Static charge experiment.
- Materials: Tissue paper, a balloon, and cardboard.
- Steps: Cut wings from tissue paper and glue the center to cardboard. Rub a balloon on your hair and hold it near the wings.
- What Happens: The wings flap up toward the balloon.
- Why it Happens: Rubbing the balloon creates static electricity, which attracts the light tissue paper.
- Presentation Tip: Let other students try to make the butterfly “fly.”
14. Crayon Rock Cycle Model
Concept: Geology model.
- Materials: Different colored crayons and a vegetable grater.
- Steps: (Adult supervision) Grate crayons into ‘sediment.’ Press the shavings together to model sedimentary rock. Warm and press them again to model metamorphic rock. Then melt and cool the crayons to model igneous rock.
- What Happens: The separate shavings change form as pressure and heat are applied, creating models of different types of rock.
- Why it Happens: This mimics how heat and pressure change rocks in the Earth’s crust.
- Presentation Tip: Label each stage of your “crayon rock.”
15. Air Resistance Drop Test
Concept: Gravity and air resistance test.
- Materials: Two identical sheets of paper.
- Steps: Crumple one piece into a tight ball and leave the other flat. Drop them at the same time.
- What Happens: The ball hits the floor first.
- Why it Happens: The flat paper hits more air molecules, which slows it down (air resistance).
- Presentation Tip: Use a stopwatch to show the time difference in seconds.
Using STEM Kits the Right Way
STEM kits are popular tools that can make a science project feel more professional. However, they should be used as a foundation, not the entire project.
| Feature | Household Experiment | STEM Kit |
| Cost | Low/Free | Moderate to High |
| Creativity | High (Child chooses materials) | Structured (follows a guide) |
| Reliability | Variable | High (Pre-tested) |
| Educational Value | Problem-solving focus | Technical skill focus |
When STEM Kits Make Projects Easier
A kit is helpful if the student wants to explore a more complex topic, such as robotics or chemistry, that requires specific materials. It ensures you have the complete set of materials without multiple trips to the store. For a Class 3 student, a kit can make a science fair project look more polished and easier to organize.
How to Avoid Overcomplicated Setup
One common mistake is choosing a kit designed for older children. If the instructions are too hard for an 8-year-old to read, the parent will end up doing all the work. Look for kits labeled “Age 8+” or “Level 1” to ensure the student stays in control.
How to Turn a Kit Activity into a School Project
To turn a pre-made kit into a real science fair project, the student should add their own observations and ideas.
- Ask a Question: Instead of just building the kit, ask “What happens if I change one part?”
- Record Observations: Write down what you see and what happens at each step.
- Create a Display: Don’t just bring the kit; bring a poster explaining the science behind it.
How Parents Can Help Without Taking Over
Help with Materials and Timing
Science experiments can be messy. Help the student by organizing a “Science Kit” box. Since some projects, such as plant growth experiments, take time, help the child create a simple schedule to track the results. This teaches time management and consistency.
Help with Questions and Observations
Instead of telling the child the answer, lead them to it. If the seed-growing experiment isn’t working, ask, “Does the cotton need more water?” or “Should we wait longer?” Encouraging them to discover the answer on their own builds critical thinking.
Help with Poster and Presentation
A parent can assist with the “heavy lifting” of the presentation:
- Use a ruler to draw straight lines for a table.
- Help glue photos onto a cardboard display.
- Listen while the student practises their 30-second speech.
The goal is to make the child’s work shine, not to replace it with adult-level work.
Science Fair Presentation Tips for Class 3
How to Make a Simple Project Board
A great science fair board follows a logical flow. Use these sections:
- The Big Question: What were you trying to find out?
- My Hypothesis: What did you think would happen?
- Materials: A list of what you used.
- What I Did: Step-by-step photos or drawings.
- My Results: A simple graph or table.
- Conclusion: What did you learn?
How to Explain Your Project in 30 Seconds
Students should be able to summarize their work quickly. Use this template:
“I wanted to find out [Question]. I used [Materials] to do the experiment. I found that [Result]. This happened because of [Simple Science Concept]. My favorite part was [Interest].”
Best Photos, Labels, and Tables to Add
Visuals are key for class 3.
- Photos: Include a picture of the student performing the experiment.
- Labels: Use large, bold text for headings.
- Tables: Even a simple ‘Before and After’ chart can be very effective.
- Arrows: Use colorful arrows to show the direction of a process, like the water cycle or an electric circuit.
FAQs
What project works best for beginners in Class 3?
The Floating and Sinking Experiment or Color Mixing are the best starters. They require zero special equipment and provide immediate, colorful results that are easy for a child to explain.
What safety rules matter most for class 3 science projects?
Always make sure an adult is supervising. Use non-toxic substances, wear an apron or old clothes, and never taste science materials unless the activity is clearly designed to be edible.
What materials do most projects need?
A basic “Science Bin” should include water, paper cups, tape, magnets, food coloring, seeds, and baking soda. These cover about 80% of elementary school projects.
How long should a class 3 science project take?
Most hands-on activities should take 15–40 minutes. If you are doing a biology project like plant growth, expect to spend 5 minutes a day for one week.
How to choose a project for a school fair?
Choose a project with a “wow” factor, such as Walking Water or Rain Cloud in a Jar. These are visually exciting and easy to display on a poster board.
Can class 3 students do projects at home?
Yes. Most science experiments for this age can be done at the kitchen table. As long as a parent provides a safe space and handles any “adult-only” steps, home can be a great place for science learning.
What are some simple chemistry ideas for an egg experiment?
One perfect project involves soaking a raw egg in vinegar for 24 hours. This simple chemistry process dissolves the shell, leaving you with a “bouncy” translucent egg. It is a great way for a curious student to see how acid reacts with calcium.