Catapult Accuracy Challenge for Kids With Target Points

 Discover a Free Education Video App for Kids
Pastory uses AI to personalize educational video content based on your child’s interests and personality. Safe, engaging, and built for curious young minds. Sign up now to stay updated and enjoy early access with a free trial

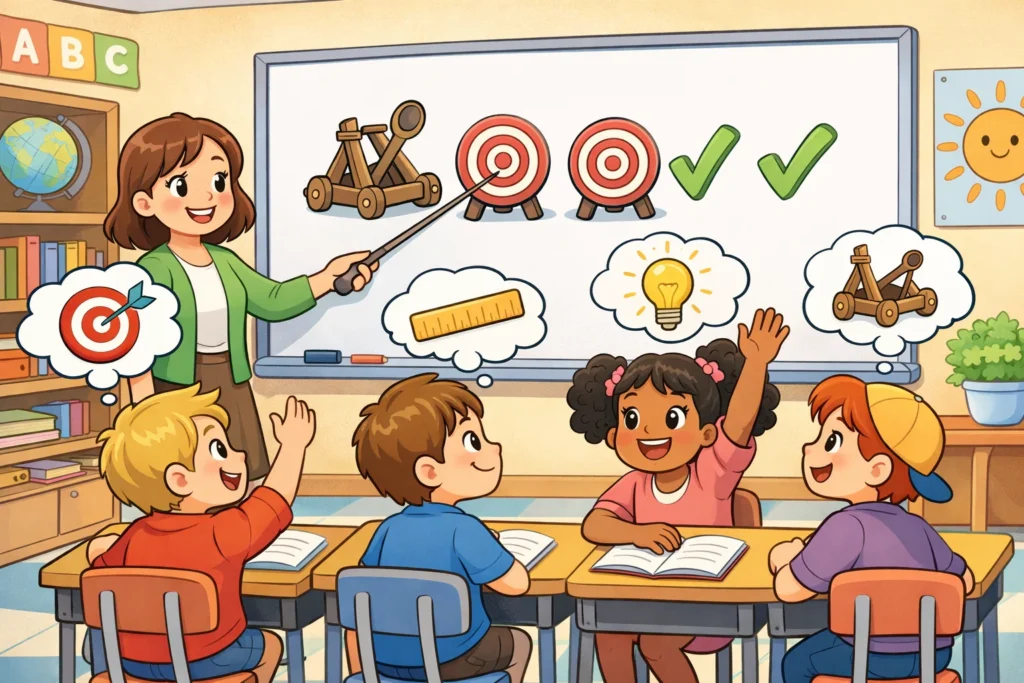
Imagine the sheer delight on a child’s face when a simple popsicle stick catapult successfully sends a cotton ball soaring through the air, landing perfectly inside a target. It’s a moment where play transforms into a profound “aha!” moment. This catapult activity isn’t just about launching things across the living room; it’s a high-stakes (and high-fun) catapult activity designed to sharpen a child’s focus, patience, and understanding of the physical world. By turning a basic STEM challenge into a point-based accuracy competition, we move beyond simple cause-and-effect and enter the realm of true engineering.
The core of the catapult accuracy challenge is simple: design and build a device capable of hitting specific targets to earn points. This hands-on learning experience encourages children to act as little engineers, using the design process to tweak their catapult arm for precision rather than just raw power. Whether they are aiming for a bottle cap on the floor or a high-value target made of popsicle sticks, kids will naturally begin to measure launch distances and calculate their path to victory. It’s an exciting catapult journey that fosters a lifelong love for learning through the thrill of the “bullseye.”
Activity Overview and Learning Goals
The primary purpose of this catapult project is to bridge the gap between abstract physics and hands-on activities. While many stem activities focus on how far a projectile can travel, the accuracy challenge shifts the focus from distance to precision and consistency. The goal is to help children understand that engineering is about control and repeatability.
By participating in this catapult stem challenge, kids will:
- Explore the fundamental principles of physics, specifically how potential and kinetic energy work together.
- Engage with the engineering design process by testing, failing, and iterating on their catapult design.
- Develop mathematical literacy by measuring launch results and tracking scores.
- Practice fine-tuning variables, such as the launch angle or the tension of a rubber band, to achieve a specific outcome.
Quick Activity Snapshot
Before you dive in, here is a quick look at what to expect from this effective stem session:
| Category | Details |
| Age Range | 5 to 14 years (with adaptations) |
| Duration | 45–60 minutes |
| Group Size | 1–4 children per catapult |
| Main Objective | Score the highest points by hitting specific targets |
| Difficulty | Adjustable (Beginner to Advanced) |
Skills Developed Through Target Practice
Target practice is a powerhouse for developmental growth. Beyond the basic physics, children refine their hand-eye coordination as they align their stick catapult with the target. They also develop logic and reasoning; if a shot goes too far, they must deduce that the catapult arm pushes with too much force and adjust accordingly. In group settings, this catapult challenge also becomes a lesson in teamwork and communication, as “spotters” help “launchers” calibrate their aim.
STEM Focus Areas
This activity provides a holistic engagement with stem principles:
- Science: Observing potential energy (stored in the rubber band) and kinetic energy (the energy of motion).
- Technology: Using a simple catapult as a tool to solve a problem.
- Engineering: Designing a stable base and a reliable catapult arm using craft sticks.
- Math: Measuring the distance from the fulcrum to the target and adding up complex point totals.
Materials and Target Setup
You don’t need a lab to build a catapult. In fact, some of the simplest catapult designs are the most effective for teaching physics concepts.
Catapult Building Materials
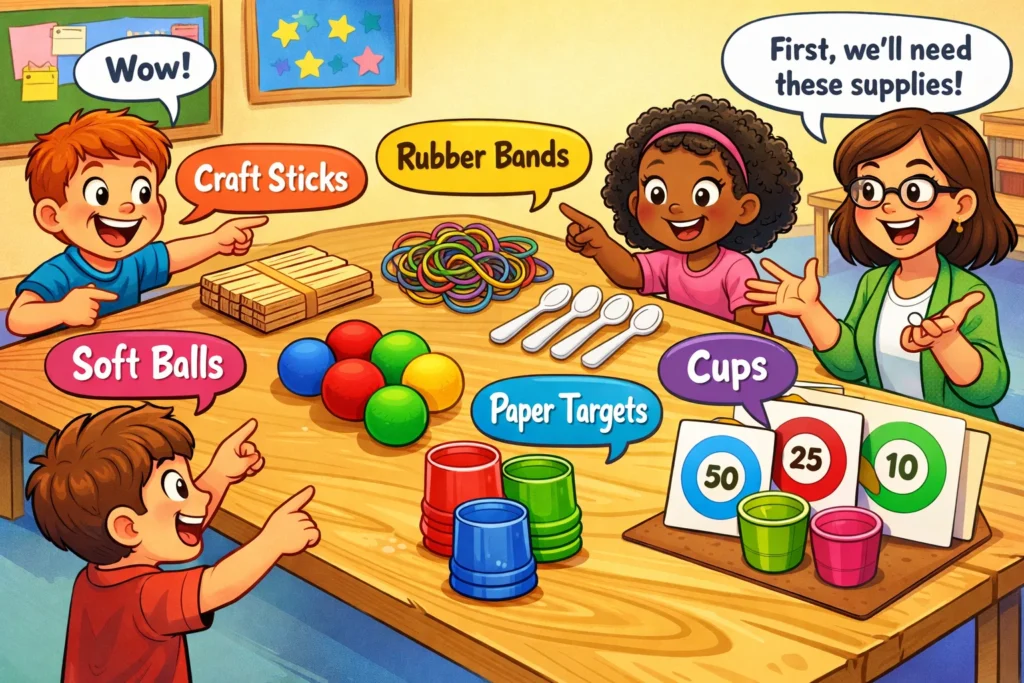
To make a catapult, gather these common household items:
- 7–10 jumbo popsicle sticks (also known as a craft stick)
- 3-5 Sturdy rubber bands
- 1 Plastic spoon or a bottle cap (to hold the projectile)
- Projectiles like cotton balls, marshmallows, or ping-pong balls
- Double-sided tape or hot glue (for adult use) to secure the launching cup
Target Types and Layout
The way you design a catapult target area determines the difficulty of the catapult project.
- Floor Targets: Use hula hoops or masking tape to create large zones on the carpet.
- Container Targets: Place buckets, bins, or bowls at varying distances.
- Vertical Targets: Tape a paper bullseye to a chair or the wall (best for older kids using very soft projectiles).
- Distance Zones: Mark “zones” with painters’ tape, where the furthest zone is worth the most points.
Target Points System
A tiered scoring system keeps the catapult game competitive. Like a stretched spring, the tension in the room rises as kids aim for the high-value targets!
| Target Difficulty | Description | Point Value |
| Easy | Large bin, 3 feet away | 5 Points |
| Medium | Small bowl, 5 feet away | 20 Points |
| Hard | Bottle cap, 7 feet away | 50 Points |
| Bonus | Hit a moving target (rolled ball) | 100 Points |
Preparation Before Challenge
Proper setup ensures the hands-on stem session runs smoothly without the “chaos factor.”
Space Preparation and Safety Zone
Designate a “firing line” using tape on the floor. Ensure the catapult launch direction is away from breakables (like TVs or windows) and people. Create a clear “downrange” area where no one is allowed to stand while a catapult launch is active.
Team or Individual Setup
For activities for kids in a classroom, divide students into groups of three: a Designer (adjusts the catapult), a Launcher (fires the projectile), and a Scorekeeper (records the launch distance and points). Rotate roles every five shots to ensure everyone gets a turn using the catapult.
Rule Explanation for Kids
Explain that this is an accuracy challenge, not a “who can break the rubber band” challenge. Define the number of practice rounds versus “scoring rounds.” Emphasize that the first design might not be the best, and that’s okay!
Step-by-Step Accuracy Challenge Rules
To keep things fair, educational and fun, follow these structured rules:
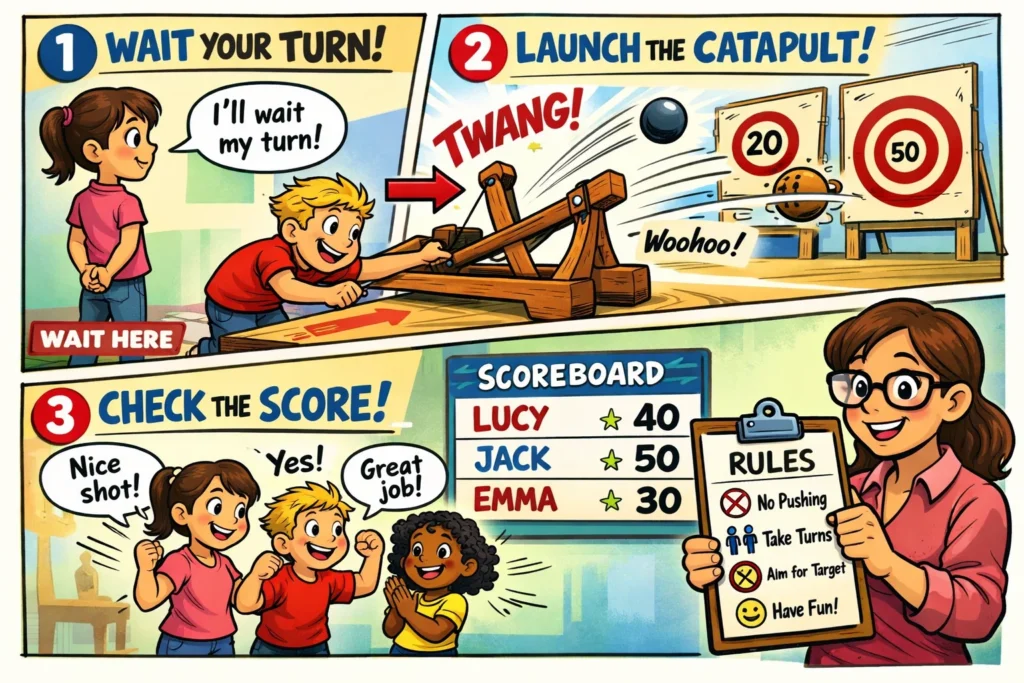
Launch Position and Distance Rules
The basic catapult must remain behind the firing line at all times. If the craft stick catapult crosses the line during a launch, the points for that round are forfeited. Kids should experiment with different distances to find their “sweet spot.”
Number of Attempts Per Round
We recommend giving each player 5 attempts per round. This allows them to observe the cause and effect of their first few shots and make corrections for the final ones.
Scoring and Point Tracking
Use a leaderboard on a whiteboard or a piece of paper. Kids will make a mark for every successful hit. At the end of three rounds, total the points to determine the “Master of Accuracy.”
Science and Math Behind Accuracy
This is where the learning experience becomes more meaningful. This activity goes beyond play and introduces fundamental principles of physics.
Force, Angle, and Trajectory
The launch angle is critical. If the catapult arm stops too early, the projectile flies flat. If it stops too late, it flies straight up. By adjusting the stack of popsicle sticks (the distance of the fulcrum), kids can change the trajectory.
The angle of release determines the shape of the parabola. A 45-degree angle is mathematically the best for distance, but accuracy might require a shallower arc.
Measurement and Data Recording
Ask kids to measure the distance of their successful hits using a ruler or measuring tape. This introduces them to data recording. They can create a simple bar graph showing how many times they hit the 10-point target versus the 50-point target.
Cause and Effect Observation
Encourage the design process by asking: “If you move the rubber band closer to the fulcrum, what happens to the launch?” This is hands-on learning at its finest – observing how one small change impacts the kinetic energy of the cotton ball.
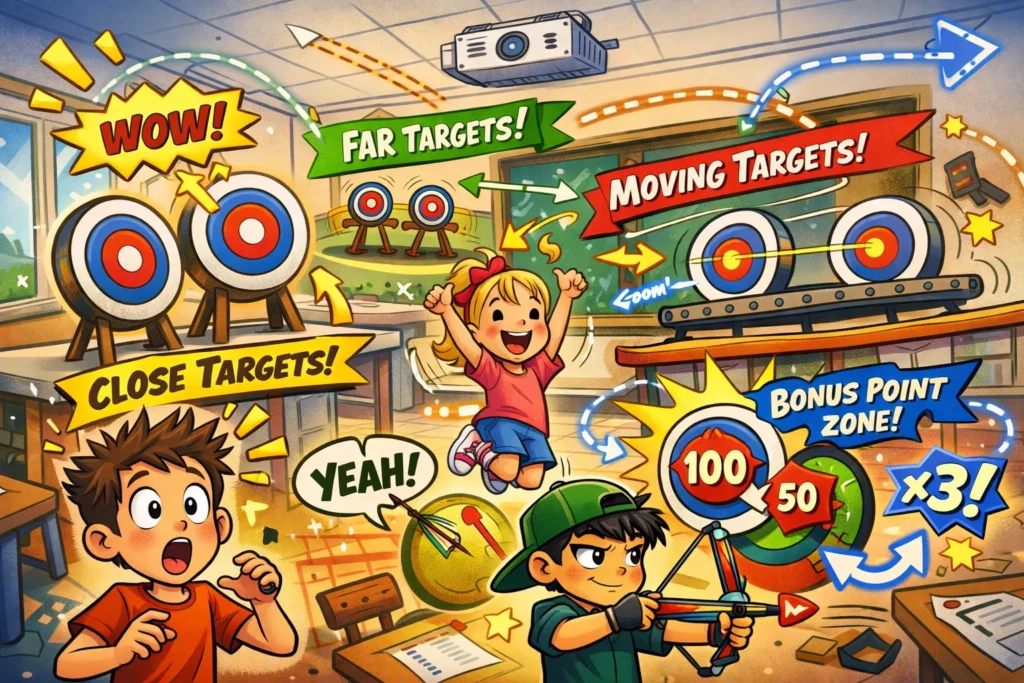
Accuracy Challenge Variations
Beginner Accuracy Game
For younger children, use a simple catapult and very large targets, like laundry baskets. Focus on the joy of the catapult launch rather than strict scoring. Use projectiles like cotton balls for maximum safety.
Advanced Target Points Challenge
For older kids, introduce “penalty zones.” If the ping-pong ball lands in a “water hazard” (a blue piece of paper), they lose 10 points. This forces them to construct their designs with extreme precision.
Timed Accuracy Rounds
Add an element of “pressure” by seeing how many points they can rack up in 60 seconds. This tests the durability of the catapult construction – will it hold up under rapid use?
Age-Based Adaptations
| Age Group | Focus Area | Modification |
| Preschool | Cause & Effect | Adult-built stick catapult, focus on “in or out” of a big box. |
| Elementary | Physics Concepts | Kids build a catapult themselves; introduce multiple point values. |
| Middle School | Engineering Design | Design a catapult with adjustable fulcrums; graph the launch distance. |
Safety Rules for Catapult Target Games
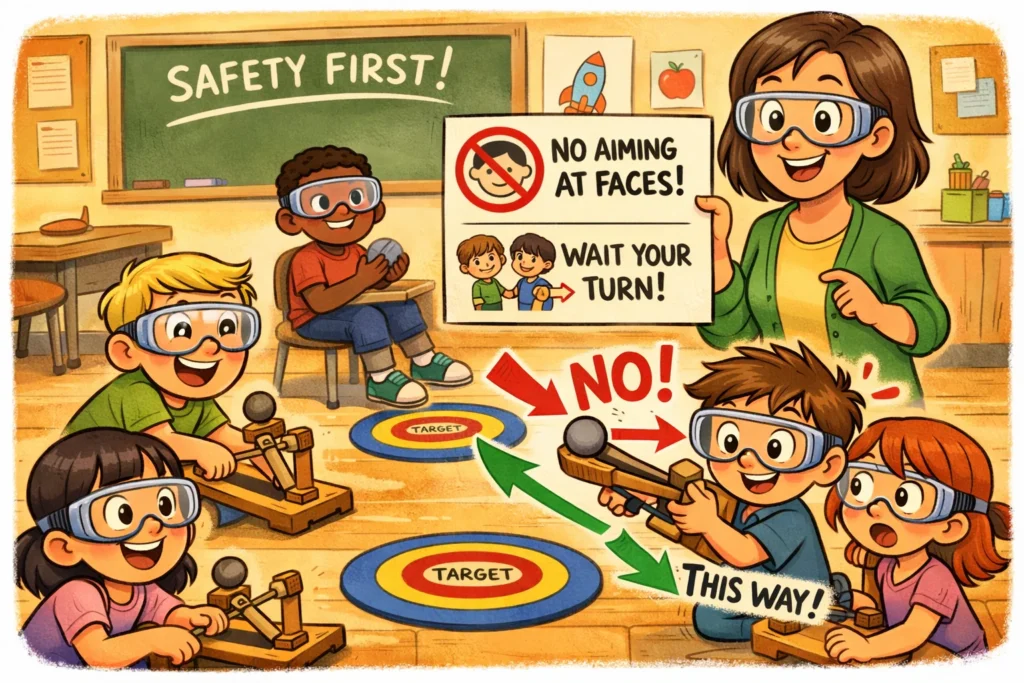
- Safe Projectiles: Only use soft items like cotton balls, marshmallows, or light foam balls. Never launch stones or hard plastic.
- No Aiming at Faces: The “No People, No Pets” rule is absolute.
- Equipment Inspection: Regularly check the rubber band for cracks. If it looks dry or overstretched, replace it immediately to prevent snapping.
Assessment and Reflection
After the catapult game ends, take five minutes to reflect. This turns the catapult activity into a lasting lesson.
- Accuracy Results Review: Did your accuracy improve or get worse as the game went on?
- Question Prompts: “What was the hardest part about hitting the 50-point target?” or “How did you change your catapult arm to shoot shorter?”
- Simple Challenge Extensions: Ask them to design a catapult that can launch two projectiles at once!
Creative Extensions and Group Challenges
- Custom Target Design: Let the kids paint their own targets on cardboard. This adds an artistic element to the stem adventures.
- Team Accuracy Tournament: Create a bracket-style tournament for a birthday party or classroom catapult stem challenge.
- Real-World Connections: Discuss how real historical catapults were used to launch objects over castle walls, and how modern engineers use similar principles of physics and engineering to launch jets from aircraft carriers!
Common Problems and Fixes
Catapult Not Launching Consistently
- Fix: Ensure the top popsicle stick is perfectly aligned with the base. If the rubber band is loose, the potential energy will vary with every shot.
Accuracy Results Too Random
- Fix: Check the base. If the popsicle stick catapult is sliding on the table, the shots will be inconsistent. Tape the base of the catapult to the table for better stability.
Targets Falling Too Easily
- Fix: Use a small piece of “museum putty” or tape to anchor your targets. This ensures that a “hit” doesn’t turn into a messy cleanup.
Frequently Asked Questions
For a basic catapult, 3 to 7 feet is ideal. It’s far enough to require skill but close enough to avoid frustration.
Focus on the distance of the fulcrum. Moving the stack of sticks closer to the launching end changes the arc, often making it easier to “drop” the projectile into a bucket.
Absolutely. A catapult project is a staple of hands-on STEM learning because it is inexpensive, highly engaging, and covers multiple curriculum standards in physics and math.