Wind-Powered Pinwheel Challenge for Kids: Power Output Experiment

 Discover a Free Education Video App for Kids
Pastory uses AI to personalize educational video content based on your child’s interests and personality. Safe, engaging, and built for curious young minds. Sign up now to stay updated and enjoy early access with a free trial

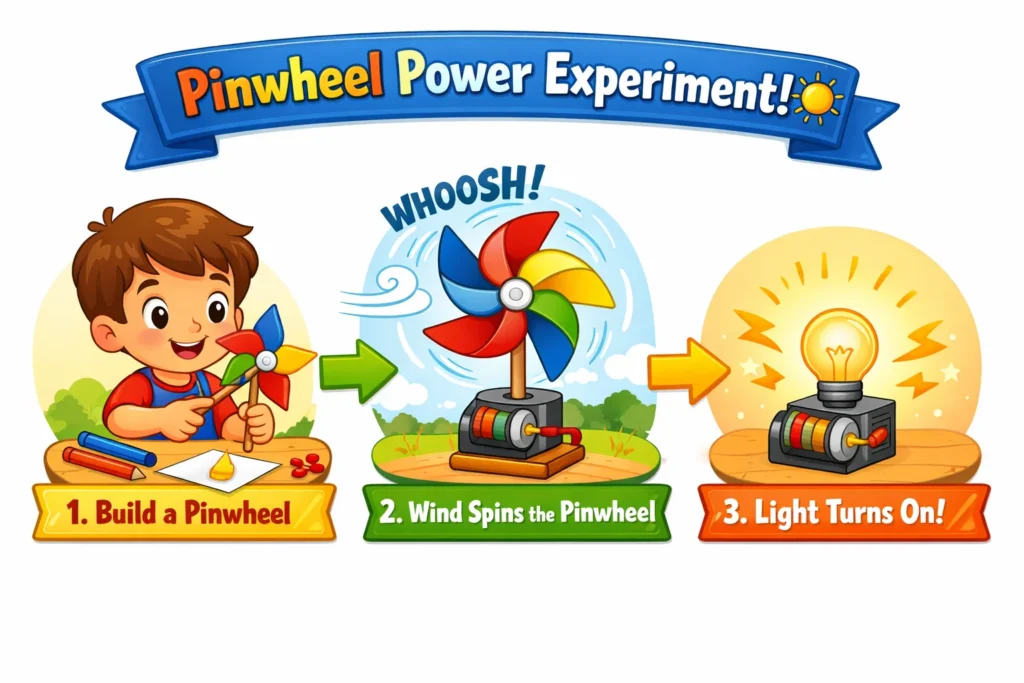
Have you ever looked out the window on a blustery day and watched a pinwheel spinning at lightning speed? Or perhaps, while driving through the countryside, you’ve seen a wind turbine standing tall like a giant, futuristic windmill? While one is a toy and the other is a massive piece of engineering, they both operate on the same basic principle: capturing the force of the wind to create motion.
In this hands-on science challenge, we are going to bridge the gap between play and power. By the end of this activity, your child won’t just make a pinwheel; they will become junior engineers tasked with building a prototype that harvests wind energy to generate electricity. It is a perfect blend of materials science and physics that turns a light breeze into a measurable energy source.
Quick Overview of Pinwheel Power Challenge
This experiment is designed to be a high-impact, low-cost introduction to renewable energy. Instead of just talking about “green power,” kids get to see the engineering design process in action as they convert wind energy into something they can actually measure.
Activity format and age range
This challenge is highly versatile. It works beautifully as a hands-on activity for a rainy afternoon at home or as a simplified wind farm simulation in a classroom.
- Ages 5–8: Focus on the pinwheel shape and how the direction of the wind makes pinwheels spin.
- Ages 9–12: Introduce the generator and use a multimeter to measure electrical output.
- Ages 13+: Focus on iterative design – optimizing pinwheel blades to maximize energy production.
Time required and difficulty level
- Prep Time: 15 minutes (gathering materials).
- Execution Time: 45–60 minutes for the initial build and test.
- Difficulty: Moderate. While the pinwheel construction is easy, mounting it to a turbine motor requires some fine motor skills and a bit of patience.
Core learning outcomes
Participants will move beyond simple observation to understanding kinetic energy. Key goals include:
- Understanding how moving air can exert force.
- Learning how a rotor transforms moving air into mechanical energy.
- Observing how a small motor, when used in reverse, becomes a generator that creates electricity.
Engineering and Science Connection
To a child, a pinwheel is magic. To an engineer, it’s a wind-powered machine. Understanding the “why” behind the spin is the first step toward appreciating how wind turbines work on a global scale.
Pinwheel as wind turbine model
A pinwheel is essentially a small-scale rotor. In a real wind turbine, the blades are designed with aerodynamic precision to capture the maximum energy of the wind. When the wind blows, the pressure difference on the pinwheel blades creates forces like lift and drag, forcing the center shaft to turn.
Wind force and rotational motion
The force of wind is a form of kinetic energy. When this moving air hits the pinwheel, it transfers that energy to the blades. If the pinwheel is facing the wind correctly, it begins to rotate. This transition from “straight-line wind” to “circular rotation” is the fundamental step in how a turbine works.
Energy transfer and limits of small-scale models
It’s important to manage expectations: your DIY pinwheel won’t power your house! Real turbines are massive because the power of the wind increases significantly with the size of the blades and the wind speed. While our prototype shows how a generator works, it demonstrates that the amount of renewable energy at this scale is quite small – often just enough to light a tiny LED.
Learning Objectives for Kids

Exploration of wind energy principles
Kids will discover that wind energy is a renewable resource. Unlike fossil fuels, the wind is blowing somewhere nearly all the time, and we can use wind without “using it up.”
Measurement and comparison skills
Using a stopwatch or a multimeter, children will learn to quantify results. They might ask:
- “Does the pinwheel spin faster if I use four blades instead of eight?”
- “How does the wind speed from the fan affect the electric power output?”
Creative problem-solving and iteration
The heart of engineering is the iterative process. If the pinwheel’s output is low, kids must change one variable – perhaps the pinwheel shape or the angle of the blades away from the wind – and test again.
Materials and Tools List
| Category | Items Needed |
| Construction | Square paper/cardstock, scissors, pencils, ruler, straight pins or thumbtacks. |
| The “Engine” | Small DC hobby motor (1.5V–3V), a cork or bottle cap (to act as the hub). |
| Testing Tools | A household fan or hair dryer, a multimeter (optional), an LED light. |
| Stability | Straws, wooden dowels, or a sturdy plastic bottle to act as the tower. |
Safety Note: Always use a hair dryer on the “cool” setting to avoid melting plastic components or burning small hands!
Step-by-Step Pinwheel Construction
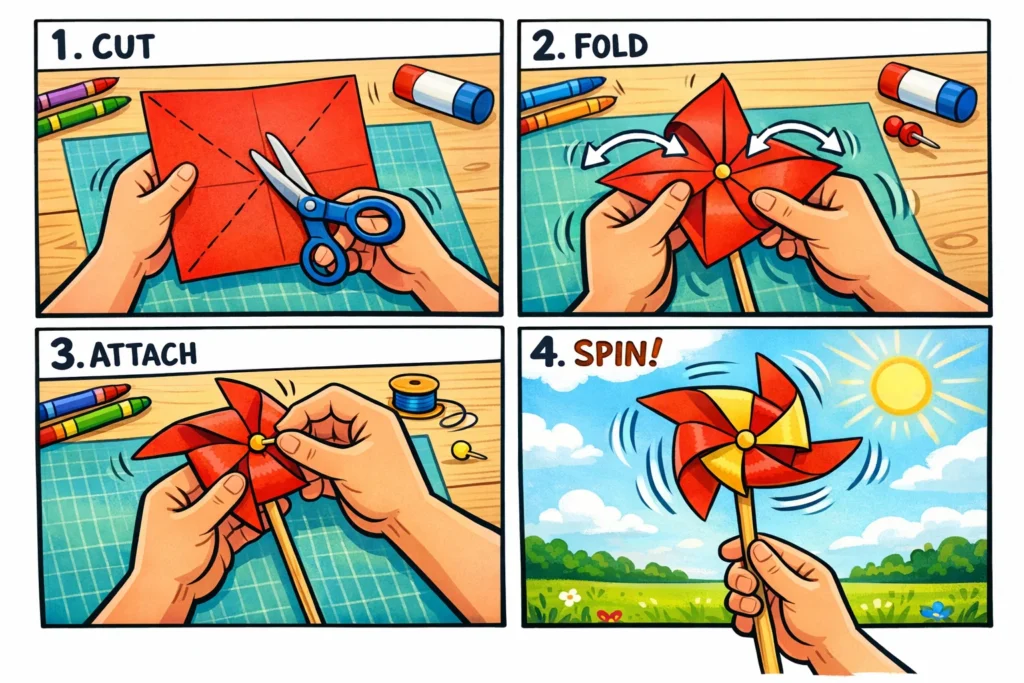
1. Blade shape and folding method
Start with a square piece of cardstock (about 6×6 inches). Draw two diagonal lines from corner to corner to find the center. Cut along these lines, but stop about an inch from the center point. Fold every other corner into the center and secure them. This creates the classic pinwheel shape that is perfect for catching wind force.
2. Assembly and balancing tips
Push a pin through the center of the folded blades and into a cork. Pro Tip: Ensure there is a small gap (or a bead) between the paper and the cork to reduce friction. If there is too much friction, even a strong wind won’t make the pinwheel spin.
3. Mounting pinwheel for testing
Attach the cork hub carefully to the shaft of your small DC motor. Use a strong adhesive or a tight-fitting hole in the cork. Secure the motor to a “tower” (like a vertical ruler or a PVC pipe) so it can stand independently facing the wind.
Wind-Powered Pinwheel Testing Procedure
Once your prototype is built, it’s time to see if it can actually generate electricity.
- Set the Source: Place a fan about two feet away from your pinwheel.
- Measure the Rotation: Start the fan on the lowest setting. Use a stopwatch to see how many times it spins in 30 seconds (you can add a colored sticker to one blade to make it easier to count).
- The Electrical Test: Attach the two wires from your motor to a multimeter set to “DC Millivolts.”
- Observe the Output: Watch the numbers jump! If the pinwheel’s speed increases, the electrical output should increase accordingly.
Power Output Concepts Explained for Kids

What power output means in simple terms
Think of “power output” as how much “work” your pinwheel can do. Can it lift a small paperclip on a string? Can it make a tiny light bulb glow? The faster the pinwheel spins, the more “push” it gives to the electricity in the wires.
Why pinwheels produce small power
Because our materials are limited to paper and hobby motors, the energy production is tiny. Real turbines use massive rotor blades and sophisticated magnets to generate electricity for thousands of homes.
Comparison with real wind turbines
A real turbine might have blades as long as a football field! While your pinwheel might produce around 0.5 volts, a utility-scale turbine can produce millions of watts.
Assessment and Observation Ideas
| Question for the Child | What it Teaches |
| “What happens if you turn the pinwheel away from the wind?” | Understanding wind direction. |
| “Does a larger pinwheel spin slower or faster than a small one?” | Concepts of mass and kinetic energy. |
| “Does the LED get brighter when the wind speed increases?” | The relationship between speed and electric power. |
Troubleshooting Common Issues
- Pinwheel not spinning: Check for friction. Is the pin too tight? Is the paper hitting the motor?
- Uneven or wobbling rotation: Your blades might be different sizes. Trim them so the pinwheel is balanced.
- LED not lighting up: DC motors have “polarity.” Try flipping the wires around. If it still won’t light, the pinwheel may not be spinning fast enough to reach the LED’s “threshold voltage.”
Activity Extensions and Challenges
- The Blade Challenge: Use the engineering design process to create three different pinwheels – one with 3 blades, one with 4, and one with 6. Which one harvests wind energy most efficiently?
- The Materials Test: Try making pinwheels out of plastic folders, aluminum foil, and construction paper. Which material handles the force of the wind best without bending?
- Wind Speed vs. Power: Move the fan closer and further away. Create a graph showing the distance versus the voltage produced.
Curriculum and Standards Alignment
This activity isn’t just fun; it’s a cornerstone of modern STEM education. It aligns with Next Generation Science Standards (NGSS) regarding energy and motion, specifically how energy can be transferred from one place to another through mechanical energy and electric currents.
By engaging in this wind-powered project, students practice scientific skills like data collection, hypothesis testing, and understanding the environmental impact of renewable energy.
Frequently Asked Questions
While kids as young as 5 can enjoy the craft, the full electrical experiment is best suited for ages 9 and up.
You should expect to see 0.5V to 1.5V on a multimeter. This is enough to flicker an LED but not enough to charge a phone!
Indoor testing with a fan is more “scientific” because you can control the wind speed. Outdoor testing is more “real-world” but can be frustrating if the wind direction keeps changing.