

Building a homemade water filter is one of those classic science experiments for kids that manages to be both messy and highly educational. In this hands-on science project, children take on the role of environmental engineers to solve a real-world problem: how to turn muddy water into clearer water. By using a soda bottle, some fine sand, and activated charcoal, kids move beyond the textbook to see exactly how filtration works in nature and in our cities.
This water filtration experiment doesn’t just teach the mechanics of how water passes through different layers; it builds a foundation for STEM learning. As kids filter the water, they observe a simplified version of water filtration and gain a new appreciation for the treatment processes that provide us with clean drinking water every day. It’s a simple activity that packs a punch, blending environmental awareness with the thrill of fun science.
Introduction
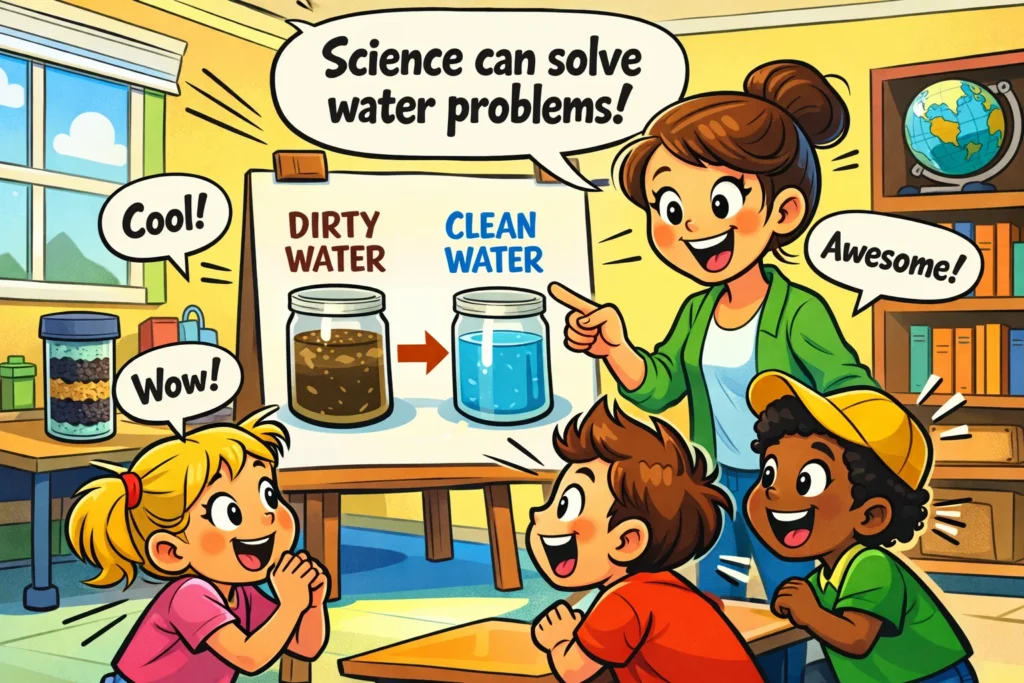
Whether you are a parent looking for a weekend science experiment or a teacher planning a classroom unit, the water filtration challenge is a crowd-pleaser. There is something inherently satisfying about watching a dirty sample go in the top of a funnel and come out clearer at the bottom. It taps into a child’s natural curiosity and desire to “fix” things, providing a tangible result they can see, touch, and measure.
Why water filtration challenges engage kids
Children are naturally tactile learners. A filtration system provides immediate visual feedback. When they pour the dirty liquid and see the outflow drip out clearer than before, it triggers a sense of accomplishment. The “challenge” aspect – trying to get the liquid as clear as possible – turns a lesson into a game, encouraging them to experiment with different materials to find the best combination.
Real-life connection to clean water
Access to clean water is something many of us take for granted, but globally, billions of people lack access to clean resources. By learning to make water cleaner using filtration models, kids begin to understand the global importance of quality. They realize that a source can contain invisible pollutants and that filtration is a critical step in making drinking water safe for the world.
STEM learning benefits
This simple water filter project covers all the STEM bases:
- Science: Understanding the properties of different materials and how they interact with smaller particles.
- Technology & Engineering: Designing a filtration system and iterating on the design to improve the source output.
- Math: Measuring samples, timing the flow, and comparing results.
Goal
The primary goal of this DIY water filter challenge is to transform a liquid sample filled with debris into a much clearer substance. It is a lesson in water filtration science that focuses on the removal of physical particles like dirt, silt, and organic matter.
What kids try to achieve
The objective is to create a multi-layered bottle filter that effectively traps sediment. Success is measured by comparing the muddy sample to the final filtered water. While the goal is clearer water, it is a vital teaching moment to explain that “clear” does not always mean “pure.”
Skills kids practice
Through this hands-on experiment, kids practice:
- Prediction: Guessing which filter materials will work best.
- Observation: Watching how the liquid passes through each layer.
- Critical Thinking: Analyzing why certain materials filter better than others.
Ideal age range
This activity is perfect for children aged 6 to 12.
- Ages 6-9: Will need help with the process of cutting the bottle in half and steady hands for pouring.
- Ages 10-12: Can often make their own filter independently, focusing more on the data and variables.
Materials at a Glance
You don’t need a laboratory to filter water. Most of the items required for a homemade filter are already in your pantry or backyard.
Basic filtration materials
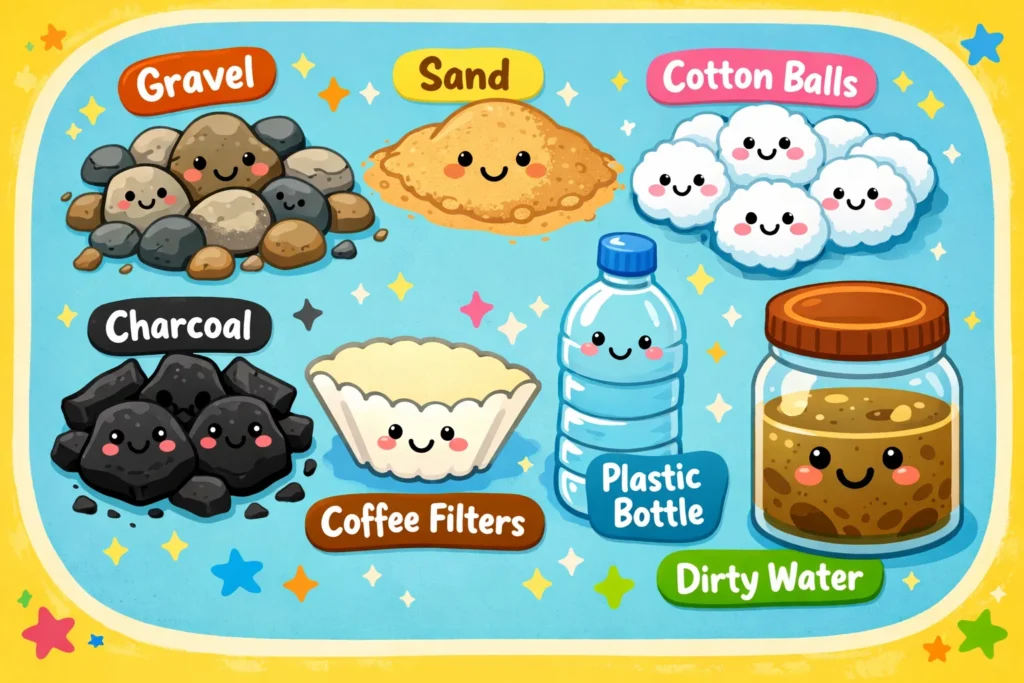
To effectively clean the water, you need layers of varying density:
- Large gravel/small pebbles: To catch large debris like leaves.
- Fine sand: To trap smaller particles.
- Activated charcoal: To absorb odors and microscopic impurities.
- Cotton balls or coffee filters: To act as the final barrier at the neck of the bottle.
Container options
A standard plastic bottle or soda bottle is the gold standard here because it is clear, allowing kids to see the filtration process in real-time. Glass jars can be used to catch the clean water at the bottom.
Dirty water ingredients
To make a truly “challenging” mixture, blend tap water with:
- Potting soil or backyard mud.
- Dry leaves or grass clippings.
- Old coffee grounds.
- Note: Avoid using actual chemicals or hazardous waste; keep it natural!
Supplies Needed for Making Water Filter
Before you start to make a water filter, gather your supplies in one spot to keep the mess contained.
| Category | Item | Purpose |
| Housing | 2-Liter Plastic Bottle | The main body of the filter. |
| Base Filter | Coffee Filter or Cloth | Keeps the sand and charcoal from falling out. |
| Fine Layer | Fine Sand | Traps the smallest bits of dirt. |
| Medium Layer | Activated Charcoal | Improves clarity and removes odors. |
| Coarse Layer | Small Gravel | Catches the “big stuff” like sticks and leaves. |
| Tools | Scissors/Utility Knife | To cut the bottle (Adult use only!). |
Must-have supplies
You absolutely need the plastic bottle, a coffee filter, and at least two types of sediment (like sand and gravel) to see how filtration works. Without these, the liquid flows too fast to be cleaned.
Optional add-ons
Adding activated charcoal (found at pet stores in the aquarium section) makes the experiment more realistic. It mimics high-end purification systems. You can also use crushed charcoal from a campfire if it hasn’t been treated with lighter fluid.
Safety supplies
Science can be messy! Have these on hand:
- Gloves: Especially if using charcoal.
- Table covers: Newspaper or an old tablecloth.
- Adult Supervision: Essential for the bottle-cutting step.
How to Set Up Filtration Bottle
The secret to a successful DIY project is the setup. If the layers aren’t right,you’ll just end up with dirty water again.
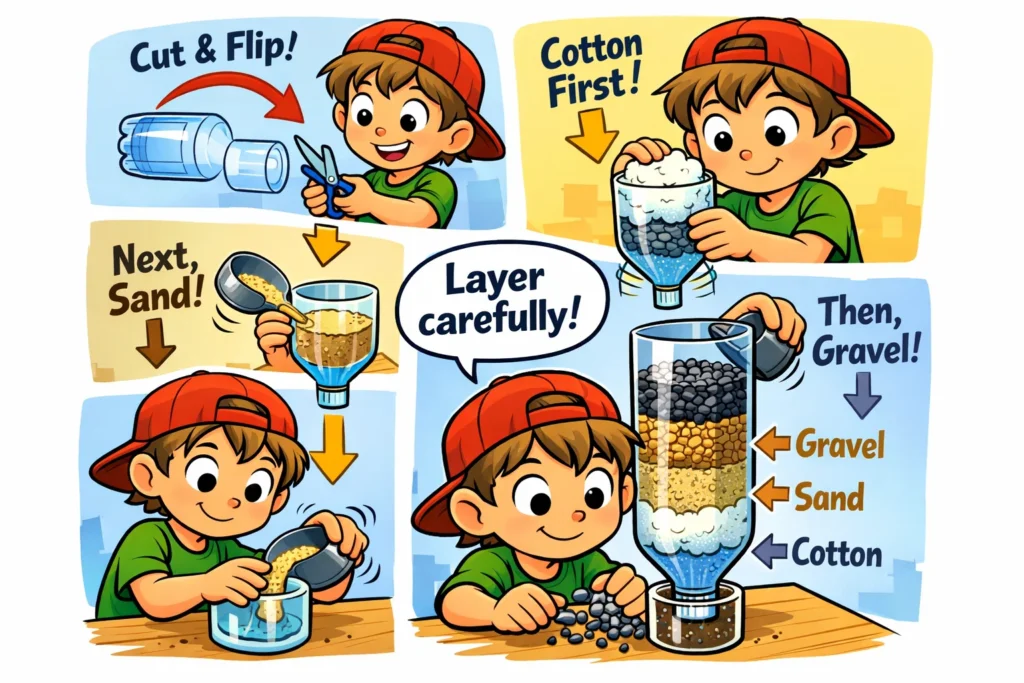
Cutting and preparing bottle
With an adult’s help, cut the bottle about halfway down. The top half will become the funnel, and the bottom half will be the reservoir that collects the filtered water.
Layering order importance
The order is very important. You want the liquid to create a path through increasingly finer materials.
- Turn the bottle upside down (neck down).
- Place the filter inside the neck (cotton balls or a coffee filter secured with a rubber band).
- Add layers in this order: Activated charcoal, then fine sand, then small gravel.
- The coarsest materials go on top to catch the big debris first.
Creating stable setup
Place the upside down bottle into the bottom half of the cut bottle. Ensure it sits snugly so it doesn’t tip over when you pour the dirty liquid.
Water Filtration Challenge Steps
Follow these steps to clean dirty water like a pro.
- Step 1: Prepare dirty water: Mix your soil and liquid in a separate jar until it looks like a thick muddy soup.
- Step 2: Build filter layers: Following the “order of importance” above, pack your filter materials tightly.
- Step 3: Pour water slowly: Don’t dump it all at once! Pour the dirty liquid slowly to avoid disturbing the sand layers too much.
- Step 4: Observe filtration: Watch as the outflow passes through the gravel, then the sand, and finally drips through the cotton.
- Step 5: Repeat testing: If the results aren’t clear enough, try to filter the water a second time or change the thickness of the layers.
What’s Going On?
This simple water filter works because of a process called mechanical filtration.
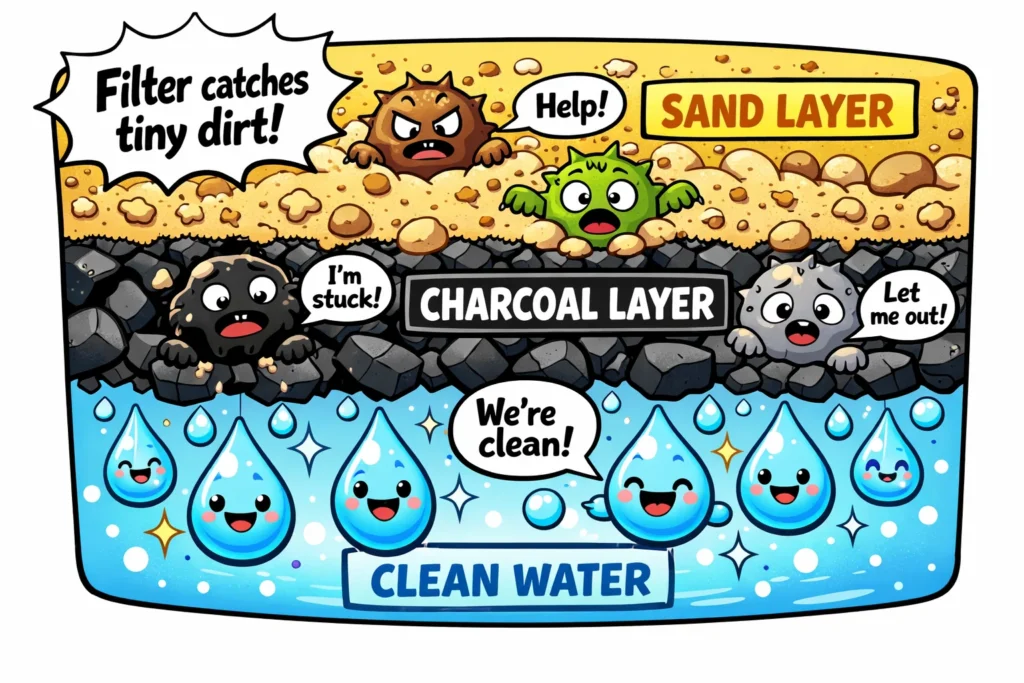
How filtration works
Think of the layers as a series of smaller and smaller “nets.” The gravel has large gaps, so it only catches large things. As the flow goes deeper, the gaps between the fine sand grains are so small that only water can pass through while the dirt gets stuck.
Role of each material
- Gravel: The “pre-filter.”
- Sand: The “polisher” that catches tiny silt.
- Charcoal: This works through adsorption, where impurities stick to the surface of the carbon.
Why water looks clearer
The clean look is achieved because we have removed the “suspended solids.” However, microscopic bacteria are much smaller than the gaps in the sand, which leads us to a very important rule.
Filtered Water Not Clean Enough to Drink
⚠️ CRITICAL SAFETY NOTE: Even if the liquid looks crystal clear, it is NOT safe to drink.
Why filtration ≠ purification
A homemade water filter removes dirt, but it does not remove bacteria, viruses, or dissolved chemicals. In a real treatment plant, they use UV light or chlorine for purification to kill germs.
Safe water rules for kids
Always remind children: “Never drink the filtered liquid from a science experiment.” This is for observing how filters work, not for drinking.
Using filtered water for plants
Instead of pouring it down the drain, use your sample to water your garden! It’s an eco-friendly way to conclude the science project.
Experiment Results
How do we know if the water filtration system actually worked? We need to compare the water samples.
What results to expect
You should see a significant difference in color. The muddy water should become translucent. However, it may still have a slight yellow or brown tint depending on the soil used.
Comparing different filters
If you used different materials – like one filter with cotton balls and one with a coffee filter – which one was faster? Usually, more layers mean clearer water but a slower drip.
Recording observations
Encourage kids to keep a “Science Journal.”
- Before: Describe the smell and color of the dirty sample.
- After: Describe the clearer liquid and how long it took to filter the water.
Add Variables to Make It a True Experiment
To turn this into a top-tier science project, change one thing (a variable) and see what happens.
- Changing material order: What happens if you put the sand on top of the gravel? (Spoiler: It usually clogs!)
- Testing filter speed: Use a stopwatch to see how long it takes for 1 cup of liquid to pass through.
- Measuring clarity levels: Line up three jars: the original dirty water, the sample after one filter pass, and the sample after two passes.
Extension Ideas
Keep the learning momentum going with these ideas:
Outdoor nature version
Next time you’re hiking, try to find natural filtration materials like moss, grass, and different sized rocks. It’s the ultimate survival science experiment.
Group challenge version
If you have multiple kids, give them the same set of filter materials and see who can make the water the clearest in 10 minutes.
Earth science unit integration
Connect this to the cycle. Explain how the Earth itself is a giant filtration system, where rainwater is filtered through layers of soil and rock before reaching underground aquifers.
From Classroom to Home: Quick Selection Checklist
Choose the version of the water filtration experiment that fits your schedule.
| Feature | Quick Setup | Advanced Learning | Mess-Free |
| Time | 15 Minutes | 45+ Minutes | 20 Minutes |
| Materials | Sand, Gravel, Cloth | Sand, Gravel, Charcoal, Cotton | Coffee Filters, Paper Towels |
| Complexity | Low | High | Medium |
| Focus | Visual Change | Filtration Works | Easy Cleanup |
Conclusion & Next Steps
The water filtration challenge is more than just a simple water filter build; it is an introduction to how we interact with our environment. By learning how water can be cleaned using household items, kids gain the confidence to ask bigger questions about our planet’s future and the technology we use to protect it.
Key takeaways
- Filtration is a physical process of removing solids.
- Layering different materials (fine vs. coarse) is the most effective way to filter water.
- Clean drinking water is a precious resource that requires complex treatment.
Encouraging curiosity
Don’t stop here! Now that you’ve mastered the bottle filter, why not look into how solar stills work or how plants help purify the air?