

Building a skyscraper out of standard printer paper might sound like a daydream, but in the world of structural engineering, it is a classic STEM challenge that reveals the hidden strength of everyday materials. When kids engage in a hands-on engineering challenge, they aren’t just playing with fiber sheets; they are discovering how the shape of a structure determines whether it will stand tall or collapse under pressure.
This guide explores the fascinating science of compression, providing parents and educators with a comprehensive roadmap for a fun stem activity. By using only a piece of paper and a little masking tape, children can learn to build strong paper structures capable of supporting an incredible amount of weight. Let’s dive into the world of paper columns, triangles, and the strongest shapes in engineering.
Activity Overview: Strong Paper Compression Challenge
The Strong Paper Compression Challenge is an educational powerhouse designed to introduce kids to the fundamentals of structural physics. At its core, the activity asks a simple question: How can we manipulate a flat sheet of paper to make it incredibly strong?
The educational purpose is to move beyond theoretical learning and enter the realm of the engineering design process. Kids are tasked with a constraint – usually limited materials like 10 sheets of printer paper and 30 cm of Scotch tape – to build a freestanding tower or a bridge.
Compression Force Focus
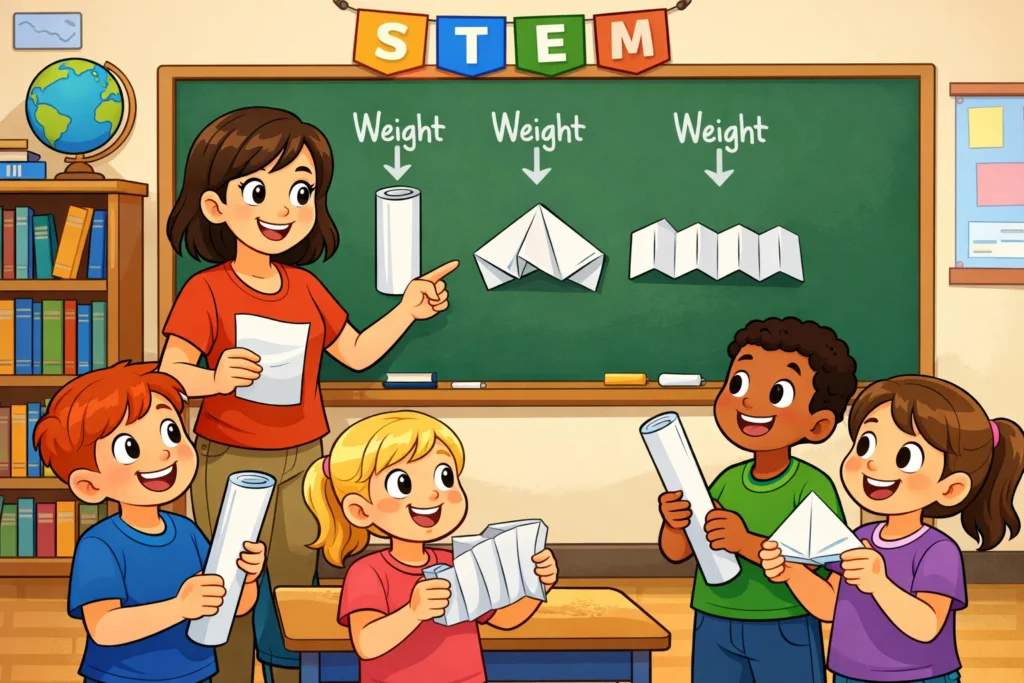
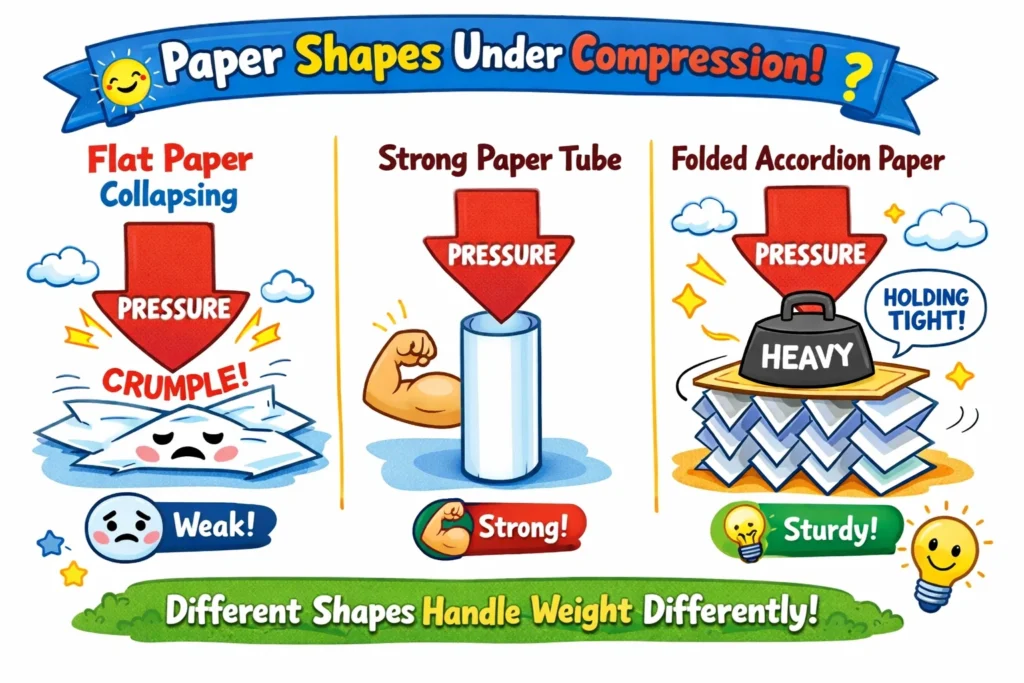
To understand this challenge, kids first need to grasp compression. Imagine squeezing a sponge or pushing down on a spring; that “squishing” force is called compression. In this stem challenge for kids, compression is the force exerted by the weight of the books placed on top of their paper shapes. While a flat sheet has very little resistance to compression, changing its shape allows it to fight back against that downward pressure.
Challenge Goal and Success Criteria
Success in an engineering challenge is defined by measurable outcomes. In this activity, the goal is typically one of the following:
- The Strongest Structure: To see which shape can hold the most books before it undergoes structural collapse.
- The Tallest Structure: To build the tallest paper tower that can remain stable under its own weight or a small load.
Failure is not a “bad” result; in engineering, a collapse is simply a data point that shows where a structure reached its limit.
Age Range and Skill Levels
This challenge for kids is highly adaptable:
- Ages 5-7: Focus on exploration. Can a rolled paper tube hold a single book?
- Ages 8-12: Introduce constraints and competition. Compare different shapes (circles vs. squares).
- Ages 13+: Focus on efficiency and optimization. Calculate the ratio of weight held to the mass of the material used.
Why Paper Compression Challenges Matter For Kids
Engaging in stem activities like this does more than teach physics; it builds “soft skills” that are vital for future success. Hands-on learning helps children remember concepts more effectively and develop a growth mindset.
Engineering Thinking Development
When a child’s paper tower begins to lean, they must analyze why. Is the base too narrow? Is the column buckling? This iterative process – Plan, Build, Test, Improve – is the heart of engineering. It teaches kids that the first version of a design is rarely the strongest.
Problem Solving and Creativity
With a limited amount of tape and different paper types, kids are forced to think outside the box. They might try a folded paper accordion style or a tightly rolled paper tube. Activities like this encourage “divergent thinking” where there isn’t just one right answer, but many possible solutions.
STEM Skill Integration
This challenge seamlessly blends multiple disciplines:
- Math: Measuring heights, counting books, and calculating weight distribution.
- Physics: Understanding gravity, compression, and centers of mass.
- Design: Drafting a blueprint before the actual build.
Core Engineering Concepts Behind Paper Compression
Why does a cylinder outperform a square? The answer lies in engineering principles regarding how forces move through a material.
Compression Versus Tension
It is helpful to explain forces as “The Push and The Pull.”
- Compression: Pushing together (like a column supporting a roof).
- Tension: Pulling apart (like the cables on a suspension bridge).
Standard stationery paper is surprisingly good at resisting compression when shaped into a tube, but it can be weak in tension if it’s pulled until it tears.
Load Distribution Principles
When you place books on top of a paper structure, that weight needs a path to the ground. If the weight is concentrated on one small point, the construction will collapse. If the weight is spread out across multiple paper columns, each part of the structure only has to carry a fraction of the total weight.
Strength Of Shapes
Not all shapes are created equal. In engineering, the strongest shape for resisting compression is often the triangle or the circle.
- Triangles: These are rigid because their angles cannot change without changing the length of their sides.
- Cylinders: These are incredibly strong because they have no corners. Corners act as “stress concentrators” where a collapse is likely to start.
| Shape | Compression Resistance | Why? |
| Flat Sheet | Very Low | Bends and buckles instantly. |
| Square Column | Medium | Corners provide some stiffness but can “fold” easily. |
| Triangular Prism | High | Fixed angles prevent the shape from deforming. |
| Cylinder | Very High | Distributes weight evenly across the entire surface. |
Materials and Setup for Paper Compression Challenge
Preparation is key to a successful stem activity. Using standard printer paper ensures a level playing field.
Basic Materials List
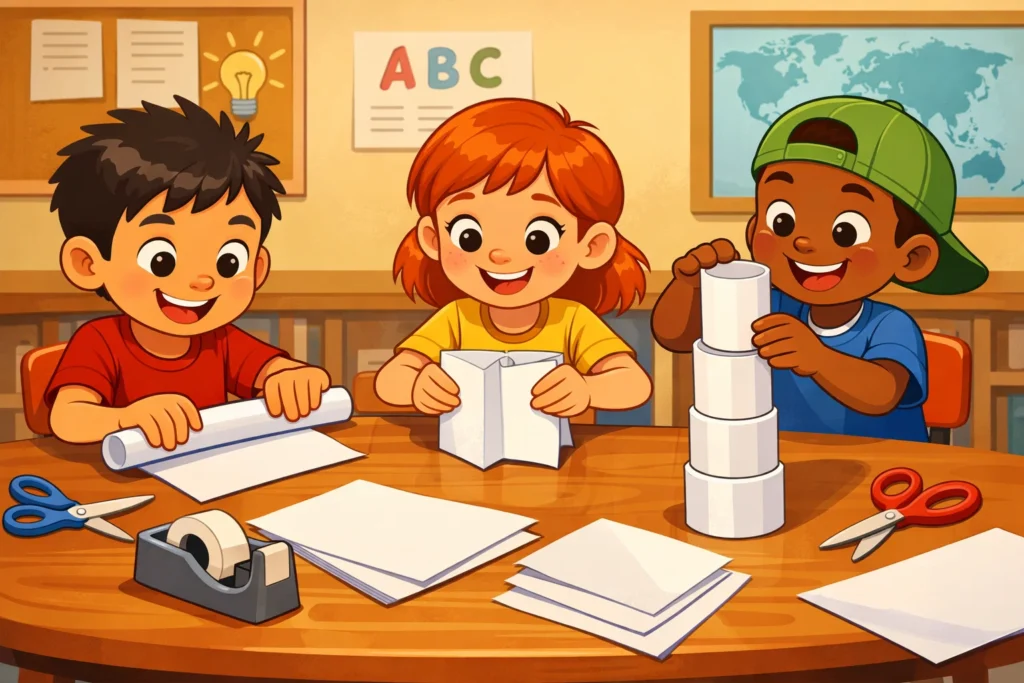
- Paper: 10-20 sheets of printer paper (8.5×11).
- Tape: Masking tape or scotch tape (limit to 1 meter per child).
- Tools: Scissors (for cutting the sheets into strips or tabs).
- Weights: Hardcover books, pennies, or small canned goods.
Classroom or Home Setup
Ensure you have a flat, stable surface. If testing to the point of collapse, it is wise to clear the floor area so falling books don’t hit toes!
Rules and Constraints Definition
Clearly state the rules: “You have 15 minutes and 10 sheets of paper. Your structure using these materials must be at least 20cm tall and support the weight of at least three books.”
Building First Paper Compression Structures
Before jumping into complex designs, kids should start with the basics to see which shape performs best.
Flat Paper Column Test
Try to stand a single piece of paper on its edge and place a book on it. It will collapse immediately. This demonstrates that material alone isn’t enough; shape is the primary driver of strength.
Folded Paper Column
By making simple folds, you create “ridges” that act like miniature beams. A folded paper square column is a great entry-level build. It shows how vertical edges provide resistance to bending.
Rolled Paper Tube Structure
Show kids how to roll the material around a pencil to create a tight cylinder. These paper tubes are the gold standard for strong paper builds. When several are taped together, they can support the weight of the books with ease.
Advanced Paper Structure Designs For Compression
Once the basics are mastered, it’s time to look at more complex engineering techniques.
Corrugated Accordion Columns
Think of a cardboard box. Inside the walls is a zig-zag layer. Kids can mimic this by using only paper to create a “corrugated” sheet. This folded paper technique creates significantly increased stiffness.
Triangular Prism Structures
Encourage kids to use the triangle. By taping three strips of paper together into a long prism, they create a structure that resists twisting. These are often used as “trusses” in a paper bridge.
Layered and Reinforced Columns
If a single cylinder isn’t enough, try nesting! Sliding a smaller tube inside a larger one can significantly increase the load a structure can carry before it starts to collapse.
Testing and Measuring Paper Compression Strength
The “Test” phase is the most exciting part of any stem challenge for kids.
Weight Testing Methods
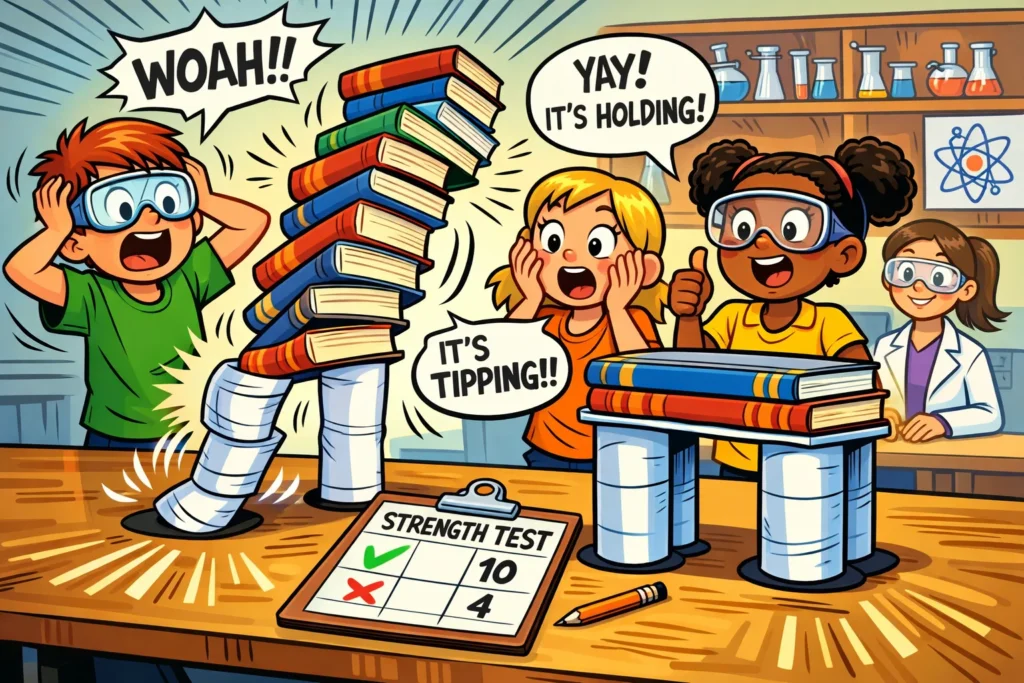
Add weights slowly. If using books, place them centered over the paper columns. Dropping a book or placing it off-center creates “eccentric loading,” which causes the structure to tip rather than compress.
Recording Load Results
Give kids a chart to track their progress.
- Design A (Square): 3 Books
- Design B (Cylinder): 12 Books
Tracking data is a core part of the scientific method.
Failure Point Observation
Watch the structure closely as weight is added. Does it wrinkle? Does it bow outward? This bowing is called buckling. Identifying the failure point helps kids understand where their design needs reinforcement.
Design Iteration and Improvement Strategies
As the saying goes, “Engineering is the art of continuous improvement.”
Analyzing Weak Points
If a paper tower fails at the base, it may indicate that the compression forces were too high for the bottom columns. “The failure is your teacher,” as many civil engineers say.
Redesign Based On Results
If the triangular prism buckled, perhaps the material was too thin. Would a tighter fold or a shorter column work better? Shorter columns are generally more resistant to buckling than tall, skinny ones.
Comparing Multiple Designs
Line up the different shapes. Discuss why the strongest one survived. This comparative analysis helps cement the engineering principles learned during the hands-on phase.
Real World Connections To Compression Structures
Connecting the challenge to the real world makes the lesson stick.
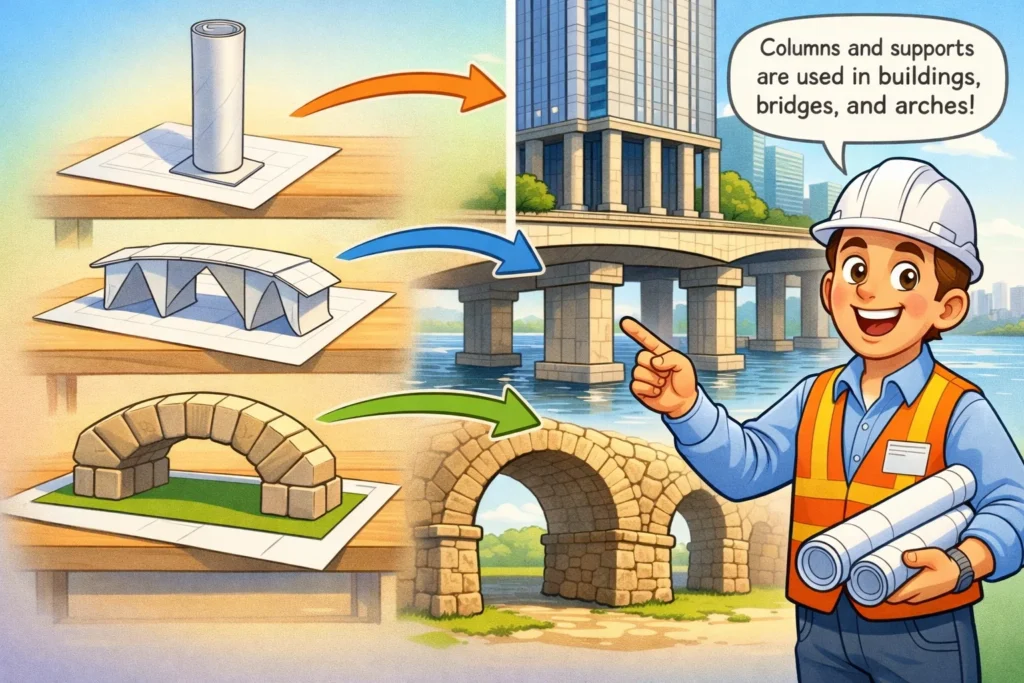
Columns And Skyscrapers
Look at the Parthenon in Greece as an example or the columns in a modern parking garage. They are thick, vertical supports designed specifically to handle compression – just like the paper columns the kids built.
Bridges And Arches
A paper bridge challenge mimics real-world infrastructure. Arches are masterclasses in compression; they push the weight outward and downward into the ground supports.
Civil Engineer Role
Explain that a civil engineer’s job is to ensure that structures stand even during earthquakes or high winds. They use the same strong shapes – circles and triangles – to keep us safe.
Reflection and Extension Activities
After the building is done, take a moment to reflect.
- Discussion Questions: “What would happen if we used wet paper?” “Which constraint was the hardest to follow?”
- Design Variations: Try a “Bridge Challenge” where the paper must span a gap between two chairs.
- Cross STEM Connections: Link the activity to history (building the pyramids) or art (origami and structural form).
Common Challenges and Motivation Tips
It can be frustrating when a paper tower falls.
- Frustration During Collapse: Remind kids that even professional engineers have designs that fail during testing. It’s part of the process!
- Team Collaboration: Assign roles – one child is the “Lead Architect,” another the “Materials Specialist,” and another the “Quality Tester.”
- Celebrating Effort: Don’t just celebrate the strongest structure; celebrate the most improved design or the best teamwork.
Frequently Asked Questions
While standard printer paper is the most common for challenges, cardstock is incredibly strong for more permanent structures. However, for a fair stem challenge, sticking to the same type of paper for everyone is best.
Limit the amount of tape to zero. Can they create a strong paper structure using only friction and folds? Or, require the tower to hold a specific heavy object, like a 2L soda bottle.
Always stack weights on a sturdy table or the floor. Ensure children keep their feet clear of the “drop zone” in case the weight of the books causes a sudden collapse.