

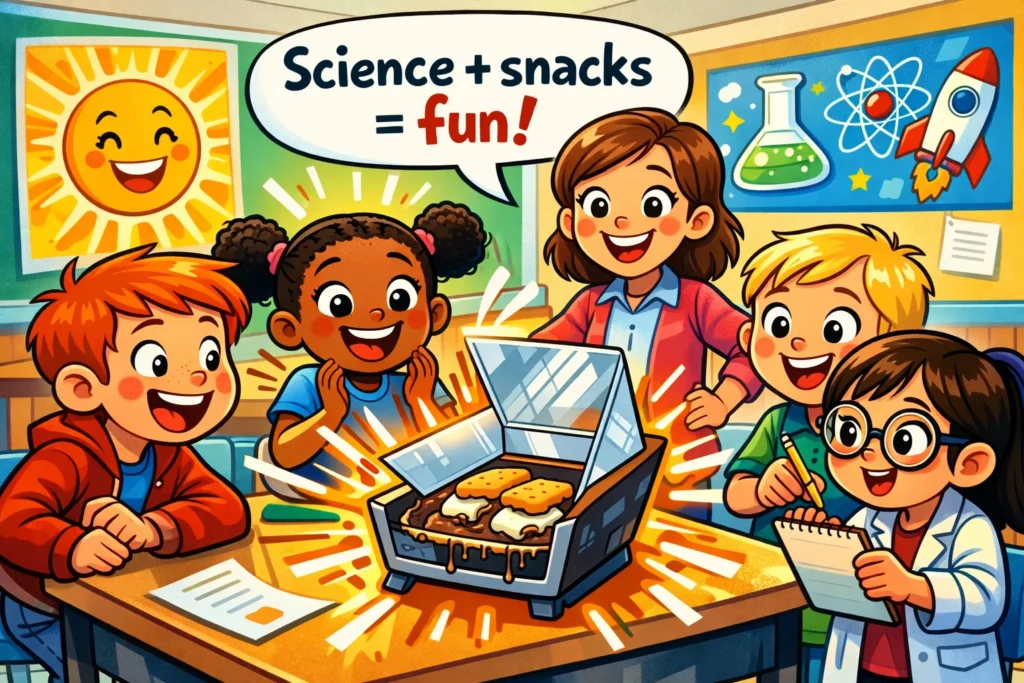
Welcome to one of the most exciting, delicious and engaging ways to explore the world of renewable energy! If you are looking for a summer science project that combines engineering with a tasty reward, look no further than the solar oven s’mores challenge. This science experiment isn’t just about making a snack; it’s a hands-on STEM activity that transforms a simple pizza box into a functional solar cooker.
By using the power of the sun, kids can observe basic physics principles in real time. This edible experiment teaches children how to make solar energy work for them using common household items like aluminum foil, black paper, and plastic wrap. Whether you are a parent looking for a weekend activity for kids or a teacher planning a science project, building a DIY solar oven is a fantastic way to illustrate how solar radiation can be harnessed to generate heat. Let’s dive into how you can make a solar oven and witness the sun’s energy turn a cold marshmallow and chocolate into a gooey masterpiece.
Solar Oven Smores STEM Activity
The solar oven s’mores activity is the perfect marriage of education and entertainment. It is widely used in classrooms and scout troops because it bridges the gap between abstract concepts and tangible results. This project is generally suitable for children aged 5 to 14, though younger children will need a helping hand with the assembly.
Solar energy concept for kids
At its core, this project teaches kids that the sun does more than just provide light; it provides light energy that can be converted into thermal energy. You can explain to your children that the sun’s rays travel through space and hit the Earth. When these rays hit certain surfaces, they absorb heat. In our oven, we are essentially “catching” the sunlight into the box and preventing it from escaping.
Why smores work well for solar cooking
A s’more is the ideal candidate for a solar oven test because its components have low melting points. You don’t need a 400°F industrial oven to get a marshmallow to soften or a graham cracker to hold a melty piece of chocolate. Seeing the chocolate melt provides immediate visual proof that the oven outside is actually working, even without a plug or a flame.
Skills kids practice during activity
Beyond the science, this s’mores activity fosters several developmental skills:
- Observation: Watching how the marshmallow expands or the chocolate loses its shape.
- Patience: Unlike a microwave, solar energy takes time.
- Prediction: Guessing how long it will take based on how “hot” the sun feels.
- Teamwork: Working together to line the inside of the box or seal the plastic wrap.
Solar Oven Challenge Setup
To make this more than just a craft, frame it as a “Challenge.” The goal is to build a solar oven that reaches the highest possible heat inside to cook the perfect s’more.
Challenge goal and success criteria
The primary goal is to use solar radiation to melt a s’more until the marshmallow is squishy and the chocolate is glistening.
Success Criteria: A “perfect” s’more is achieved when the chocolate is fully melted and the marshmallow has softened enough to be compressed between two graham crackers. If you have a thermometer, a secondary goal is to see if the inside temperature of the oven can reach at least 160°F.
Ideal weather and location
For the best science results, you need direct sunlight. Choose a clear, cloudless day. The oven works best in direct sunlight between 11:00 AM and 3:00 PM when the sun is highest in the sky. Avoid windy spots, as a breeze can pull heat energy away from the lid of the box.
Safety rules for kids
Safety is paramount in any science activity.
- Cutting: An adult should handle the utility knife when cutting the top of the pizza box.
- Heat: Surfaces inside your oven, especially the aluminum foil, can become surprisingly hot.
- Hygiene: Ensure hands are washed before handling food, and always place the marshmallow and chocolate on a clean piece of foil or a small tray.
Solar Oven Project Supplies
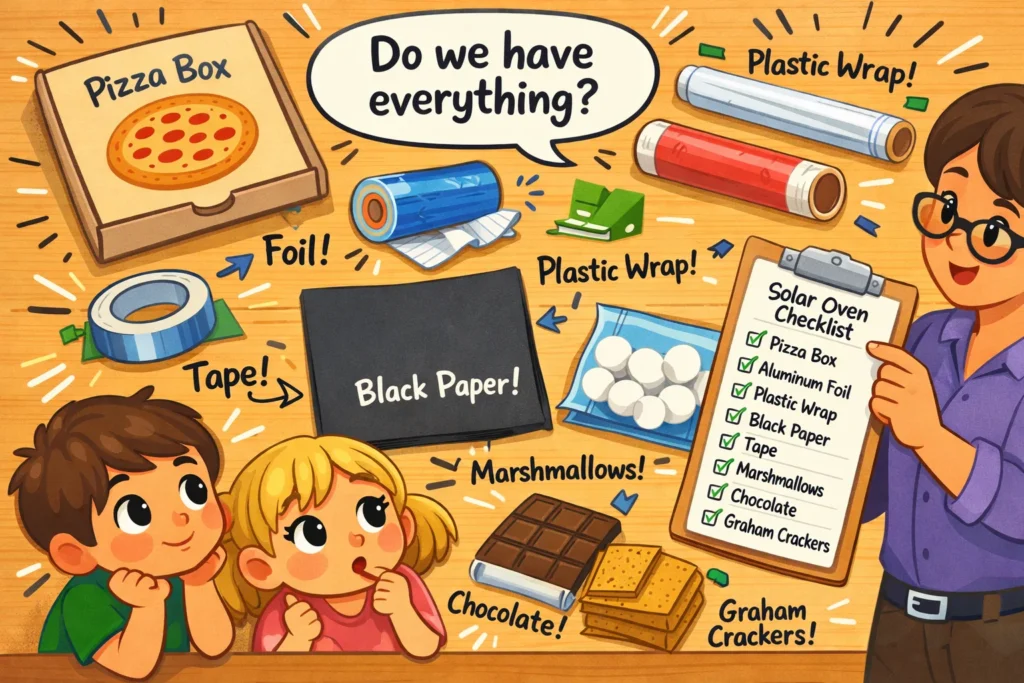
You don’t need expensive equipment to make a solar oven. Most of these items are likely sitting in your recycling bin or pantry.
Required materials
| Item | Purpose |
| Pizza Box | The main structure/insulated chamber. |
| Aluminum Foil | Reflects sunlight into the box. |
| Plastic Wrap | Creates a greenhouse effect to trap heat inside. |
| Black Construction Paper | Placed at the bottom of the box to increase heat absorption. |
| Tape/Glue | Secures the lining and seals the “window.” |
| Wooden Skewer | Props up the flap to catch the sun’s rays. |
| S’mores Ingredients | Graham crackers, chocolate bars, and marshmallows. |
Optional upgrades
- Thermometer: To track how the heat energy rises over time.
- Newspaper: Can be crumpled and placed around the inside edges of the box for extra insulation.
- Black Paint: Some find that painting the box with black paint works even better than paper.
Budget-friendly alternatives
If you don’t have a pizza box, a shoe box or a shipping box works just as well. Instead of black construction paper, you can use a sheet of black felt or even a black t-shirt. The key is to have a dark surface that absorbs the heat.
How to make a solar oven
Follow these steps to make s’mores using nothing but the sky!
Preparing pizza box oven base
Start with a clean, empty pizza box. On the lid of the box, draw a square about 1-2 inches from the edges. With an adult’s help, cut along three sides of that square, leaving the side closest to the hinge uncut. Fold this flap up so it stands open.
Creating reflective flap
Take your aluminum foil and wrap it tightly around the underside of the flap. You want it to be as smooth as possible – think of it as a mirror. This part of the diy solar oven is designed to reflect sunlight down into the box.
Sealing heat with plastic wrap
Open the lid and line the inside of the box with aluminum foil for extra reflection. Then, place a sheet of black paper on the bottom of the box. To create the “oven window,” tape a double layer of plastic wrap over the opening created by the flap. It should be sealed tightly to trap heat.
Placing smores inside oven
Place your graham cracker, chocolate, and marshmallow on a small piece of foil inside the oven. Close the main lid (with the plastic window), but keep the foil-covered flap propped open using a skewer.
Doing Smores Test
Now that the build is complete, it’s time to make s’mores!
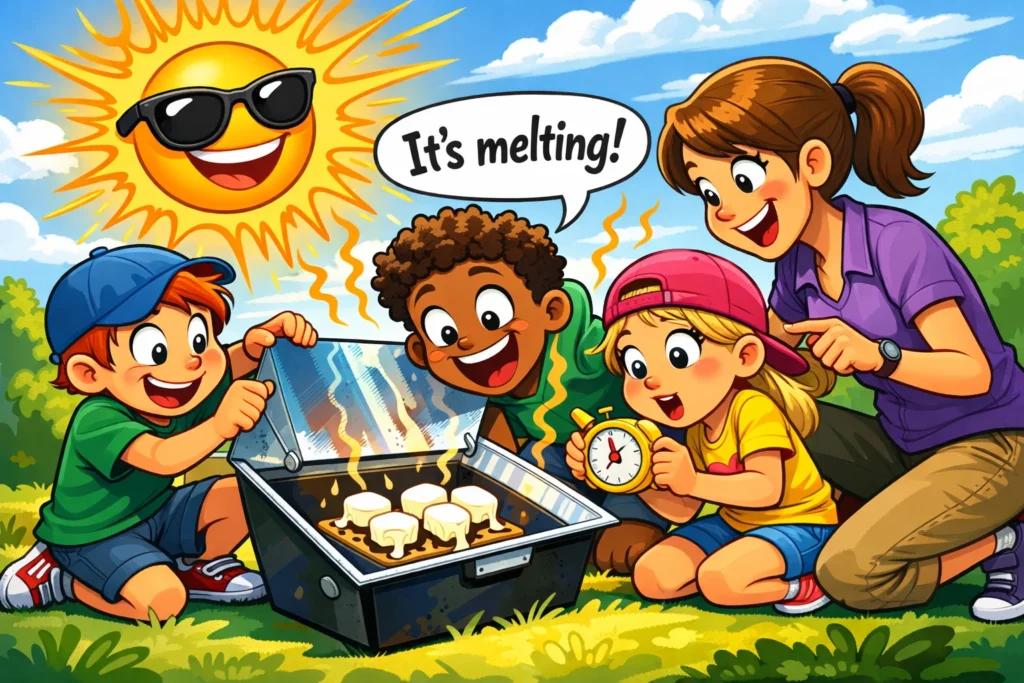
Positioning oven toward sun
Take your solar oven outside and find a flat surface. You must ensure the oven is facing the sun. Adjust the angle of the flap so the aluminum foil reflects the maximum amount of direct sunlight through the plastic wrap and onto the s’more.
Timing melting process
The energy to cook depends on the weather. Start your timer and check inside the oven every 10–15 minutes. On a hot day, you might see the chocolate melting in 20 minutes, while the marshmallow may take 30–45 minutes to become truly soft.
Recording results
Encourage kids to keep a log. Note the starting time, the air temperature, and how the marshmallow and chocolate look at each interval. This turns a snack into a legitimate science experiment.
Observation and Results
What kids observe during melting
Initially, nothing seems to happen. Then, the chocolate will begin to look “shiny” – this is the first sign it’s melting. The marshmallow may not brown like it does over a campfire, but it will start to “slump” or expand slightly as the air inside it heats up.
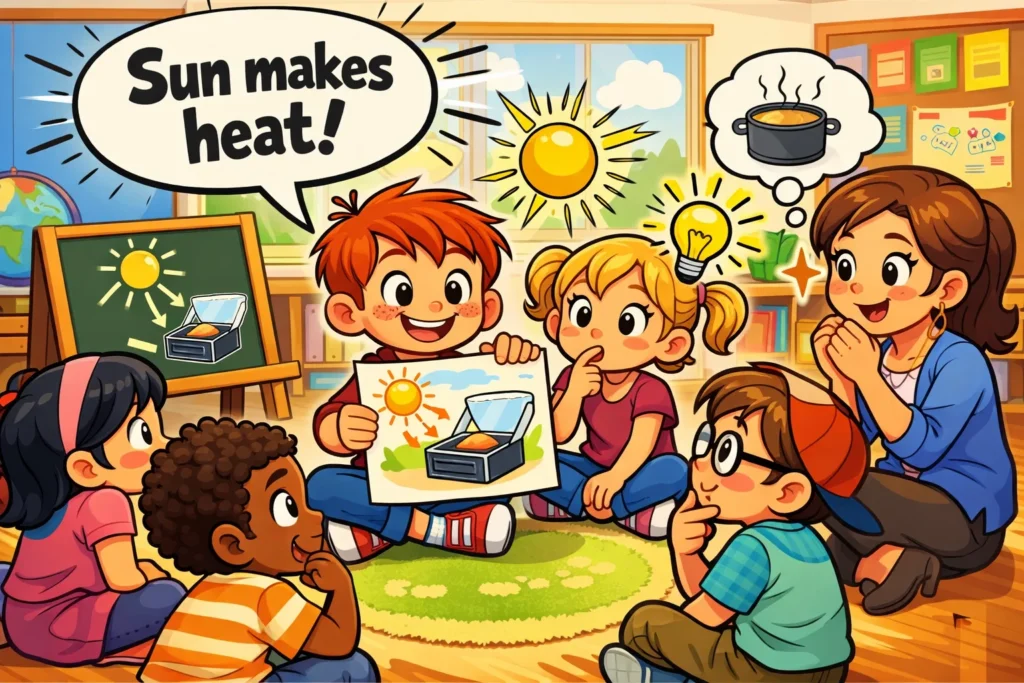
What happens inside solar oven
The black paper absorbs the heat from the light energy. The aluminum foil reflects and directs sunlight, and the plastic wrap prevents the heat inside from escaping. This is exactly how a greenhouse – or a car on a hot day – works!
Why some ovens perform better
If one solar cooker is faster than another, look at the “seal.” Was there a gap in the plastic wrap? Was the flap at the wrong angle? Small changes in how you line the inside can make a huge difference in how much energy from the sun is absorbed and trapped.
Solar Oven Science Discussion Points
Reflection and heat absorption
Explain that the foil reflects light, while black paper absorbs it. Light colors reflect energy from the sun, while dark colors turn it into heat energy. This is why people often wear white in the summer!
Greenhouse effect in simple terms
The plastic wrap acts as a barrier. It lets the sunlight into the box, but once that light turns into heat energy, it cannot escape easily through the plastic. This creates a pocket of trapped thermal energy.
Real-world solar cooking examples
Did you know that in many parts of the world, people use large-scale solar cookers to pasteurize water and cook meals? It’s a sustainable way to use solar energy without needing wood or electricity.
Other Ways to Perform Experiment
- Different oven designs: Try making a solar oven using a Pringles can or a glass bowl.
- Testing different foods: See if you can melt cheese for nachos or warm up a mini pizza.
- Comparing results: Set up two ovens – one with a black construction paper bottom and one with a white bottom – to see which one absorbs more heat.
Build On Activity Learning
Follow-up questions for kids
- “Why did we use black paper instead of white?”
- “What would happen if we did this on a cloudy day?”
- “How could we make the inside of the box even hotter?”
Simple solar energy lessons
Connect this to how solar panels on roofs work. Both use the power of the sun, but one creates heat while the other creates electricity.
Turning project into school report
Use the data recorded to write a hypothesis (e.g., “I think the chocolate and marshmallow will melt in 30 minutes”) and a conclusion based on the observed cooking time.
Solar Power Books
To deepen the experience, consider these resources:
- Running on Sunshine: How Does Solar Energy Work? by Carolyn Cinami DeCristofano.
- Solar Power: Earth’s Clean Energy by Laurie Brearley.
Type of Challenge for Groups
This is a great science activity for birthdays or classrooms!
- Solo vs Team: Have teams compete to see whose oven works the fastest.
- Timed Challenge: Who can reach 150°F first?
- Creativity Scoring: Award points for the best-decorated lid of the box.
Evidence Submission Ideas
- Photo Documentation: Take a “before” and “after” photo of the inside of your oven.
- Experiment Journals: Have kids draw the three sides of the flap and label the parts.
- Video Presentation: Let the kids film a “cooking show” explaining how the sun’s heat does the work.
Suggestions for Better Results
Increasing oven temperature
To absorb more heat, ensure the plastic wrap is pulled taut and taped down completely. You can also add a second layer of aluminum foil to the bottom of the box underneath the black paper.
Best times for solar cooking
Midday (12:00 PM – 1:00 PM) is the peak. Ensure your oven is facing the sun directly and not sitting in the shadow of a tree or house.
Common mistakes to avoid
- Loose wrap: If the plastic is loose, heat leaks out.
- Shadows: Even a partial shadow reduces the light and heat significantly.
- Opening the lid: Every time you peek, you lose heat energy!