

If you are looking for a way to pull your kids away from the digital world and plunge them into a hands-on world of physics, look no further than the Longest Distance Ball Run Challenge. This activity is a classic for a reason: it combines the thrill of a race with the deep satisfaction of architectural achievement. Unlike a standard race where speed is king, a distance challenge shifts the focus toward endurance, stability, and clever pathfinding.
The beauty of this STEM challenge lies in its accessibility. Whether you are a parent at home or a teacher in the classroom, you can facilitate a high-quality engineering experience using little more than cardboard, tape, and simple materials from the recycling bin. It is a powerful way to stimulate a child’s creativity while subtly introducing complex concepts like gravity, friction, and momentum.
Marble Run Challenge Concept
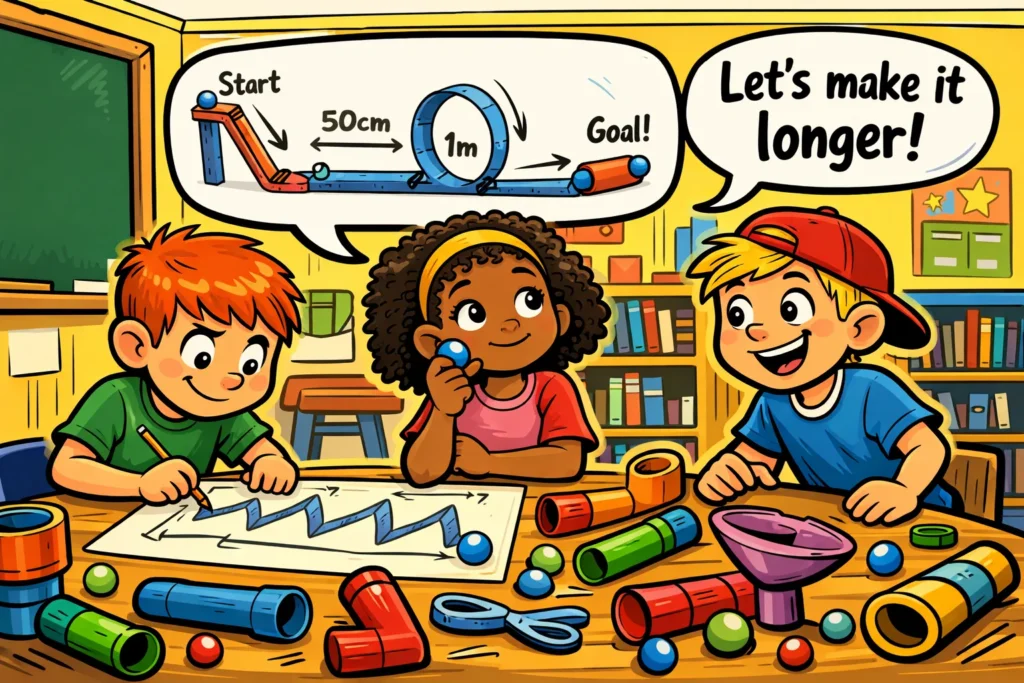
The distance-focused ball run challenge is a distinct “flavor” of engineering. Most kids are used to building a track that goes from a table to the floor as fast as possible. However, the longest distance challenge asks them to rethink that design. Instead of a vertical drop, they must focus on horizontal extension – keeping the rolling ball moving across a mostly horizontal or gently sloped surface for as long as possible.
Goal of longest distance marble run
In this specific creation, success is measured by the total distance the rolling object travels before it comes to rest. The goal isn’t just a 5-second thrill; it’s about a continuous, uninterrupted journey. Some challenges measure the linear distance across a room, while others focus on the total length of the tubing used, even if the track loops back on itself.
Rules and constraints for kids’ challenge
To keep the engineering challenge fair and focused, it helps to establish a few ground rules:
- Unassisted Motion: The ball must move using gravity alone. No pushing or motorized parts!
- Material Limits: You might limit the supply to specific items like paper towel rolls and masking tape.
- Safety First: If using a glue gun, adult supervision is required. Ensure scissors are age-appropriate.
- The “Stop Rule”: If the marble stops for more than two seconds, the run is considered over.
Why distance challenges motivate kids
Distance challenges tap into a child’s natural desire to break records. There is a visible, tangible “win” every time they add a new sheet of cardboard or a new tube to the line. It turns a living room or a school hallway into a laboratory where physics becomes a game. The iterative nature of building a DIY marble run – watching it fail, making a tweak, and seeing it succeed – builds immense persistence.
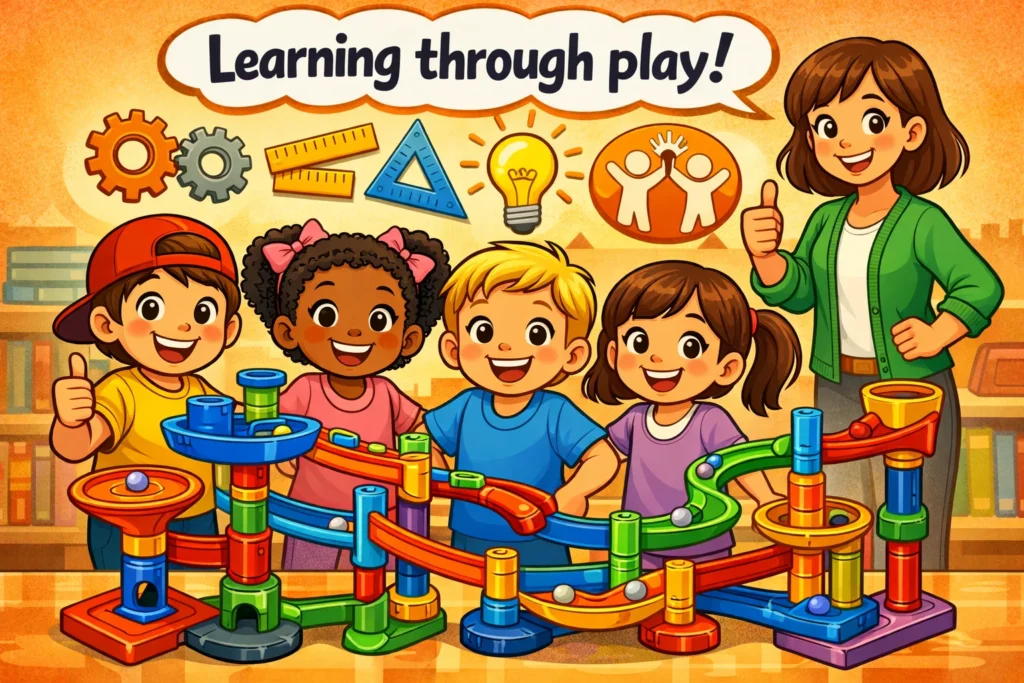
STEM Learning Through Marble Run Play
While children see a toy, educators see a powerful learning tool. This activity aligns perfectly with a STEM-based activity curriculum, teaching the fundamentals of the classic engineering cycle: Plan, Build, Test, and Improve.
Gravity and motion in long marble paths
The engine of every marble run is gravity. Kids quickly learn that a steep ramp provides high speed but uses vertical height quickly. To achieve a long distance, they must experiment with a shallow angle. If the slope is too steep, the ball might fly off the track; if it’s too flat, the marble may stall.
Friction and surface impact on distance
Friction is the “enemy” of the long-distance run. The marble and the track surface rub against each other, slowing the object down.
- Smooth Surfaces: Foil or wrapping paper can reduce friction.
- Rough Surfaces: Pasta or straw accents might look cool but act as a brake.
- Joints: A bumpy connection between two toilet paper rolls can sap momentum.
Engineering thinking during design and testing
When a marble gets stuck in a tunnel or a chute, the child must act as an engineer. They have to execute a solution: Is the shape of the curve too sharp? Does the structure need more stability? This tricky troubleshooting is where the real brain work happens.
Math skills from measuring distance and angles
This is a “stealth math” activity. You can ask kids to:
- Measure the total length using a measuring tape.
- Provide an estimation of how far the ball will go before they release it.
- Compare the angle of different ramps to see which keeps the marble moving longest.
| Concept | Action | Learning Outcome |
| Velocity | Timing the run | Understanding speed over distance |
| Geometry | Creating a curve | Learning about centripetal force |
| Structural Integrity | Building supports | Understanding weight and balance |
Materials for Longest Distance Marble Run
You don’t need expensive kits to create a marble masterpiece. In fact, using different materials from around the house often leads to more creativity.
Everyday materials for DIY marble runs
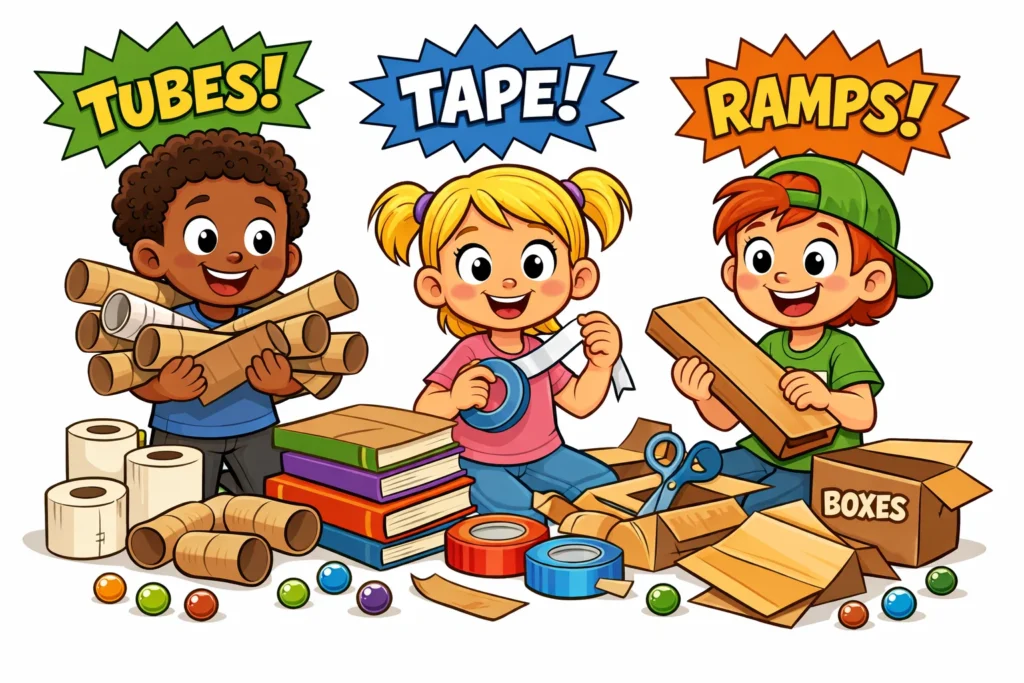
The “gold standard” for a DIY marble run is the humble cardboard tube.
- Tubes: Paper towel rolls, wrapping paper tubes, and toilet paper rolls.
- Connectors: Masking tape, glue gun (for adults), and paper clips.
- Structural Support: Books, chairs, or cardboard boxes to create height.
Recycled and low-cost material ideas
Think outside the box – literally. Use cereal boxes cut into strips to create a wide range of track shapes. Rubber bands can be used to tension supports, and plastic tubing or old garden hoses make for excellent high-speed tunnels.
Choosing marbles for long-distance runs
Not all marbles are created equal. A heavy steel ball bearing has more inertia and can push through friction better than a light plastic one. However, a standard glass marble is usually the most functional for home builds because it fits perfectly in toilet paper tubes.
Building Process Step by Step
Ready to execute the build? Follow these steps to stimulate those engineering brains.
1. Planning track layout for maximum distance
Don’t just start taping! Encourage the kids to encourage a discussion or sketch a design on a sheet of paper. Will they use a “zig-zag” shape down a wall? Or a long, straight run across the floor? Designing the path first prevents the “dead end” trap where you run out of height before reaching your goal.
2. Setting up safe and stable supports
A marble run is only as good as its foundation. If the track wobbles, the marble loses energy. Use heavy books or sturdy boxes to secure the base. Use masking tape generously to anchor tubes to the wall or furniture.
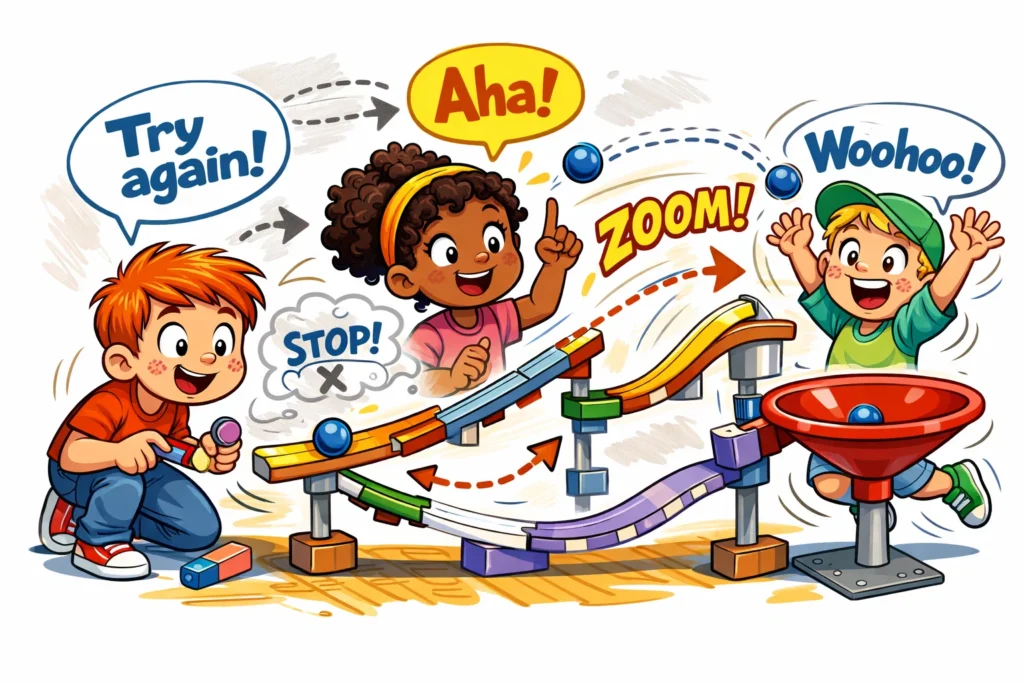
3. Testing, adjusting, and extending track
This is the iteration phase. Test each section as you build it. If the rolling ball successfully navigates a funnel or a curve, add the next piece. If it fails, adjust the angle or the joints.
Experimenting and Improving Distance
To truly conquer the marble run challenge, you need to optimize. Expert builders know that the “secret sauce” is in the details.
- Smooth Transitions: Ensure that half tubes are aligned perfectly so there is no “lip” for the marble to hit.
- The Funnel Effect: Use a wide funnel (made from a plastic bottle or cardstock) to catch marbles coming off a fast slide.
- Banked Curves: On a curve, tilt the track inward to keep the marble from flying out.
Expert Tip: “The most common reason the ball stops isn’t a lack of gravity; it’s a loss of alignment at the joints. A tiny 1mm gap can act as a brake.”
Challenge Variations for Different Ages
The marble run STEM activity is highly adaptive. You can generate different versions of the challenge cards based on the builders’ skills.
Longest distance marble run for preschool kids
For the little ones, focus on simple materials. Use tubes in half (gutters) so they can see the marble the whole time. The goal should be a run that covers a single room. Use decorative stickers and bright colors to keep them engaged.
Advanced distance challenges for older kids
Introduce functional constraints. For example: “The marble must travel at least 10 meters but cannot use more than 5 pieces of tape.” Or, “Incorporate a maze section where the marble must find its own way through.”
Team-based marble run competitions
In a classroom setting, divide kids into teams. Each team is responsible for a 2-meter section of the track. The final challenge is to join all the sections together to create one massive, unified marble run. This teaches collaboration and communication.
Educational and Developmental Benefits
Beyond physics, there are powerful learning outcomes that help a child’s overall development.
Problem-solving and persistence
Things will go wrong. The tape will peel, the structure will collapse, and the marble will fly off the chute. This tricky process teaches children that failure is just data. Educational psychology shows that these types of engineering challenges are essential for building stability in a child’s confidence.
Creativity and imagination in track design
A marble run doesn’t have to look like a factory. Kids can decorate their runs to look like a dragon’s lair, a space station, or a futuristic city. Using craft supplies like foil, glitter, or paint turns a science project into an art piece.
Fine motor skills and coordination
Manipulating small objects, cutting cardboard, and placing paper clips requires precise hand-eye coordination. It’s a great way to give kids a break from the screen while still engaging their minds.
Common Mistakes and How to Avoid Them
Even the best engineer runs into trouble. Here is how to keep the marble rolling:
- Too Steep Early On: If you drop the marble too fast at the start, you run out of “potential energy” quickly. Start with a shallow slope.
- Unstable Connections: If a track section moves when the marble hits it, the energy is absorbed by the track instead of the marble. Stability is key!
- Overcomplicating: Don’t try to add a loop-de-loop or a jump until you have mastered a basic straight distance.
Ready to Build?
The longest distance marble run challenge is more than just a way to pass the time – it’s an invitation to think like a scientist and create like an artist. Whether you’re using simple materials from your recycling bin or professional tubing, the thrill of that final successful roll is a memory your kids won’t soon forget.
Frequently Asked Questions
While children as young as 3 can enjoy simple runs, the engineering aspect typically clicks around age 6. For a “Longest Distance” challenge, ages 8–12 are the “sweet spot” for independent building and complex design.
For a home activity, 45–60 minutes is perfect. In a classroom, this can be a multi-day curriculum project where students test and record results over several sessions.
Absolutely! One of the best ways to keep the fun going is to build “modules.” If you use masking tape instead of permanent glue, you can take the track apart and re-engineer it into a new shape the next day.