

Are you looking for a way to transform a rainy afternoon or a classroom science block into an exciting engineering mission? The Ice Insulation Challenge is one of those rare STEM activities that manages to be both incredibly simple to set up and highly engaging for children of all ages. Whether you are helping “Santa keep his lunch cold” or designing a high-tech “space capsule” to protect an ice cube from the sun’s rays, this experiment brings abstract concepts like thermal energy to life.
In this hands-on science activity, kids take on the role of thermal engineers. Their goal? To design and build a container that slows down the melt rate of an ice cube. By testing different materials – from aluminum foil to cotton balls – children discover firsthand how insulation works to slow heat from reaching the ice. It is a fair test of materials that encourages critical thinking, observation, and a whole lot of chilly fun.
Science Concepts Behind Ice Melting
Science concepts of ice melting explained to kids in fun experiment.
To a child, ice seems to melt “just because.” However, the science behind it involves a fascinating interaction of molecules and energy. Understanding why melting ice occurs is the first step in learning how to stop it.
Heat transfer basics
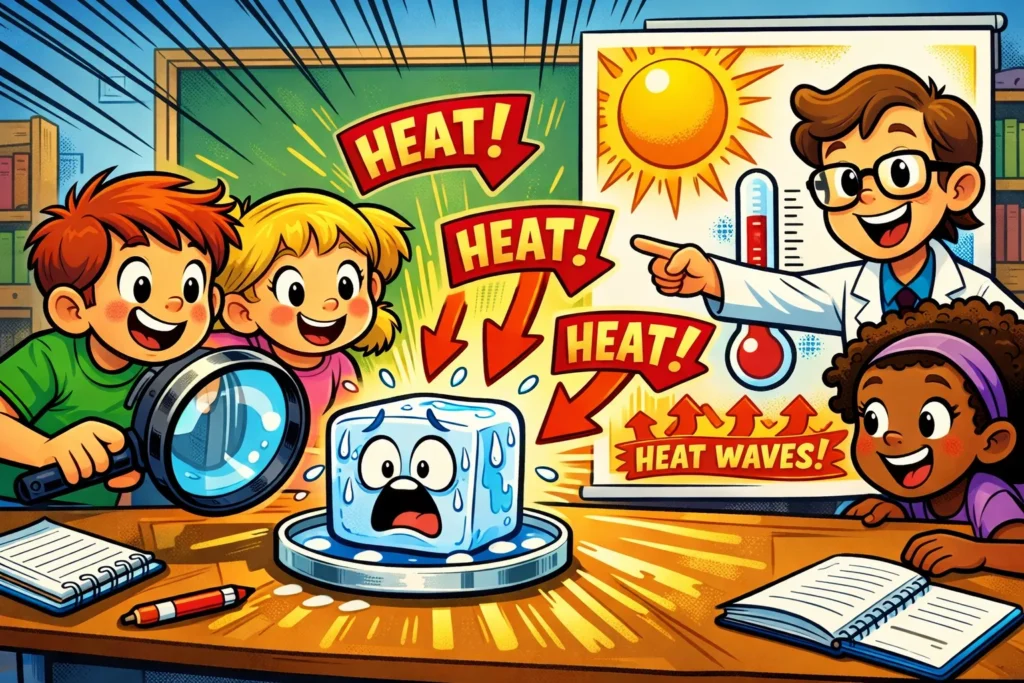
Heat is a form of energy that naturally moves; it always wants to move from where it is hot to where it is cold. This movement is called heat transfer. In this experiment, children observe three main ways heat moves:
- Conduction: This is the transfer of heat through direct contact. If you hold an ice cube in your hand, the heat from your skin moves directly into the ice.
- Convection: This happens through fluids like air or water. Warm air moves around the container, warming it up.
- Radiation: Energy that travels in electromagnetic waves. Think of the warmth you feel from the sun or a heat lamp without touching it.
Temperature and melting point
Water has a very specific freezing point at 0°C (32°F). Anything above this temperature provides enough thermal energy to begin breaking the crystalline structure of the ice. As the ice absorbs heat energy, it reaches its melting point and transitions from a solid to a liquid. The more thermal energy it absorbs, the faster the ice melts.
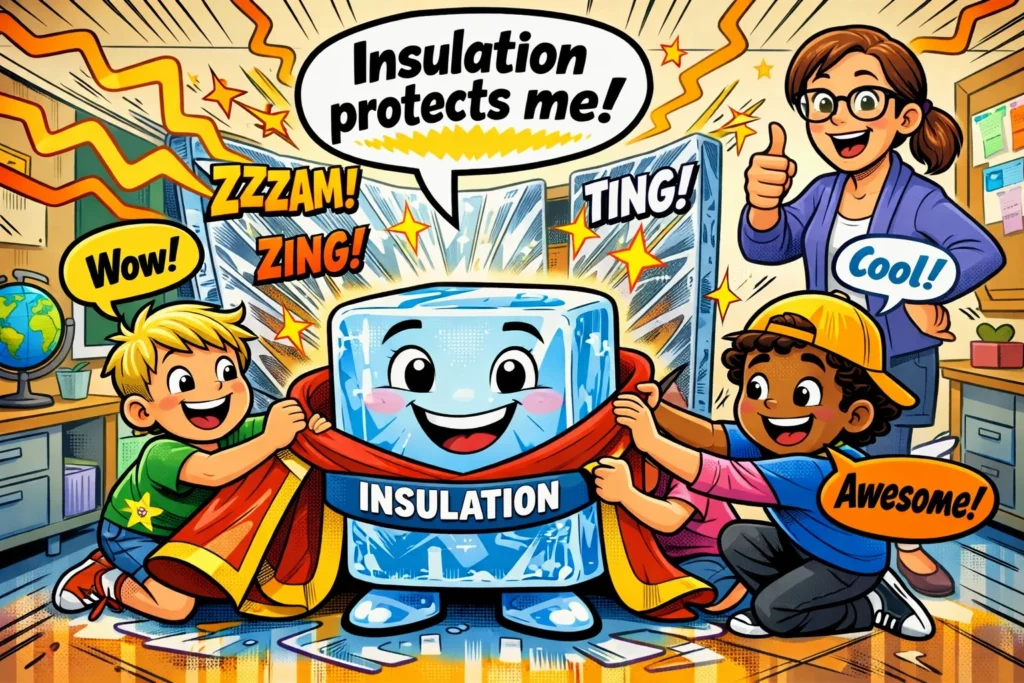
Role of insulation in daily life
We use a thermal insulator every day without realizing it. A thermos keeps cocoa hot, and a lunchbox helps keep juice cool. Even the winter clothes we wear act as insulating material to keep our body heat from escaping into the chilly air. This experiment helps kids see that insulation isn’t just a science word – it’s a practical tool for survival and comfort.
Insulation Challenge Setup for Kids
Before you make ice the star of the show, you need to gather your “lab equipment.” Most of these items are likely sitting in your kitchen or recycling bin right now.
Supplies list
To compare materials to see which works as the best insulator, try to gather a variety of textures and densities:
- One ice cube per container (plus one for a control).
- Containers: Small plastic cups, jars, or cardboard boxes.
- Insulators: Bubble wrap, aluminum foil, plastic wrap, cotton balls, newspaper, and scrap fabric (wool is excellent).
- Tools: A timer, a thermometer (optional), tape, and rubber bands.
Workspace preparation
Since you are dealing with melting ice, things will get damp. Set up on a water-resistant surface like a kitchen counter or a plastic tray. If you are doing this in a classroom, give each group a drip tray to catch any dripping meltwater.
Safety tips for kids
While this is a simple science activity, remind children that:
- Ice is cold: Handling ice for too long can sting; use spoons or tongs if needed.
- Small parts: Items like rubber bands or small toys frozen inside the ice can be choking hazards for toddlers.
- Spills: Water on a hard floor is a slipping hazard. Keep paper towels handy!
How Insulation Works in Ice Experiments
Not all materials are created equal. Some allow heat to pass through quickly (a good conductor of heat), while others slow it to a crawl (insulator).
Trapping air to slow heat flow
The secret to good insulation is often air spaces. Materials like cotton balls or wool trap air in tiny pockets. Since air is a poor conductor of heat, these pockets act as a barrier. This is why a “fluffy” material often makes a more effective insulator than a flat, solid one.
Reflecting heat with shiny surfaces
Aluminum foil works differently. Instead of trapping air, its shiny surface reflects thermal energy (radiation) away from the ice cube. However, foil is a metal, meaning it is a conductor of heat through conduction. This is a great teaching moment: why might a combination of materials (like foil over cotton) work better than one material alone?
Thick vs thin material comparison
Generally, the thicker the insulating material, the harder it is for heat energy to penetrate. Think of it like a wall; a thicker wall takes longer for heat to pass through. During the science experiment, kids will notice that multiple layers of plastic wrap or paper work significantly better than a single thin sheet.
Step-by-Step Ice Insulation Experiment
Follow these steps to ensure a fair test and accurate observations.
Experiment procedure
- Label your containers: Designate one as the “Control” (no insulation) and others by the material used.
- Apply Insulation: Insulate your containers. You might wrap one in bubble wrap and another in aluminum foil.
- Add the Ice: Place one ice cube in each container at the exact same time.
- Start the Timer: Use a timer to check the progress every 10 or 15 minutes.
- Make Observations: Without touching the ice too much, observe the size of the cubes.
Recording results
Using a table helps kids visualize the data. You can use a simple scale of 1–5 to rate how much ice is left.
| Material Used | 15 Minutes | 30 Minutes | 60 Minutes | Final Rank |
| No Insulation (Control) | Small puddle | Half melted | Mostly water | 4th |
| Bubble Wrap | No change | Sweating | Mostly solid | 1st |
| Aluminum Foil | No change | Small puddle | Half melted | 3rd |
| Cotton Balls | No change | No change | Slightly smaller | 2nd |
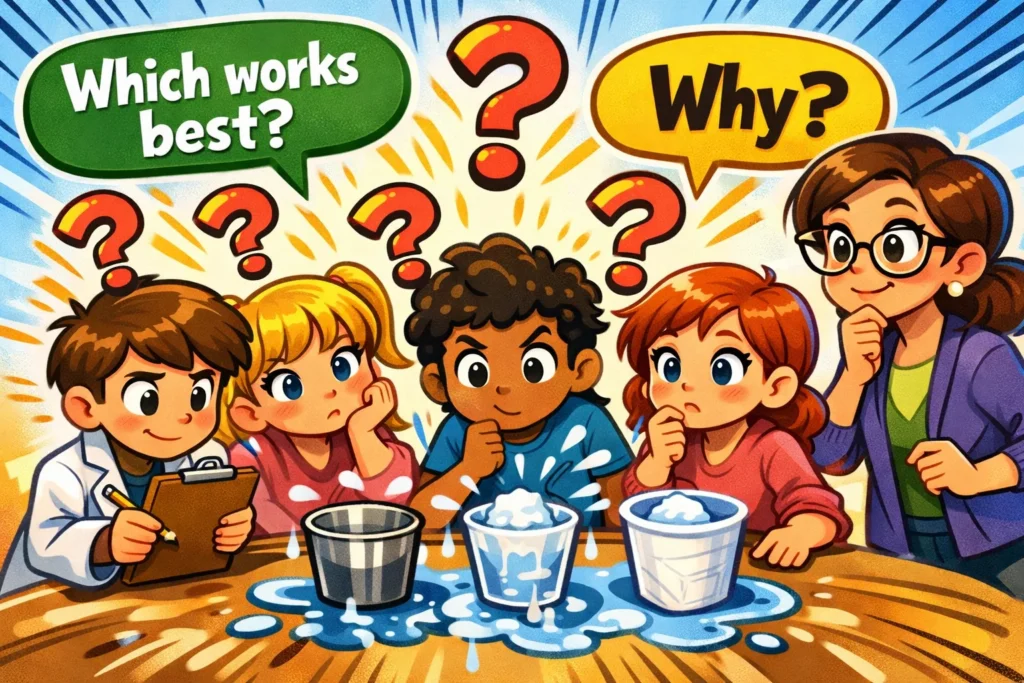
Comparing outcomes
Once the control cube has completely melted, stop the experiment. Open all the containers and compare. Which material works best? Usually, materials that trap air (like bubble wrap or thick fabric) will keep the ice from melting the longest.
Questions to Ask During Challenge
Encourage your “mini-scientists” to think like experts by asking open-ended questions.
- Prediction: “Which of these different materials do you think will be the best insulator? Why?”
- Observation: “Look at the melting ice cube in the foil. Why do you think there is more water there than in the bubble wrap container?”
- Reflection: “If you had to keep an ice cube frozen for a whole day, what combination of materials would you use?”
Ways to Extend Insulation Challenge
If your kids loved the basic version, try these variations to deepen their understanding of heat transfer.
- Outdoor vs. Indoor: Move the experiment outside. How does direct sunlight affect heat transfer?
- The Layering Effect: Test if two layers of the same material are twice as good as one.
- Surface Area: Does a large ice block melts more slowly than a small ice cube? (Spoiler: Yes, because it has less surface area relative to its volume!)
Real-Life Examples of Insulation
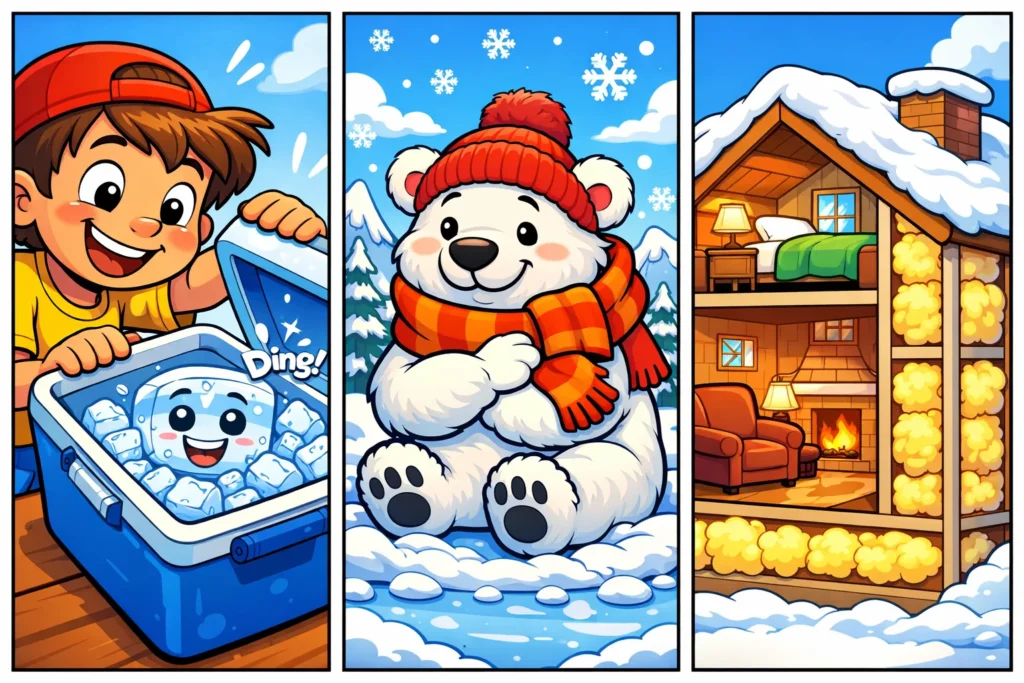
Connecting the science experiment to the real world helps cement the knowledge.
Coolers and food storage
A picnic container or cooler uses thick plastic walls filled with foam. This insulation works by combining the air-trapping properties of foam with a rigid outer shell to prevent heat from entering.
Animal survival in cold climates
Nature is the ultimate engineer. Animals use “biological insulation.” Polar bears have thick fur and a layer of blubber, which acts just like the insulating material in our experiment to keep their body heat from escaping.
Home and building insulation
Look at the walls of your house. They are filled with fiberglass or foam to keep hot and cold air where they belong. This saves energy and keeps us comfortable, whether we want to stay warm or cool.
Frequently Asked Questions
Based on most hands-on school experiments, Styrofoam or bubble wrap usually wins. This is because they are excellent at trapping air, which is a very poor conductor of heat.
This experiment is perfect for kids for ages 5 to 13. For younger children (K–2), focus on “keeping things cold.” For older kids (Middle School), introduce the math of thermal energy and formal lab reports.
It depends on the room temperature, but usually, 60 to 90 minutes is enough to see a significant difference between a good insulation setup and the control group.