

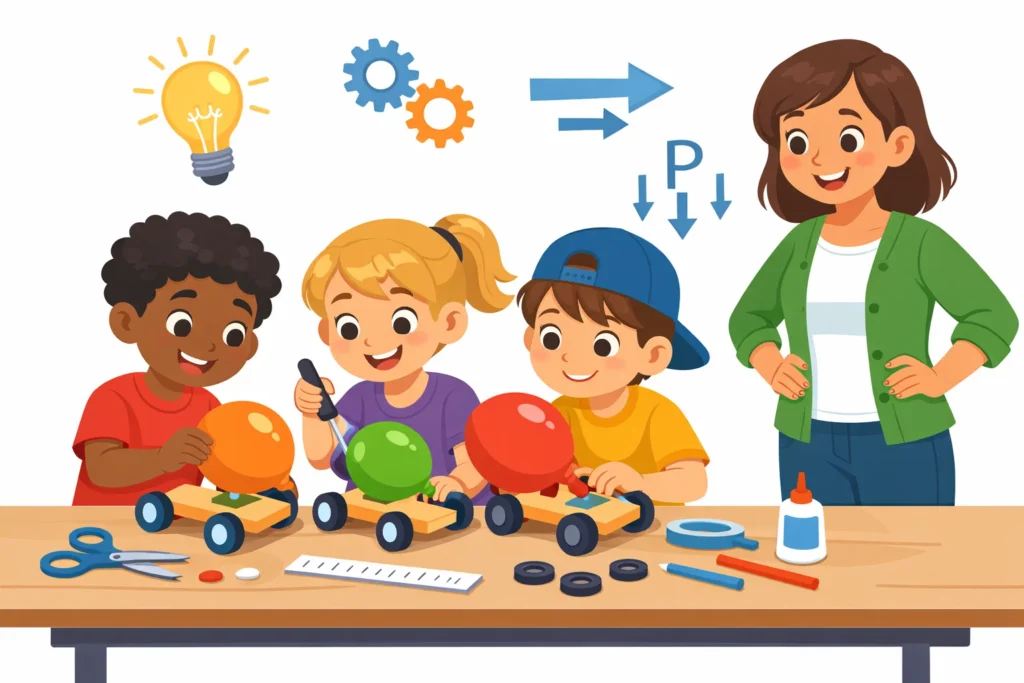
If you are looking for a high-energy, hands-on activity that transforms your living room or classroom into a mini engineering lab, this project is the perfect solution. It is a classic STEM task that bridges the gap between play and physics, allowing children to become inventors. By using simple household items, kids can build a balloon powered vehicle that demonstrates complex scientific principles through the simple joy of a race.
Children love this challenge because it offers immediate gratification – you blow up the balloon, let go, and watch the car go zooming across the floor. For parents and educators, it is a goldmine for STEM learning, covering everything from Newton’s laws of motion to the engineering design process. Whether you are looking for a primary school project, a homeschool lesson, or just a fun STEM activity, this guide will show you how to make a LEGO® balloon-powered racer that really moves!
Balloon Powered Car STEAM Challenge Overview
Challenge goals for children
The primary goal is to encourage kids to think like engineers. Instead of following a rigid set of instructions, they are tasked with a problem: “How can I use the air inside an elastic balloon to propel a vehicle forward?” The goals include:
- Designing a chassis that is lightweight yet sturdy.
- Experimenting with wheel and axle alignment to minimise friction.
- Understanding the relationship between stored energy and distance.
- Iterating on a design to make the car go farther or faster.
Skills developed during challenge
As children build their project, they engage in a “trial and error” loop that builds resilience. They develop fine motor skills while handling a skewer or LEGO® brick, and cognitive skills as they estimate how much thrust is needed to overcome the weight of the model. In a group setting, it fosters teamwork and communication, as kids must often “troubleshoot” why one unit is spinning in circles while another is breaking speed records.
Age groups and difficulty levels
One of the best things about this STEM activity is its scalability.
- Ages 5–7 (KS1): Focus on the “magic” of air. Use a pre-made lego car base and focus on how to attach the balloon and inflate it.
- Ages 8–11 (KS2/Primary): This is the “sweet spot.” Kids should make the car from scratch using recycled materials, focusing on axle friction and alignment.
- Ages 12+: Challenge them to use data collection. Explore kinetic and potential energy through simple measurements, or use a rubber band to create a hybrid propulsion system.
How It Works
Air pressure and motion
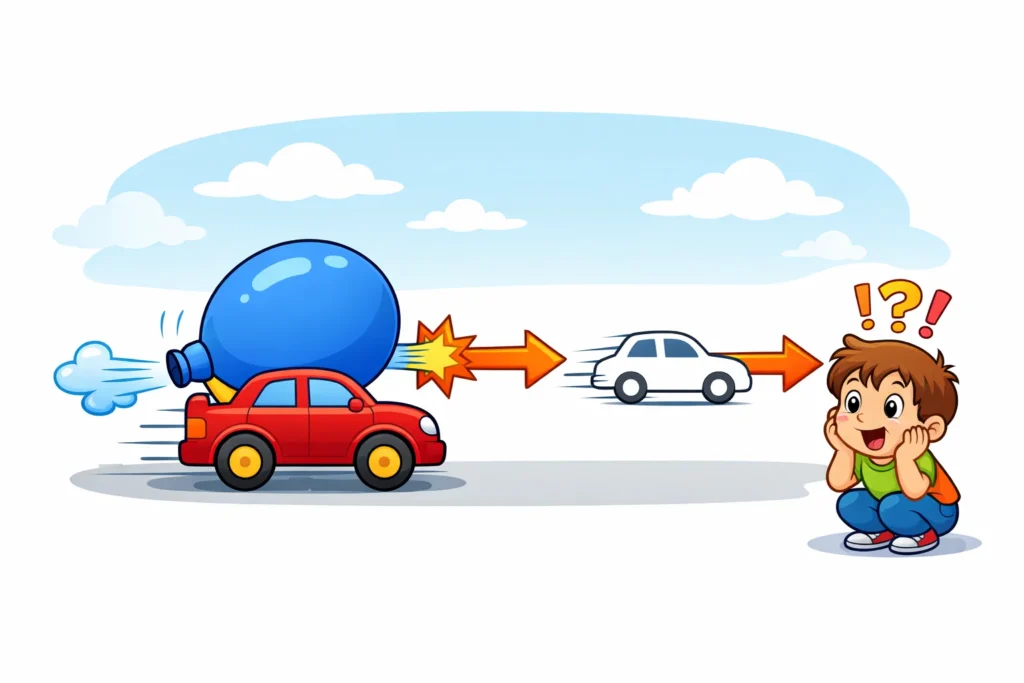
To understand how the machine moves, you have to look at air pressure. When you inflate the balloon, you are squeezing air molecules into a tight space. This creates high pressure inside the rubber skin. When you release the balloon, the air rushes out through the end of the straw to escape into the lower-pressure room air. This escaping air creates a forward force known as thrust.
Action and reaction principle
This project is a living demonstration of Newton’s third law of motion, which states: “For every action, there is an equal and opposite reaction.” * Action: The air is released from the balloon and shoots backward.
- Reaction: The vehicle is pushed forward.
This is the same principle that makes a rocket launch into space!
Energy transfer
The journey is a tale of two states:
- Potential Energy: The stretched rubber of the inflated balloon stores elastic potential energy.
- Kinetic Energy: The moment you let go, that stored power is released from the balloon and converted into the energy of motion.
Materials Needed
Basic household supplies
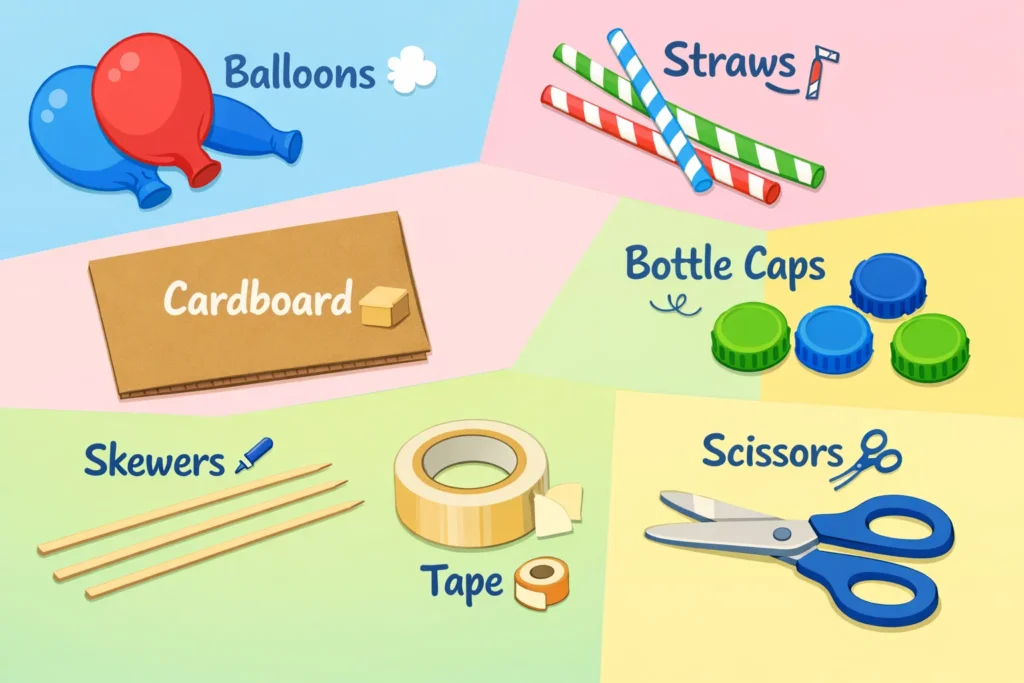
You don’t need a lab to build a balloon powered racer. Most items are likely in your recycling bin:
- Chassis: Plastic bottles, cardboard juice boxes, or foam meat trays.
- Wheels: Plastic bottle caps, old CDs, or even large buttons.
- Axles: Wooden skewer sticks, pencils, or straight plastic straws.
- Propulsion: A standard latex balloon and a flexible drinking straw.
- Fasteners: Duct tape, masking tape, or a rubber band.
Optional LEGO or craft upgrades
For a more modular experience, lego building is a great choice. A lego balloon car allows you to move a brick or change a wheel in seconds without messy glue. Using LEGO® pieces provide a sturdy axle and high-quality tyre options that significantly reduce friction.
Safety tips for materials
⚠️ Safety First: Uninflated or broken rubber pieces are a choking hazard for children under 8. Always supervise the use of a skewer or scissors when making holes in a tyre or bottle cap.
Step-by-Step Instructions
| Step | Action | Focus Point |
| 1 | Build the Base | Ensure the car, whether made from cardboard or LEGO®, is lightweight. |
| 2 | Install Axles | Tape straws to the bottom; slide the skewer through. |
| 3 | Add Wheels | Attach the balloon to the straw, then wheels to the axle. |
| 4 | Secureengine | Tape the straw to the top so it points straight back. |
| 5 | Test & Tweak | Inflate, release, and observe the car’s forward motion. |
Step 1: Build car base
Start by choosing a chassis. If you’re doing a lego balloon powered car, build a flat rectangular frame. If using a bottle, make sure it’s empty and dry. The base needs to be wide enough to be stable but narrow enough to keep the wheel set-up simple.
Step 2: Assemble wheels and axles
If using cardboard, tape two straws across the bottom of your base. Slide your skewer through the straws – these are your wheel and axle sets. The straw acts as a “bearing,” allowing the axle to spin freely. Attach your tyre or bottle cap to the ends of the tool. Make sure the balloon or chassis doesn’t rub against the rolling parts!
Step 3: Attach balloon propulsion system
Place the end of the balloon over one end of the straw. Use a rubber band or tape to seal it tight. Air from escaping at the connection point is the enemy of thrust. Blow through the straw to inflate the balloon to check for leaks.
Step 4: Test and adjust car
Hold the balloon closed, place the racer on a flat surface, and release the balloon. Does the car move in a straight line? If not, you may need to experiment with different alignments.
Balloon Powered Car Building Tips
Ways to make car go faster
To maximize propulsion, you need to reduce “drag” and friction.
- Smooth Surfaces: A balloon car that really flies needs a smooth floor.
- Lighter is Better: A heavy LEGO® car requires more thrust to get moving.
- Airflow: Ensure the end of the straw is not pinched. A wider straw allows air to escape faster, providing a bigger “burst” of speed.
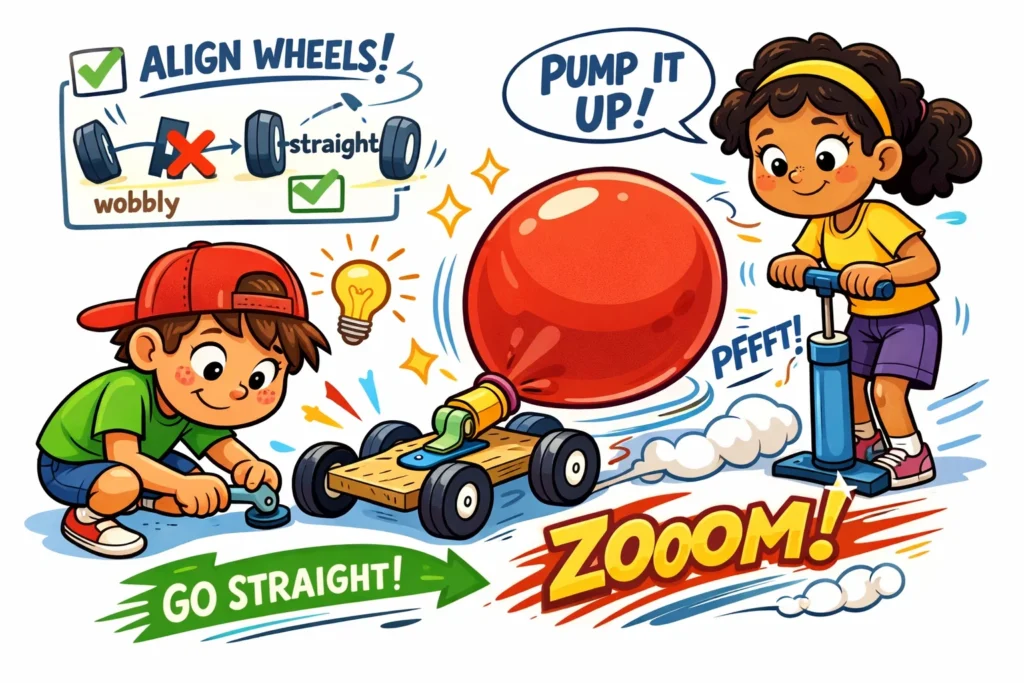
Fix crooked or spinning cars
If your lego balloon powered vehicle is veering left or right, your axles are likely not parallel. Use a ruler to ensure the front and back axle are perfectly square. If the wheels are “wobbly,” use a small piece of clay or a brick to keep the wheel centered on the skewer.
Balloon size and air control
A larger balloon needs more effort to blow up, but it stores more potential energy. However, if you inflate it too much, the sphere might sag and rub against the floor, creating friction that stops the car’s forward momentum.
Balloon Powered Car Challenge Ideas
Distance challenge
Set a starting line and see whose lego balloon craft travels the farthest. Use a measuring tape to record results. This is a great way to introduce primary school kids to data and measurement.
Speed race challenge
Mark a 3-meter “track.” Use a stopwatch to see how long it takes for the car to move from start to finish. This helps kids understand the concept of velocity.
Design creativity challenge
Who says a stem project can’t be pretty? Encourage kids to make a lego balloon machine that looks like a dragon, a fire truck, or a futuristic rocket.
Science Concepts Behind Balloon Powered Car
Physics concepts for kids
- Force: The push or pull on an object.
- Friction: The force that resists motion when two surfaces touch.
- Thrust: The forward force produced by the air.
Engineering design process
Educators often observe that the best learning happens during the “re-design” phase. When a child asks, “Why won’t my balloon-powered car move?”, they are engaging in the engineering design process:
- Ask
- Imagine
- Plan
- Create
- Experiment with different ideas
- Improve.
STEM and STEAM learning connections
By adding the “A” (Art) to STEM, we get STEAM. Decorating the lego building project or choosing specific colors for the inflatable part makes the activity more inclusive for children who may not initially be drawn to “pure” science.
Extension Activities and Experiments
LEGO balloon powered car variations
A balloon powered lego car is the ultimate modular experiment. You can easily swap out small wheels for large wheels to see how the diameter of the tyre affects the distance. Larger wheels may travel further per “breath” of air but might be harder for the thrust to start moving.
Compare different car designs
Try building one model with a narrow body and another with a wide body. Does the balloon’s position on top of the frame affect balance? This teaches kids about the “center of gravity.”
Data collection and simple graphs
For a homeschool or classroom setting, have students record their distances in a table.
| Trial # | Sphere Diameter (cm) | Distance Traveled (cm) |
| 1 | 10 | 120 |
| 2 | 15 | 250 |
| 3 | 20 | 310 |
Balloon Powered Car Classroom and Group Use
Classroom STEM challenge setup
To keep the fun stem activity organized, group students into teams of three:
- The Engineer: Leads the lego building.
- The Pilot: Responsible for inflating the balloon and launching the car.
- The Scientist: Records the distance and friction observations.
Homeschool activity planning
In a homeschool environment, you can spend a whole week on this. Monday: Research Newton’s laws. Tuesday: Make a lego balloon base. Wednesday: Experiment with different wheel types. Thursday: The big race!
Birthday party or camp activity
This is a super fun and inexpensive party game. Provide a “buffet” of brick pieces and recycled items. Give a small prize for the “Most Creative Design” and the “Fastest Balloon Car.”
More STEM Challenges for Kids
Easy science experiments at home
Once you’ve mastered the balloon powered car, try a balloon rocket on a string. It uses the same action and reaction principle but travels along a zip-line!
Engineering challenges for kids
- Spaghetti Bridges: Test weight and tension.
- Egg Drop: Learn about impact and force.
- Marble Runs: Explore gravity and kinetic energy.
Physics experiments using everyday items
Try making a “Hovercraft” using a CD, a pop-top bottle cap, and an inflatable sphere. It’s another fun building project that demonstrates how a cushion of air reduces friction to nearly zero.
Frequently Asked Questions
The most common culprit is friction. Check if the axle is rubbing against the frame or if the wheels are stuck. Another issue could be a “leak” – make sure the balloon is airtight where it meets the straw. If the unit is too heavy, the thrust simply won’t be enough to overcome the weight.
Hardwood, tile, or linoleum are best. The carpet has too much friction and will likely stop the car forward motion before it even starts. If you must use carpet, try to build a balloon unit with very large, smooth wheels.
Building a balloon powered car is more than just a challenge for kids; it’s a gateway to understanding the physical world. It takes abstract concepts like Newton’s 3rd law and makes them tangible, tactile, and – most importantly – super fun. Whether they are using a lego® set or an old water bottle, the joy of seeing their own creation propel itself across the floor is a powerful educational moment.